|
|
Post by gsaiya on Jan 8, 2017 16:31:01 GMT -6
This Metal Cooler is definitely one of my favorite customs of yours so far. Great work. Can't wait too see the other 999 Metal Coolers.
|
|
|
|
Post by Branjita on Jan 9, 2017 9:01:16 GMT -6
LOL No thank you for that idea!  |
|
|
|
Post by kirkymonster1983 on Apr 13, 2017 10:37:15 GMT -6
Awesome work as usual. Every time I think I'm out Branjita brings me back!
|
|
|
|
Post by Branjita on Aug 11, 2019 9:08:32 GMT -6
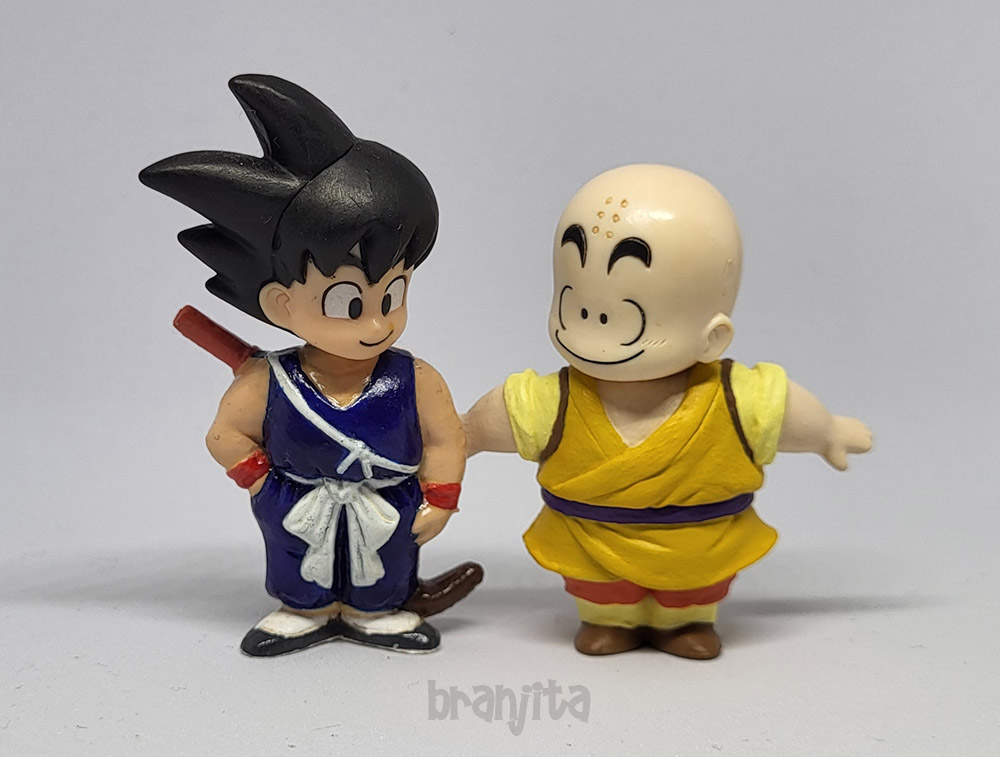
I received the Irwin SS Goku in armor on the left in a trade this week. I got him so I could put a non-SS head on him. I thought it would be fun to show him next to the battle damaged Jakks one I repainted and resculpted the boots on (because they were previously shaved off with an x-acto knife). 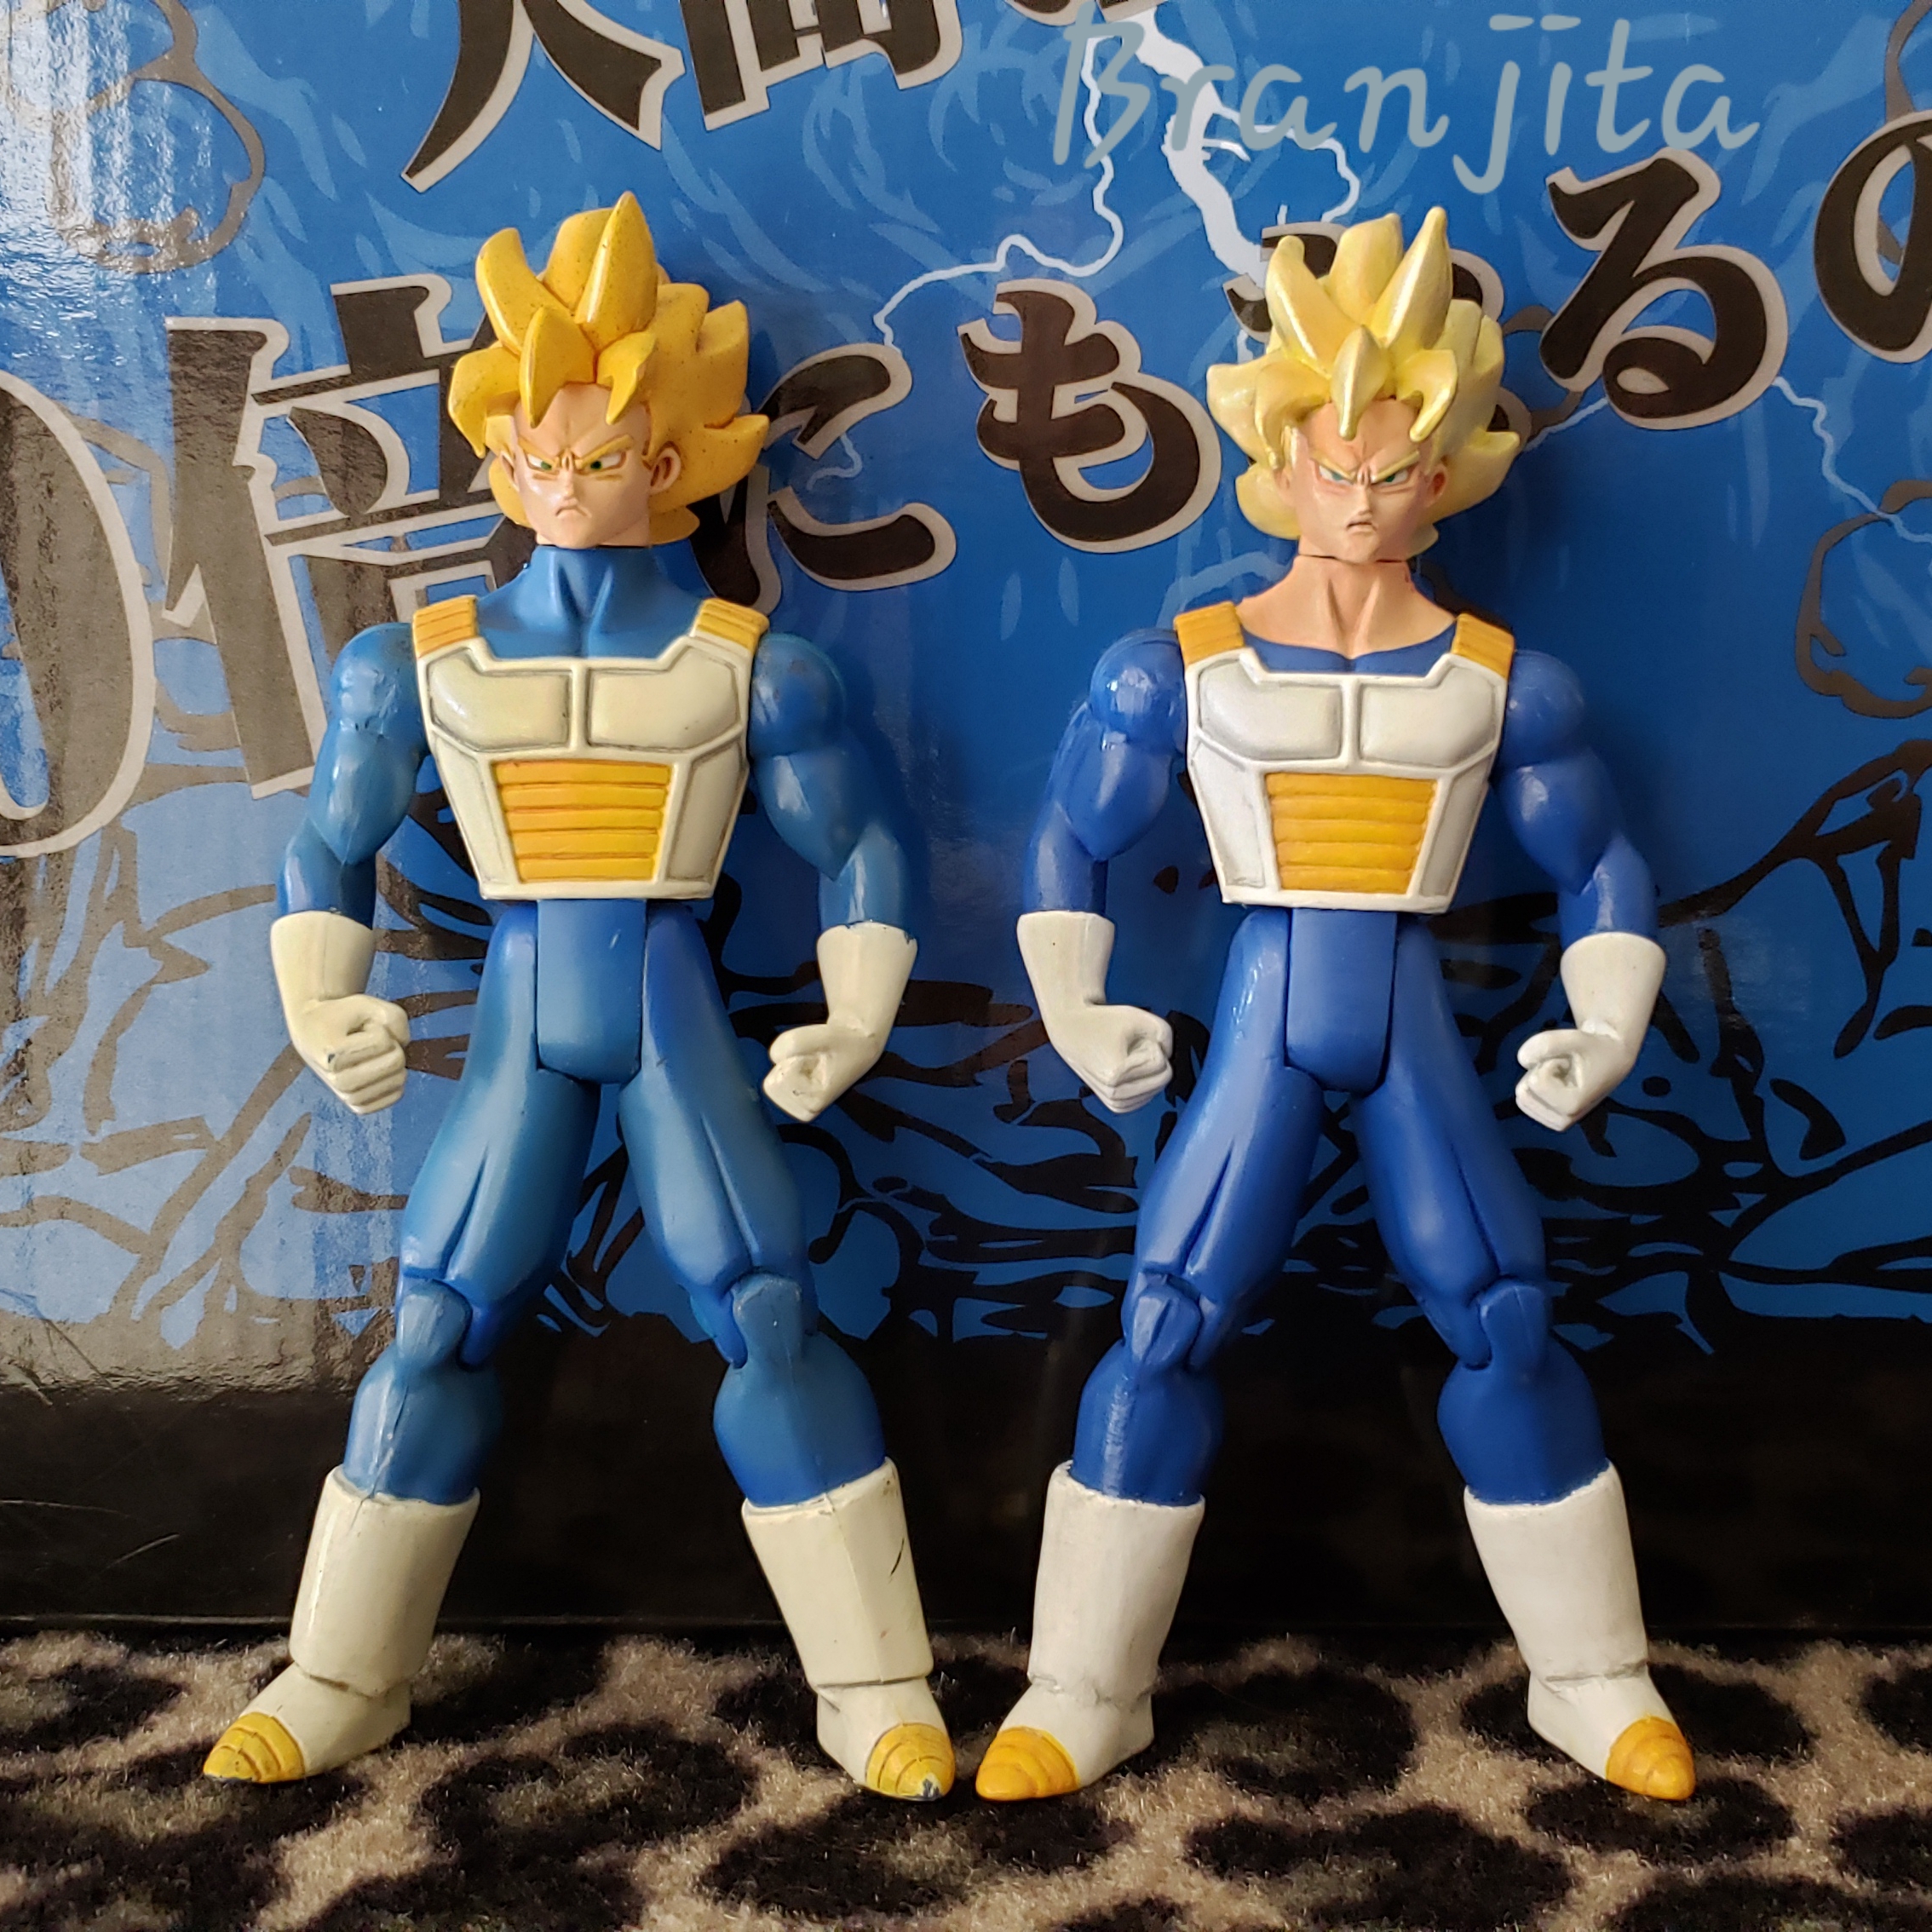 |
|
|
|
Post by Branjita on Aug 29, 2019 13:48:08 GMT -6
Buucolo - Piccolo absorbed BuuDifficulty: 2/10 A major thank you to LarryKoopa for making this possible! And doomprevails88 for paying Larry so I could make these customs for the two of us! How to make: This is actually a pretty easy custom! If your original figures are in perfect shape and you aren't super picky, then you can make this custom without ever using any paint! What you need is a Jakks Piccolo cape, a Jakks Super Buu, and a Jakks Buuhan (Gohan Absorbed Buu). You'll boil and pop the forearms and heads. The Buuhan head takes quite a bit of time in hot water to successfully get removed from huge neck peg. I had to heat it, wiggle it, heat it, wiggle it, at least 4 times until it finally came off. The upper arms on Super Buu have a slightly larger peg hole, so you'll need to do the hot glue trick to get a nice, tight fit when you insert the forearm pegs. So here's what you do: you put the Super Buu body in freshly heated water so the upper arm plastic can soften. You heat up your hot glue gun. You dip the forearm pegs into Vaseline to get a good coating on them. You take the figure out of the water carefully, cover it with a towel, and shake the water out violently. Then you quickly insert the glue gun's tip into the upper arm peg holes and fill them with a bit of glue. Shove the forearms in the holes. Put the figure in the freezer or refrigerator for at least 10 minutes. Remove from freezer, trim the excess hot glue off, and wipe off the excess Vaseline. You're done. While I was doing this, I also had the Buuhan heads in the water, so I pulled them out, cut the tentacle in half, put the Piccolo cape on the necks, and stuck the heads on the neck pegs. The heads were a perfect fit without any modification whatsoever. The Jakks Piccolo cape remarkably fits Super Buu like it was made for him. It looks a little small, but it fits flush against his chest and back! The Bandai/Jakks Ultimate Figure Series Piccolo's cape would be better sized, and likely fit exactly the same since they seem to be based on each other. I also did the trick where you boil a figure and change the stance of the legs. Super Buu's legs were always a bit close together. So I left them all in hot water around 5 minutes, shoved a BIC pen (you know... a cheap, throw-away writing pen) between their legs and put them in the freezer for 10 minutes. Sometimes this adjustment lasts forever (until the figure is heated again), and sometimes the figure goes almost back to normal. Super Buu's legs didn't go 100% back to normal, but they got pretty close... it's perhaps 10 to 20% different. I think it's because they are one solid piece, unlike any other Jakks figure, so they have a lot of force/memory in going back to normal. I did the super glue trick for tightening joints on the ankles, because Super Buu has weak ankles. I would have swapped the Buuhan feet onto Super Buu's legs, but they were unusual and I didn't understand how to pop them off without potentially damaging them, or Buuhan's pants, in the process. The super glue trick is where you put a couple drops in the front and back side of a loose joint and wiggle it endlessly until the glue has finished drying—about 10 minutes. If you do this to a figure with lighter colored joints (such as Jakks King Cold) you don't generally need to repaint the area because the white crust blends in well enough. Well, black boots = repaint. Since I was doing all this to these figures, I did the same ankle trick to Super Buu and the Buutenks that I bought from timone317 years ago. I then repainted the ankles, and on all of my figures (except Buuhan) I repainted the feet brown to be accurate to the show. Buuhan already has brown feet, though they are very dark brown. I didn't attempt to match them. I also had to touch up the M and the golden yellow color on several of the figures. I had trouble mixing a matching golden yellow, so the touchups aren't flawless, but they are good enough I think. I regret not sanding Super Buu's belt smooth before painting, because it was chipped, and I ended up with a surface that isn't completely flat. I hadn't experienced chipping paint on a Jakks figure before but... I did boil these guys several times... and at this point, these figures are about 15 years old. Anyway, because I knew I couldn't duplicate the color I mixed, I just went with it, and repainted his belt entirely. I redid the M on him entirely from hand in about 2 minutes with too large of a brush lol. I'm still happy with it. After all the paint work was done, I brushed on some Testors Model Masters Flat Clear Acryl. Buu's feet were somewhat glossy as was his belt, so I watered down some Semi Gloss Clear Acryl and brushed that over the Flat Clear. It blended pretty well. Anyway, I think that's everything. You can make this custom without doing a lot of the things I did, but I wanted it to look really cool and stand really stable. I hate when my figures fall down and knock everybody else over. 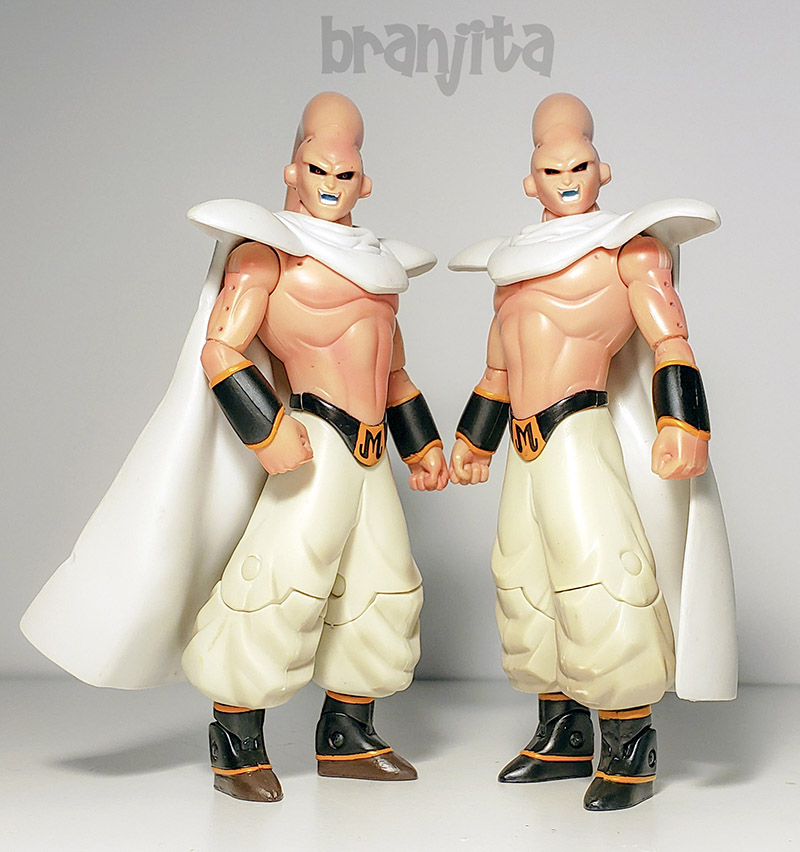 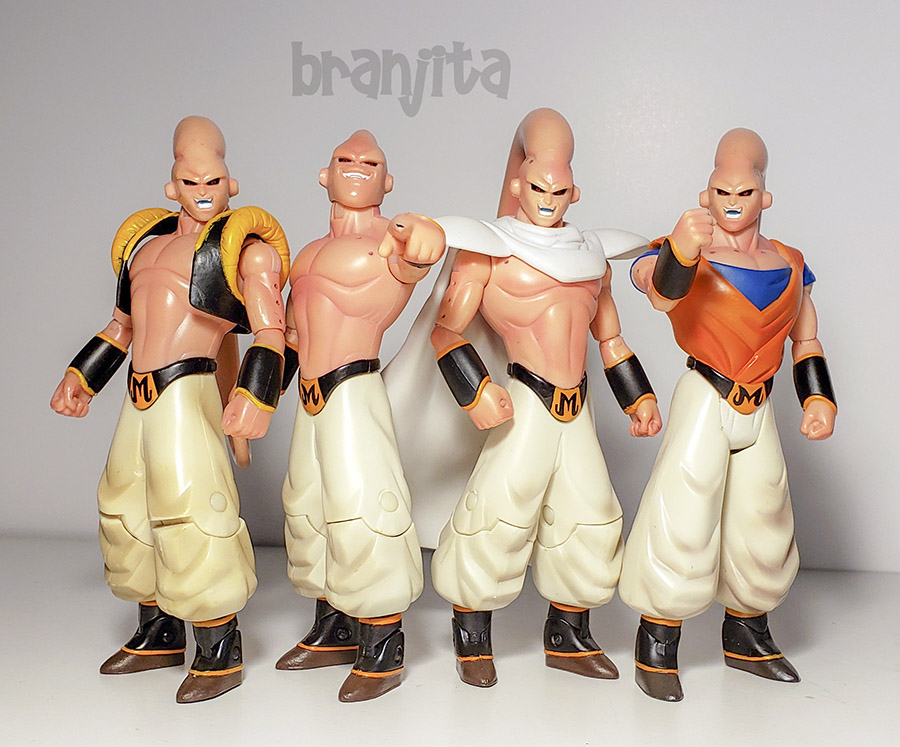 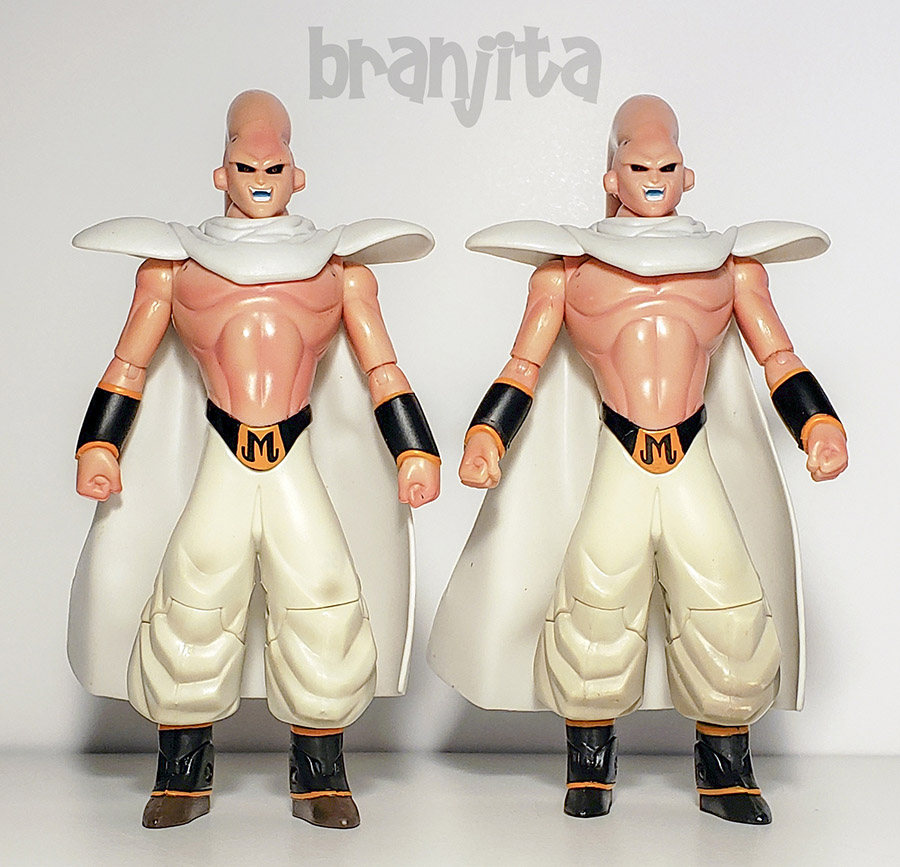 Here's a spin of my personal copy of this custom. The one for Doomprevails88 is identical other than the fact I didn't repaint the feet brown. I just touched up the black on his and touched up the belt. 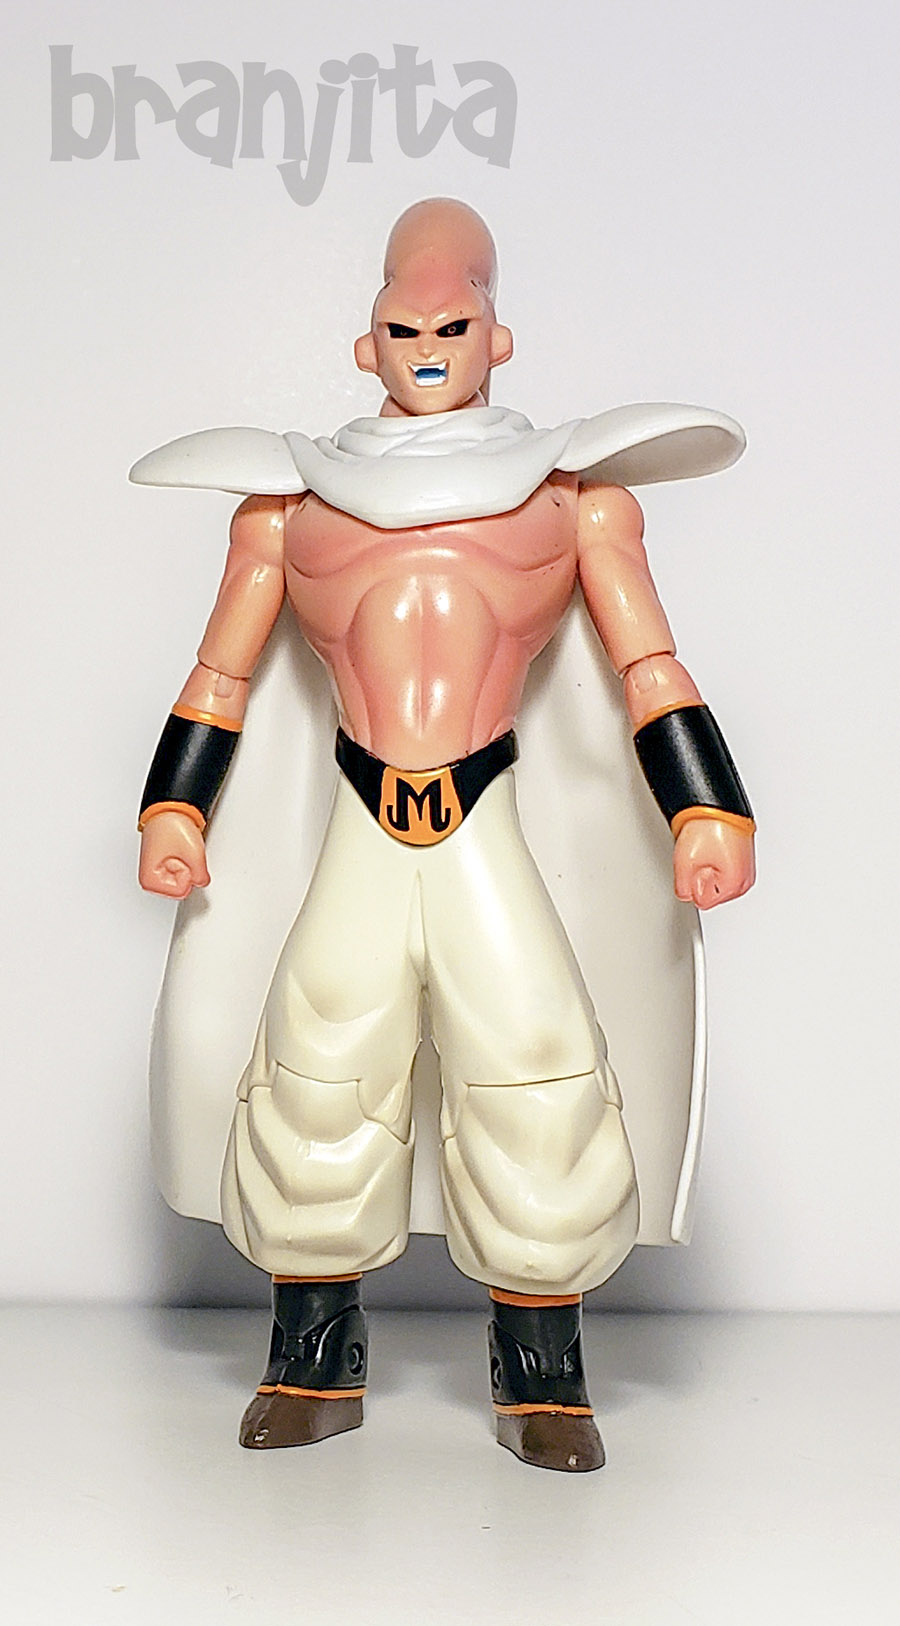 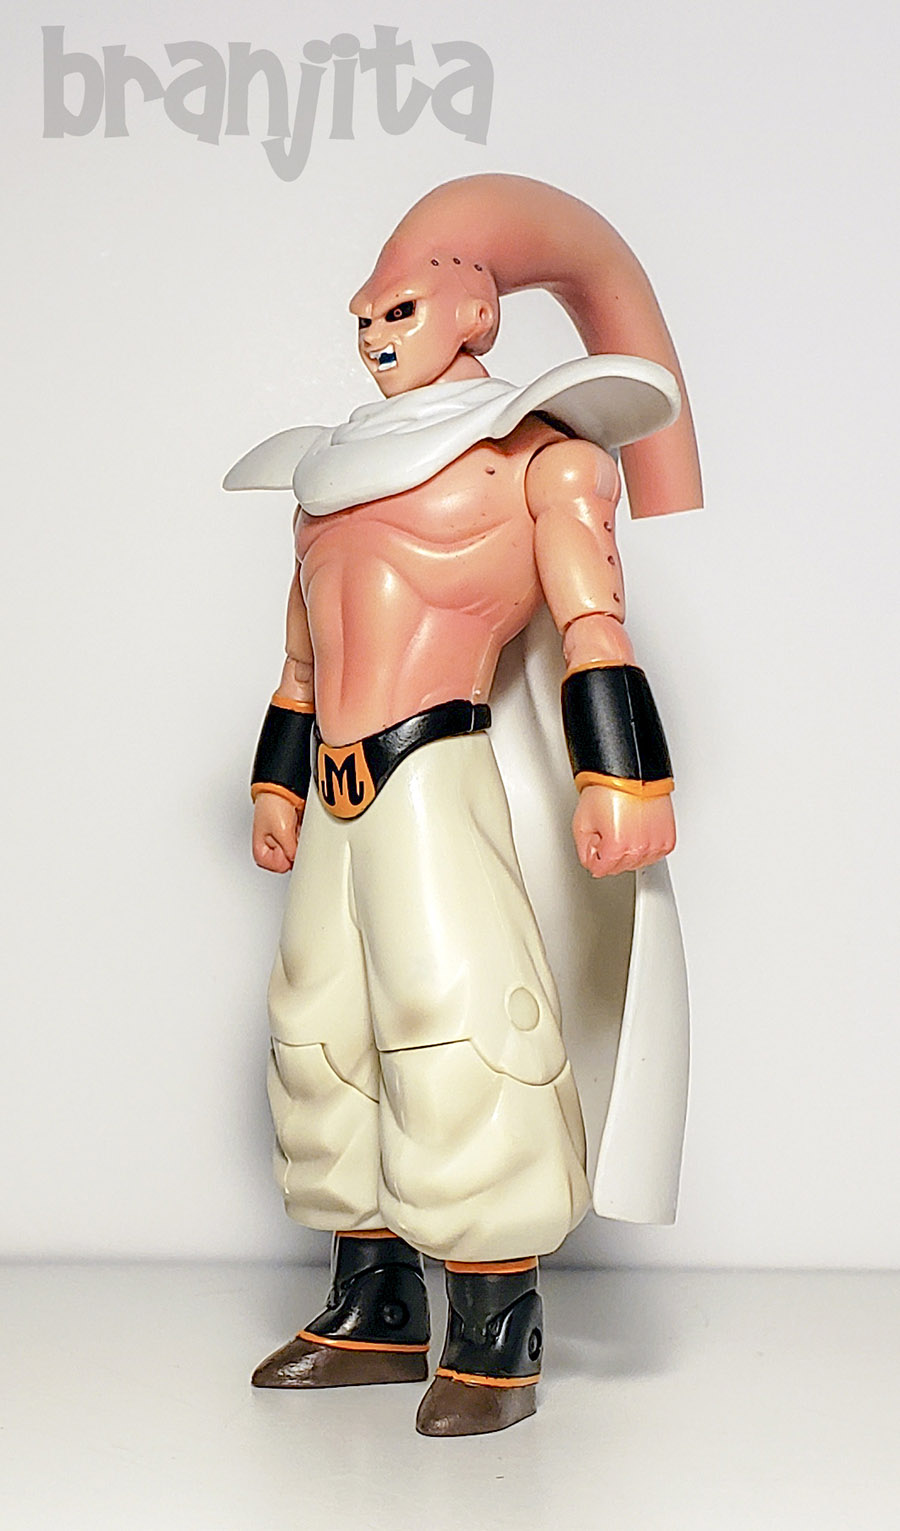 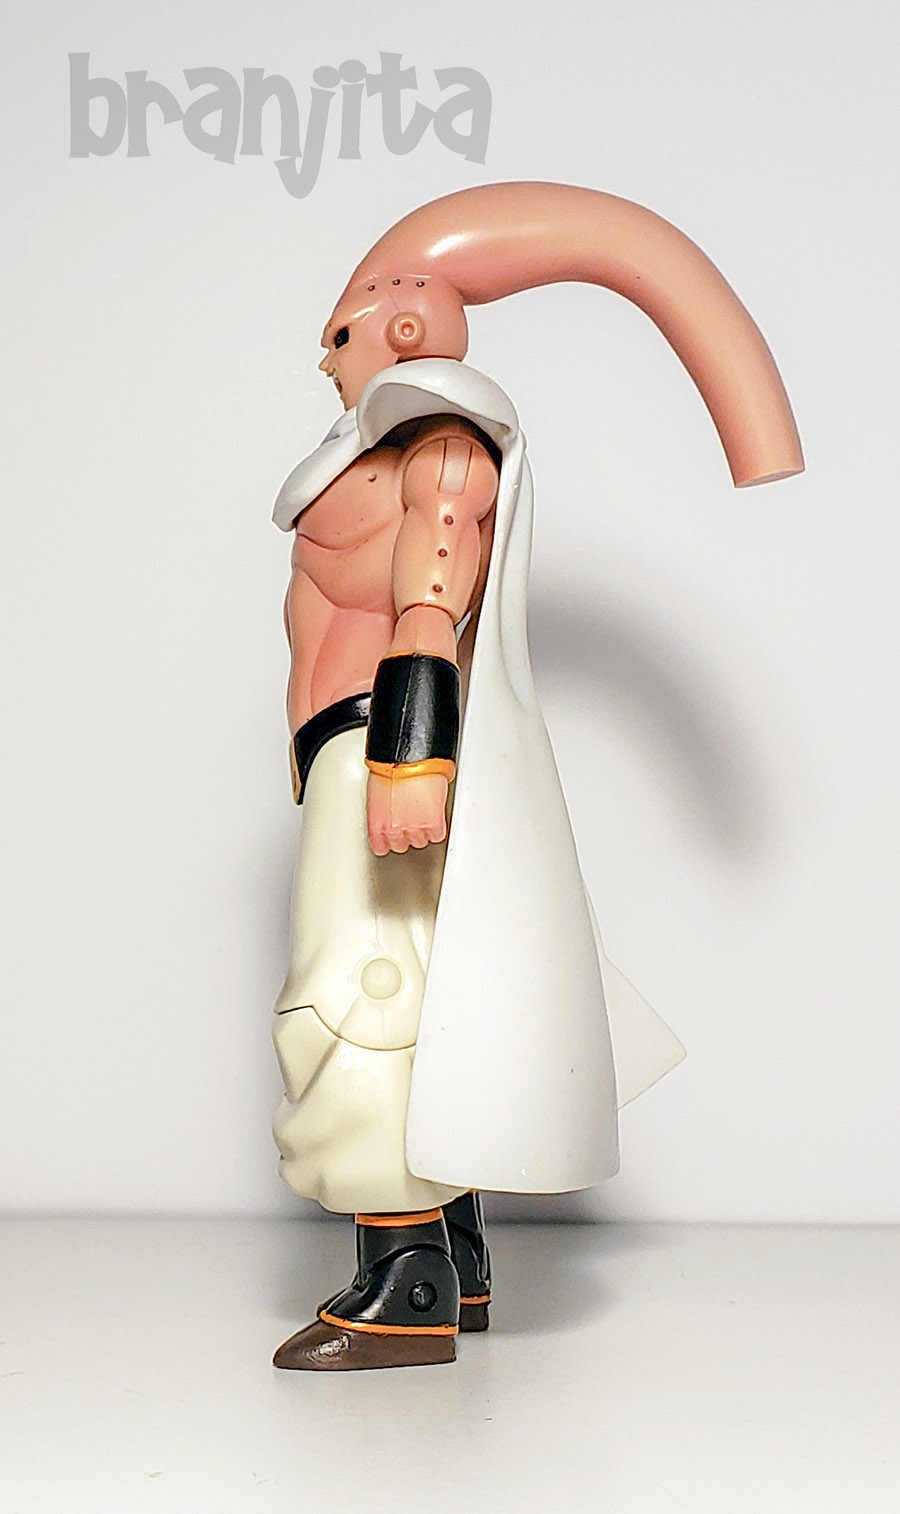 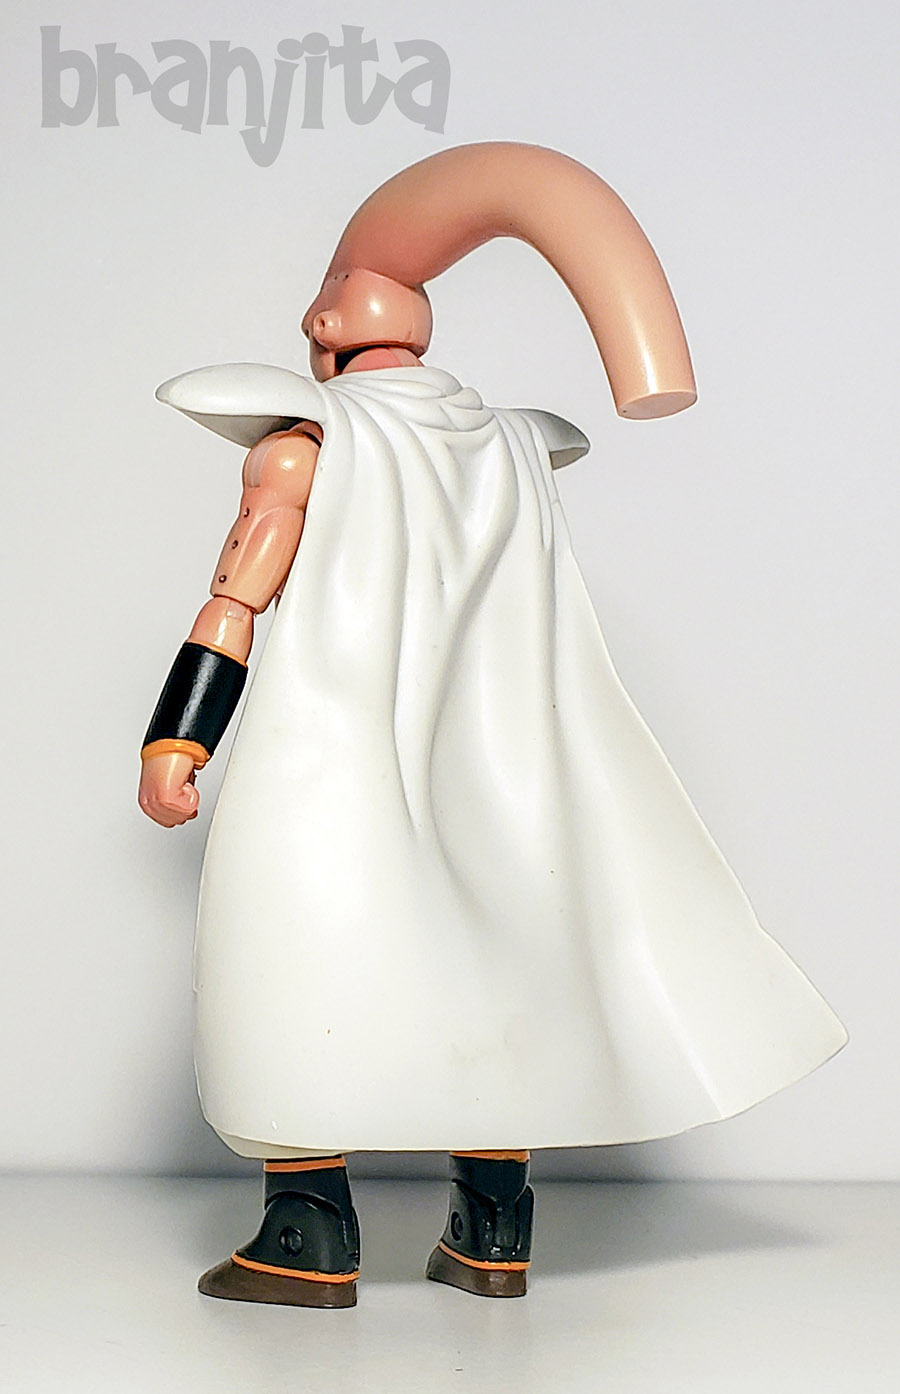 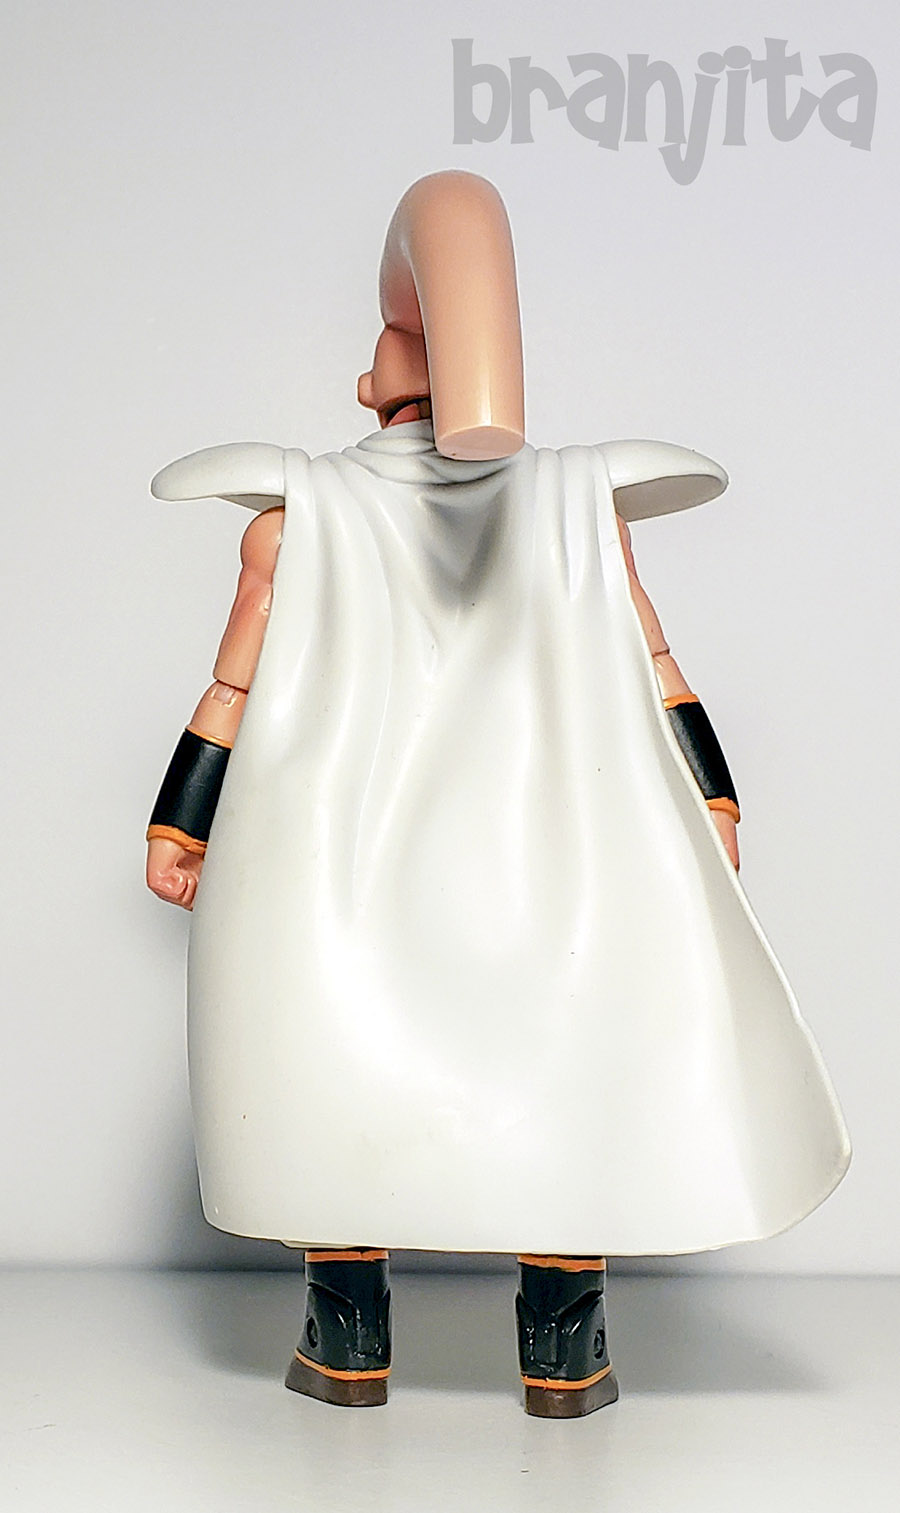 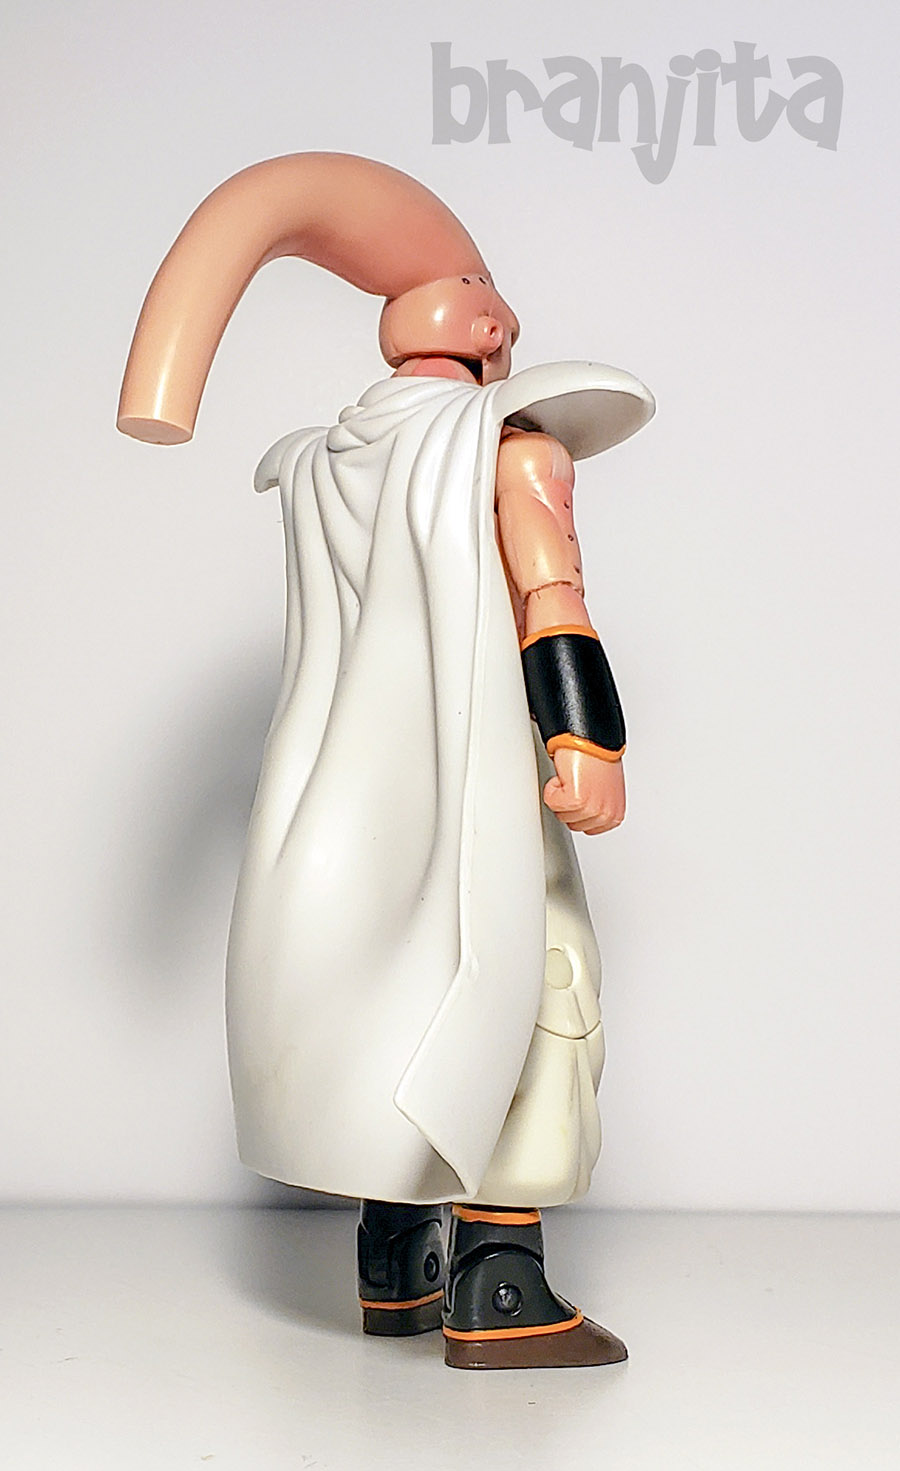 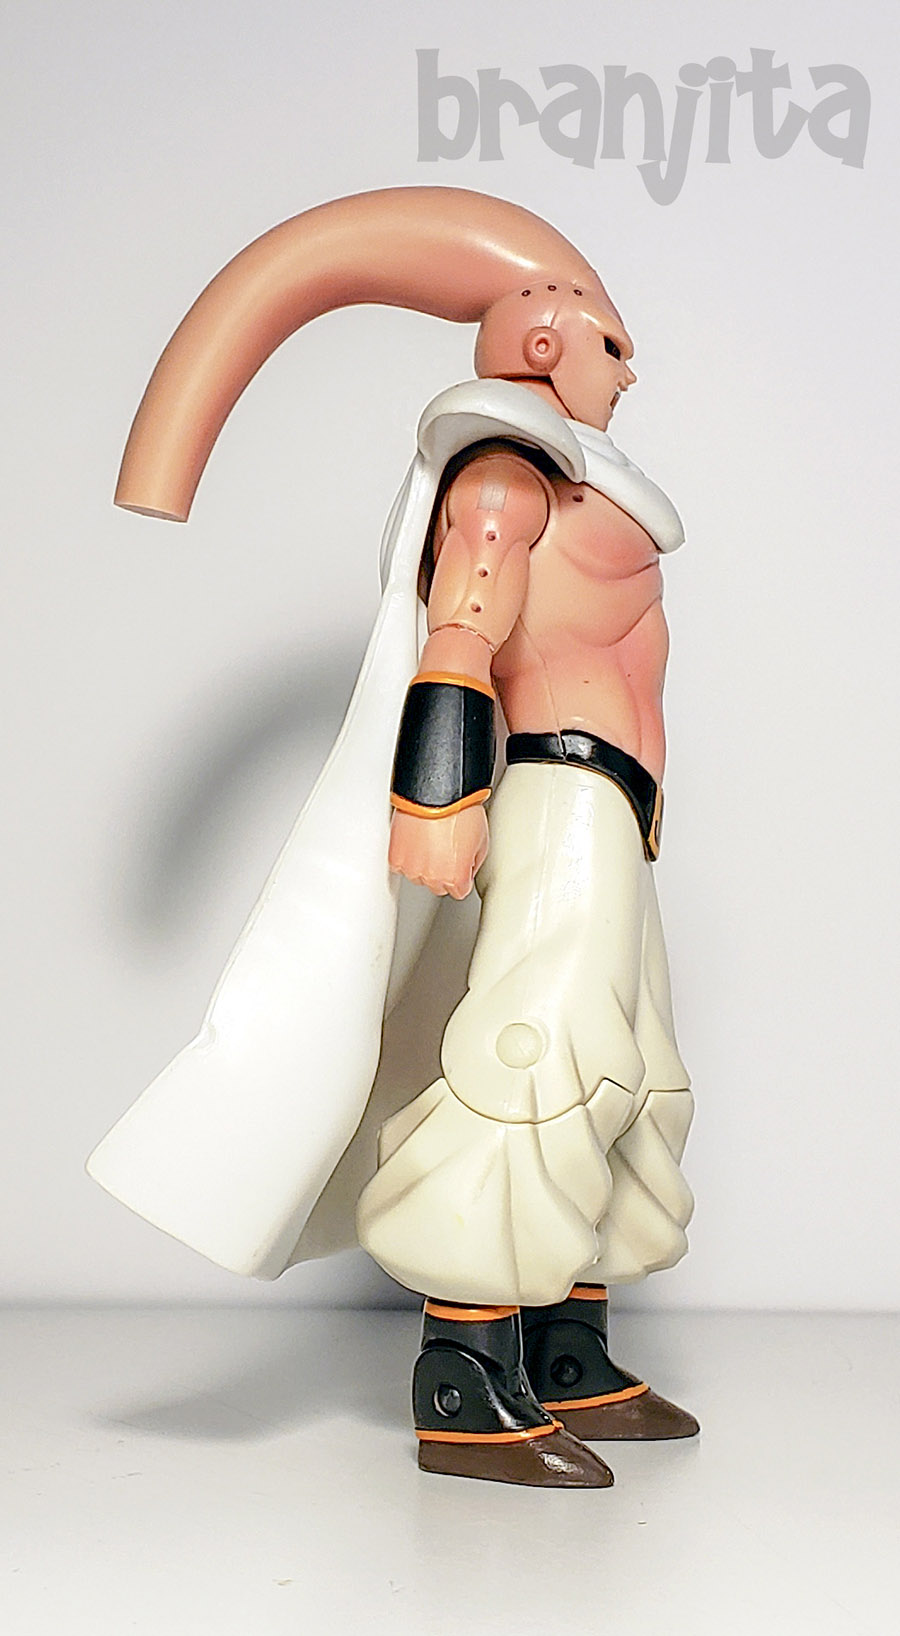 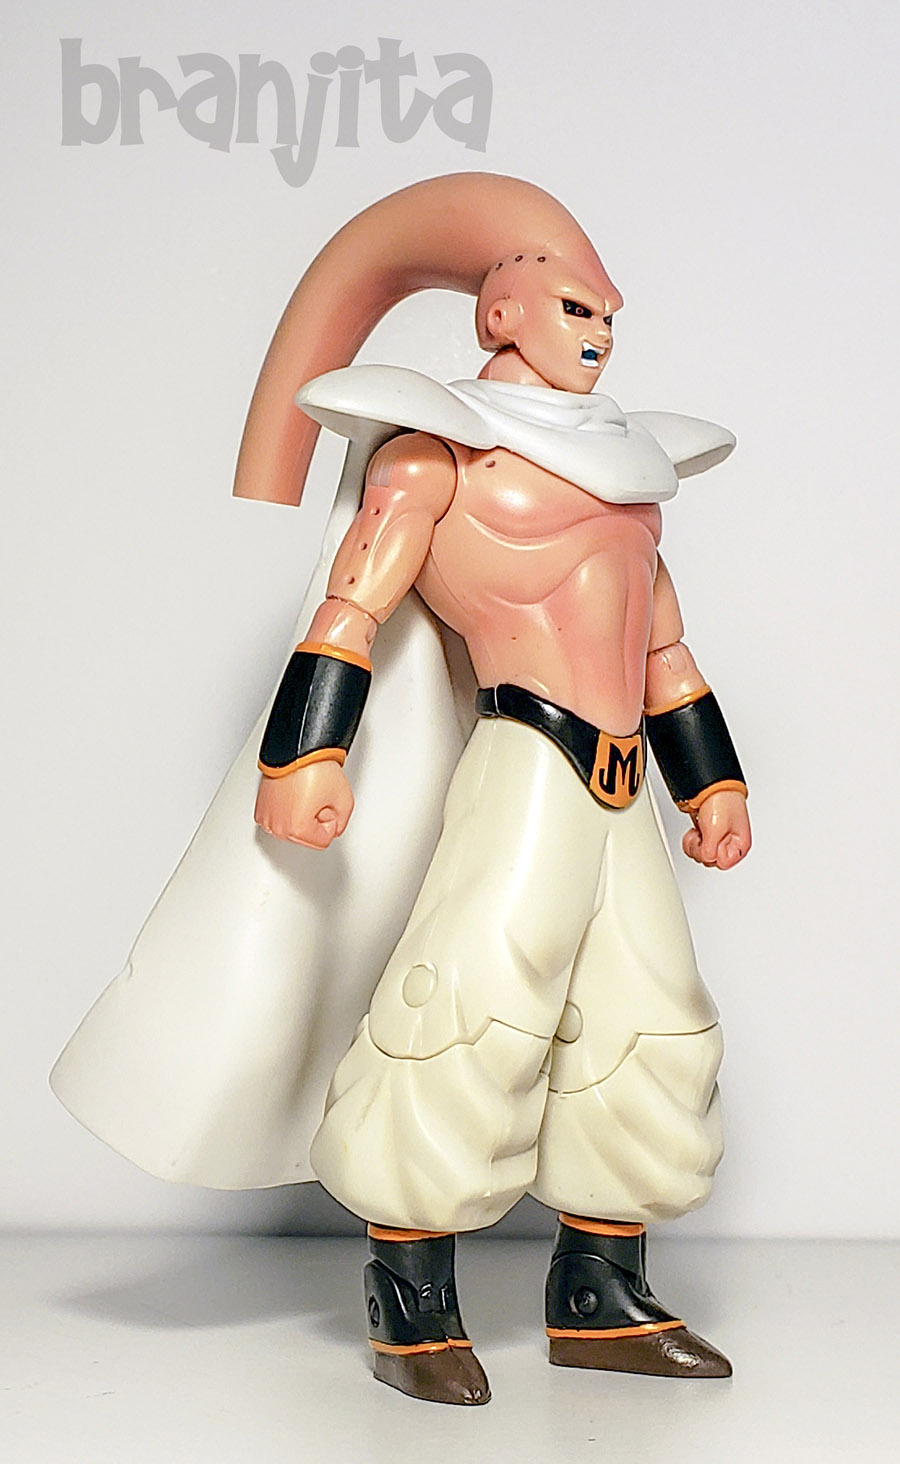 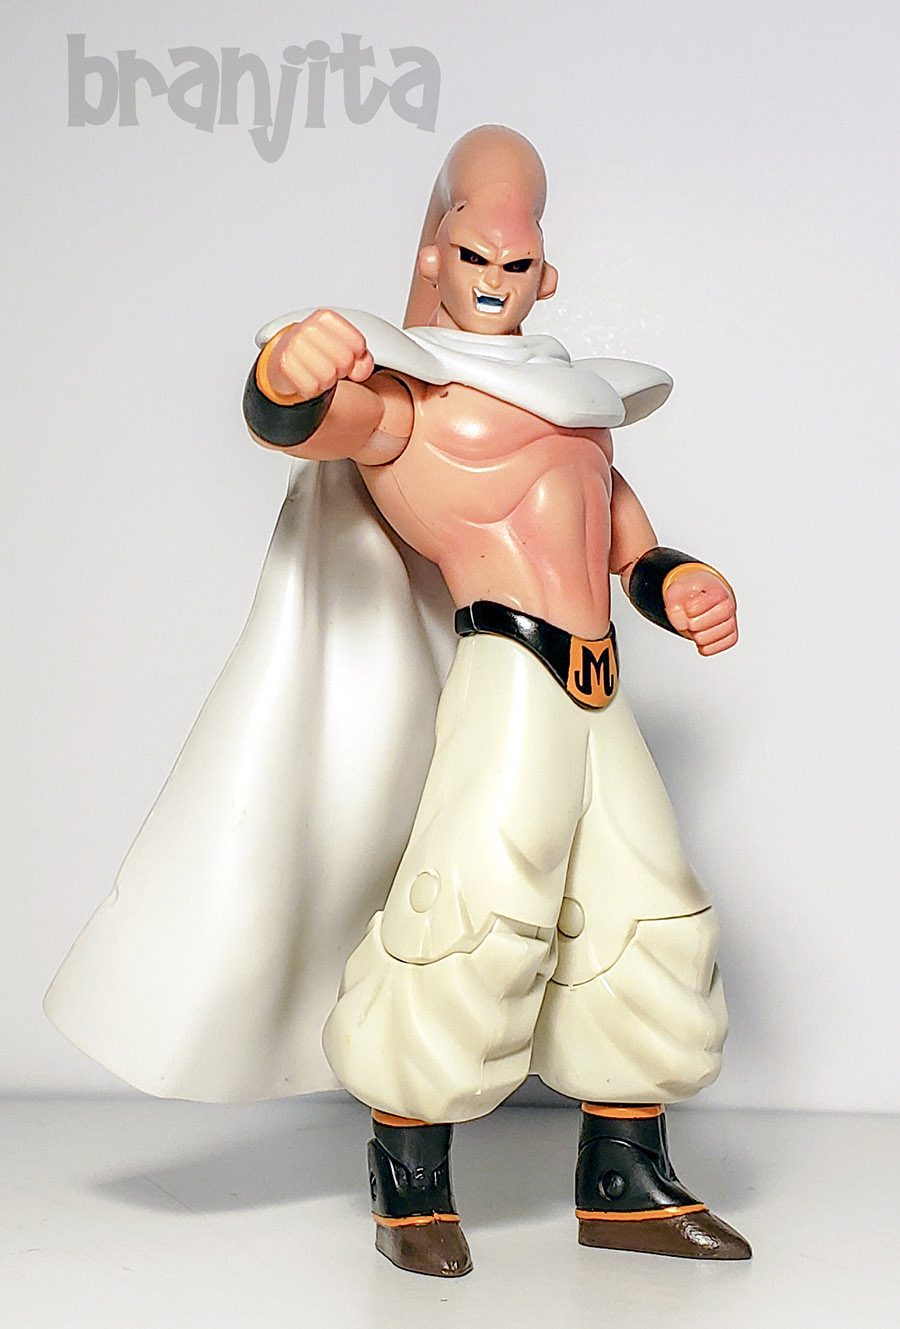 Here's the group photos. I guess Timone's Super Buu was a different release of the Super Buu figure, because his pants are khaki almost, and his skin is a slightly different pink from the others. Anyway... I now have every version of Buu that matters to me. The only version I am missing that I kind of consider important is the really muscular one. 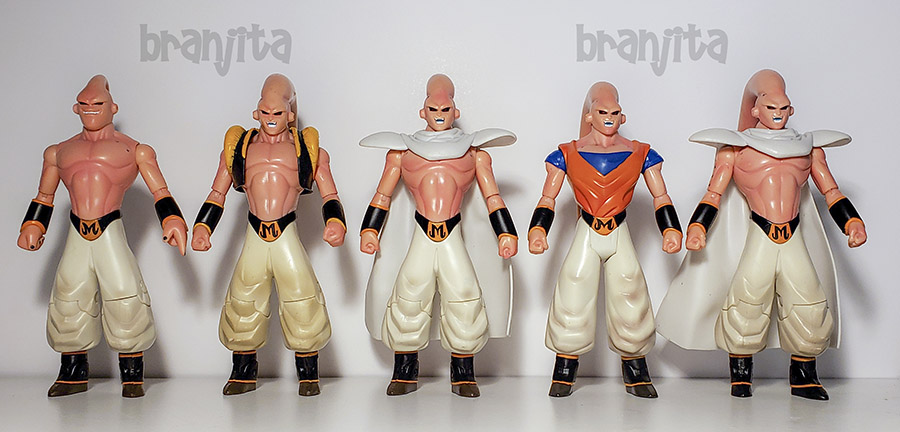 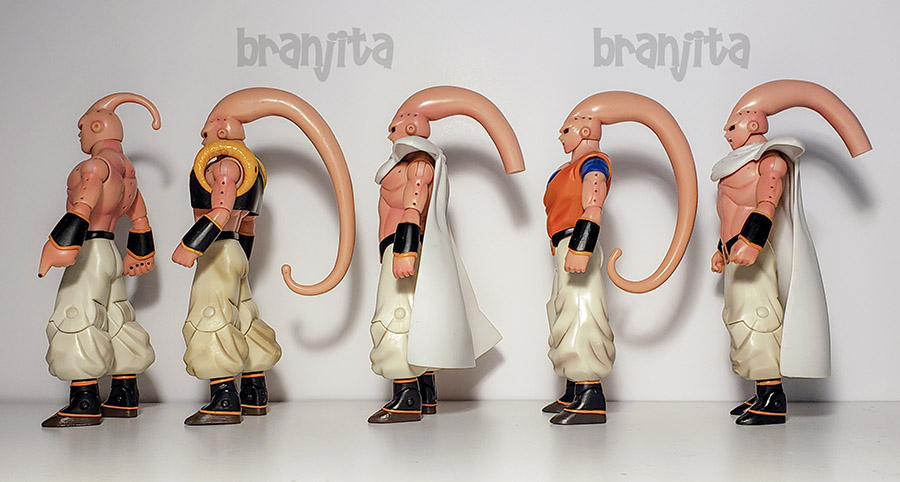
|
|
|
|
Post by Adrenaline on Aug 29, 2019 19:24:52 GMT -6
That looks pretty damn snazzy. The photos are so crisp, that it makes the figures look better than usual.
|
|
|
|
Post by Branjita on Aug 29, 2019 20:11:44 GMT -6
Adrenaline I actually had to run them through Adobe Camera RAW and change all sorts of settings. For some reason my phone took the photos in some weird high contrast mode. It was impossible to tell that any of the figures had pupils in their eyes or that any of their feet were brown instead of black! I guess it pays to do this sort of thing for a living (to an extent). I would have had to have retaken the photos, and it took me twenty minutes to clean the table up and set up a backdrop and take the pics  . I'm really glad I didn't have to retake them.
Doom's Buucolo is going out in the mail tomorrow. Hope he enjoys him.
|
|
|
|
Post by Branjita on Jan 5, 2022 12:05:29 GMT -6
Armoire platformsDifficulty: 8/10 I guess How to make: This was my first scratch build ever with wood, and I thought I'd share it with you all. I built platforms for supporting (and lifting) armoires (cabinets) higher up so the shelves would be easier to see and access. I use these armoires for displaying my DragonBall Z figure collection. The goal was the make the platforms strong enough to support 300 to 400 lbs (what I estimate the armoires would weigh when full of figures) and lift the armoires high enough that the bottom shelf could be seen and accessed without having to lay on my stomach to set up the figures. 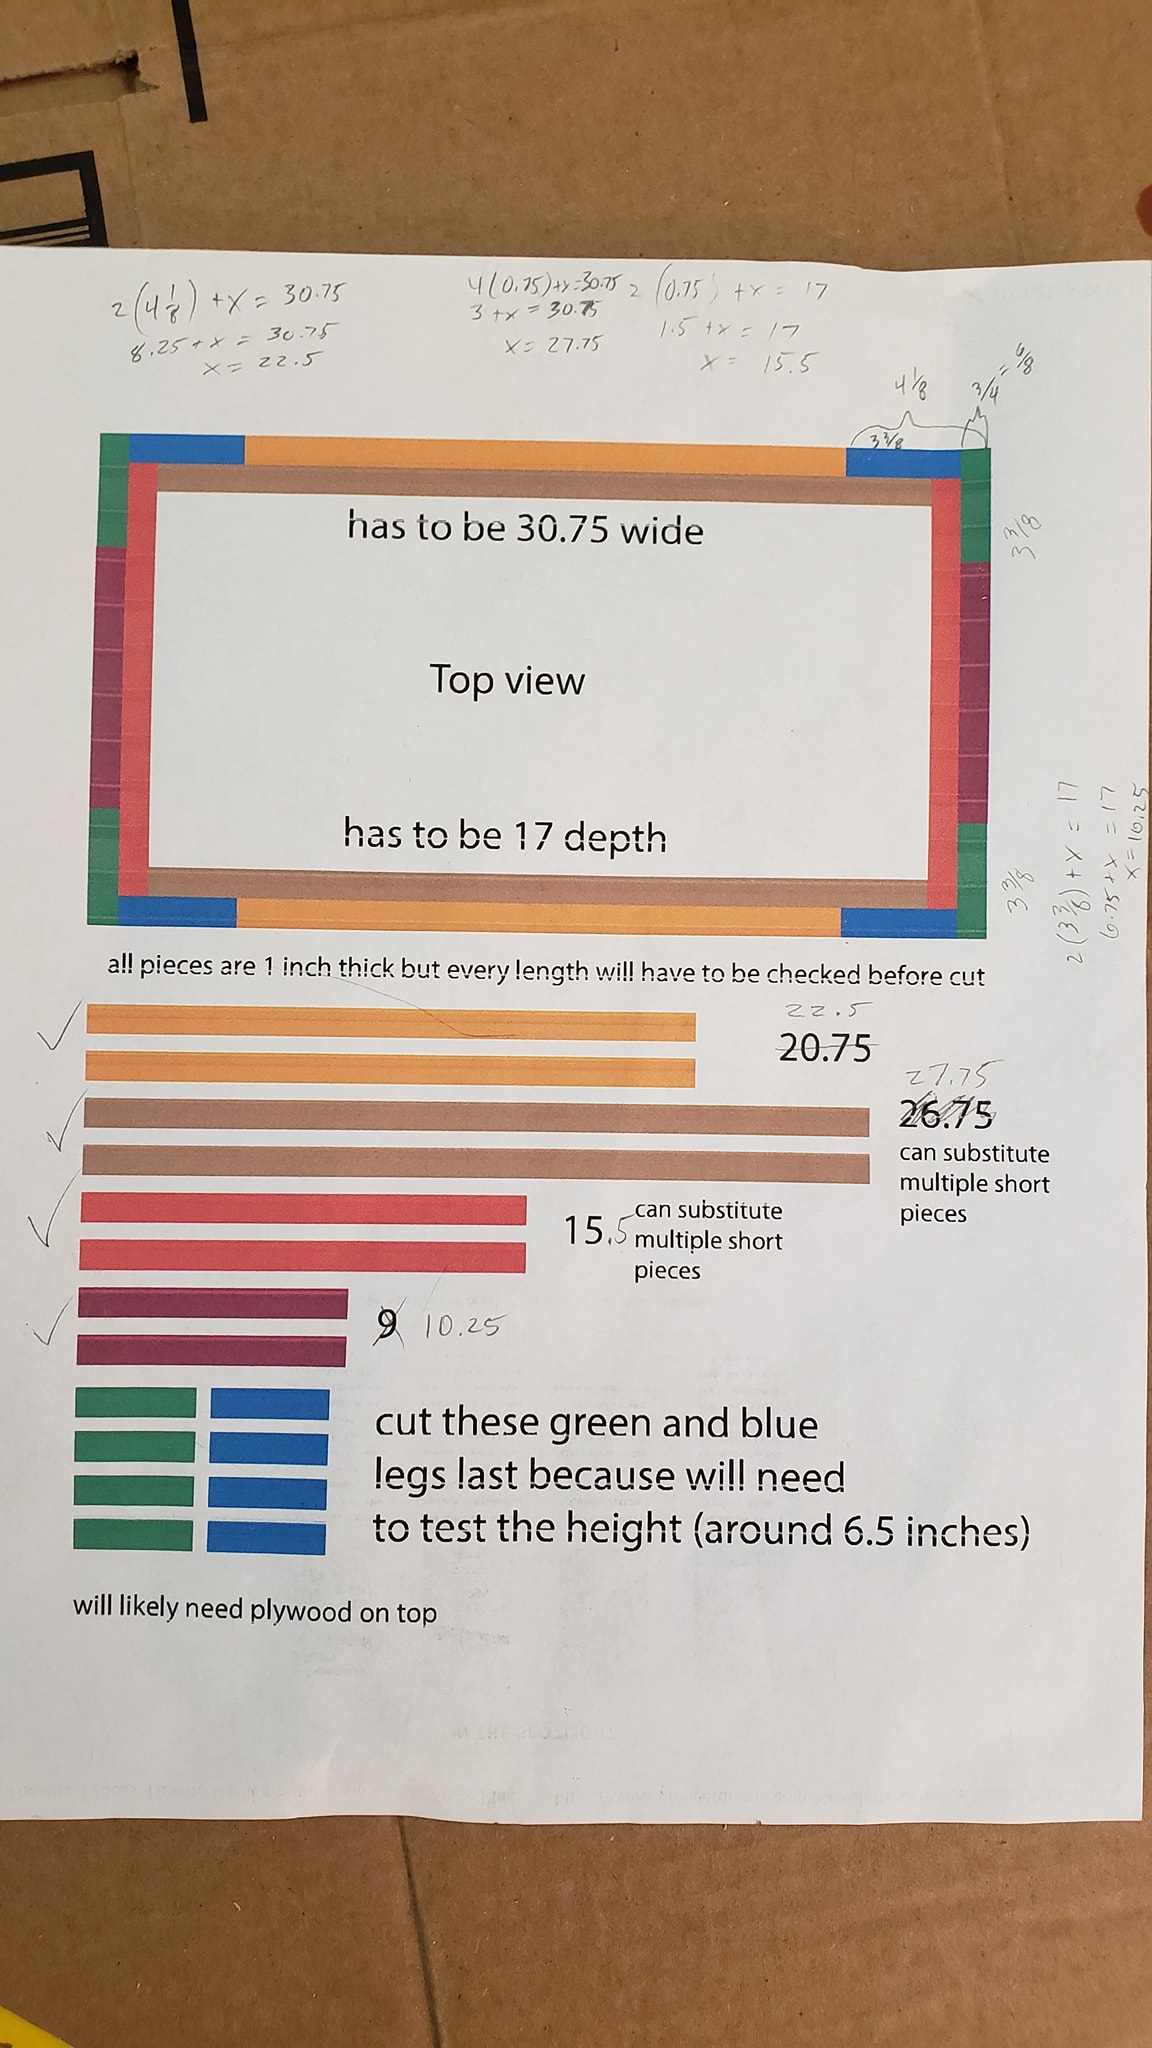 These were my plans. I followed them completely. I designed them in Adobe Illustrator and then had to modify them (in pencil) once I had the wood in front of me to measure. 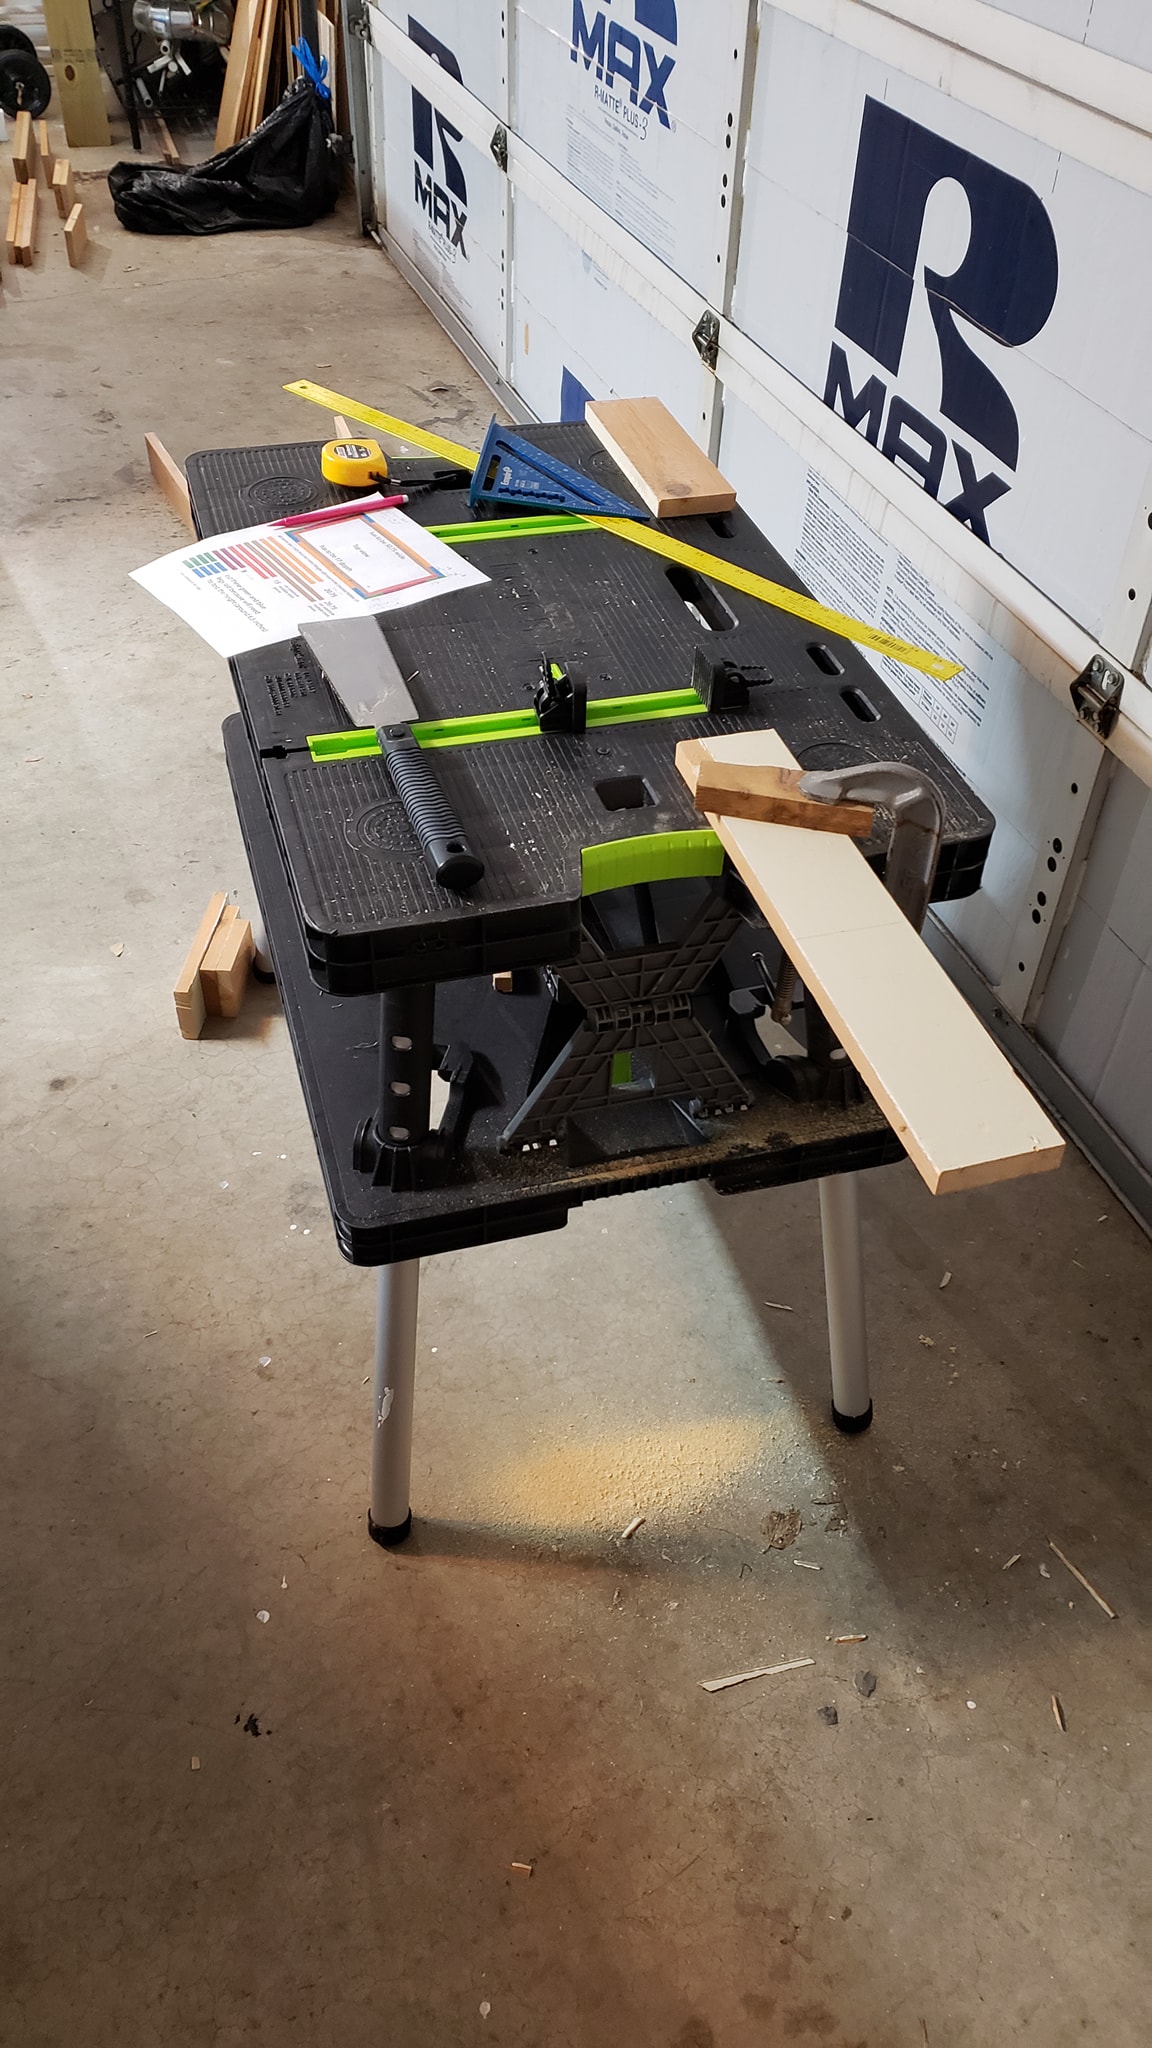 I love seeing what other wood workers create, and even watching YouTube videos about it, but I'm not a wood worker. I'm just a DIY type of guy and this was my first scratch-built wood project since 2005 when I took a sculpture class in college. I did this project entirely with scrap 1x4s and 1x3s ($3 worth) from estate sales and moving sales, a Japanese Pull Saw from Amazon, a project table from Sam's Club, a Kreg pocket hole jig from Lowes, a speed square from HD, and some other hand tools I already owned.  The surfaces that would show would be almost entirely the same wood from someone else's project. It was some sort of old growth pine with a reddish color to it, and they had painted one side of it white. I wouldn't have assumed it was pine if it hadn't smelled like it when sawing it. The other stuff I used was various other types of wood, and I had to saw some of it to be the same width. 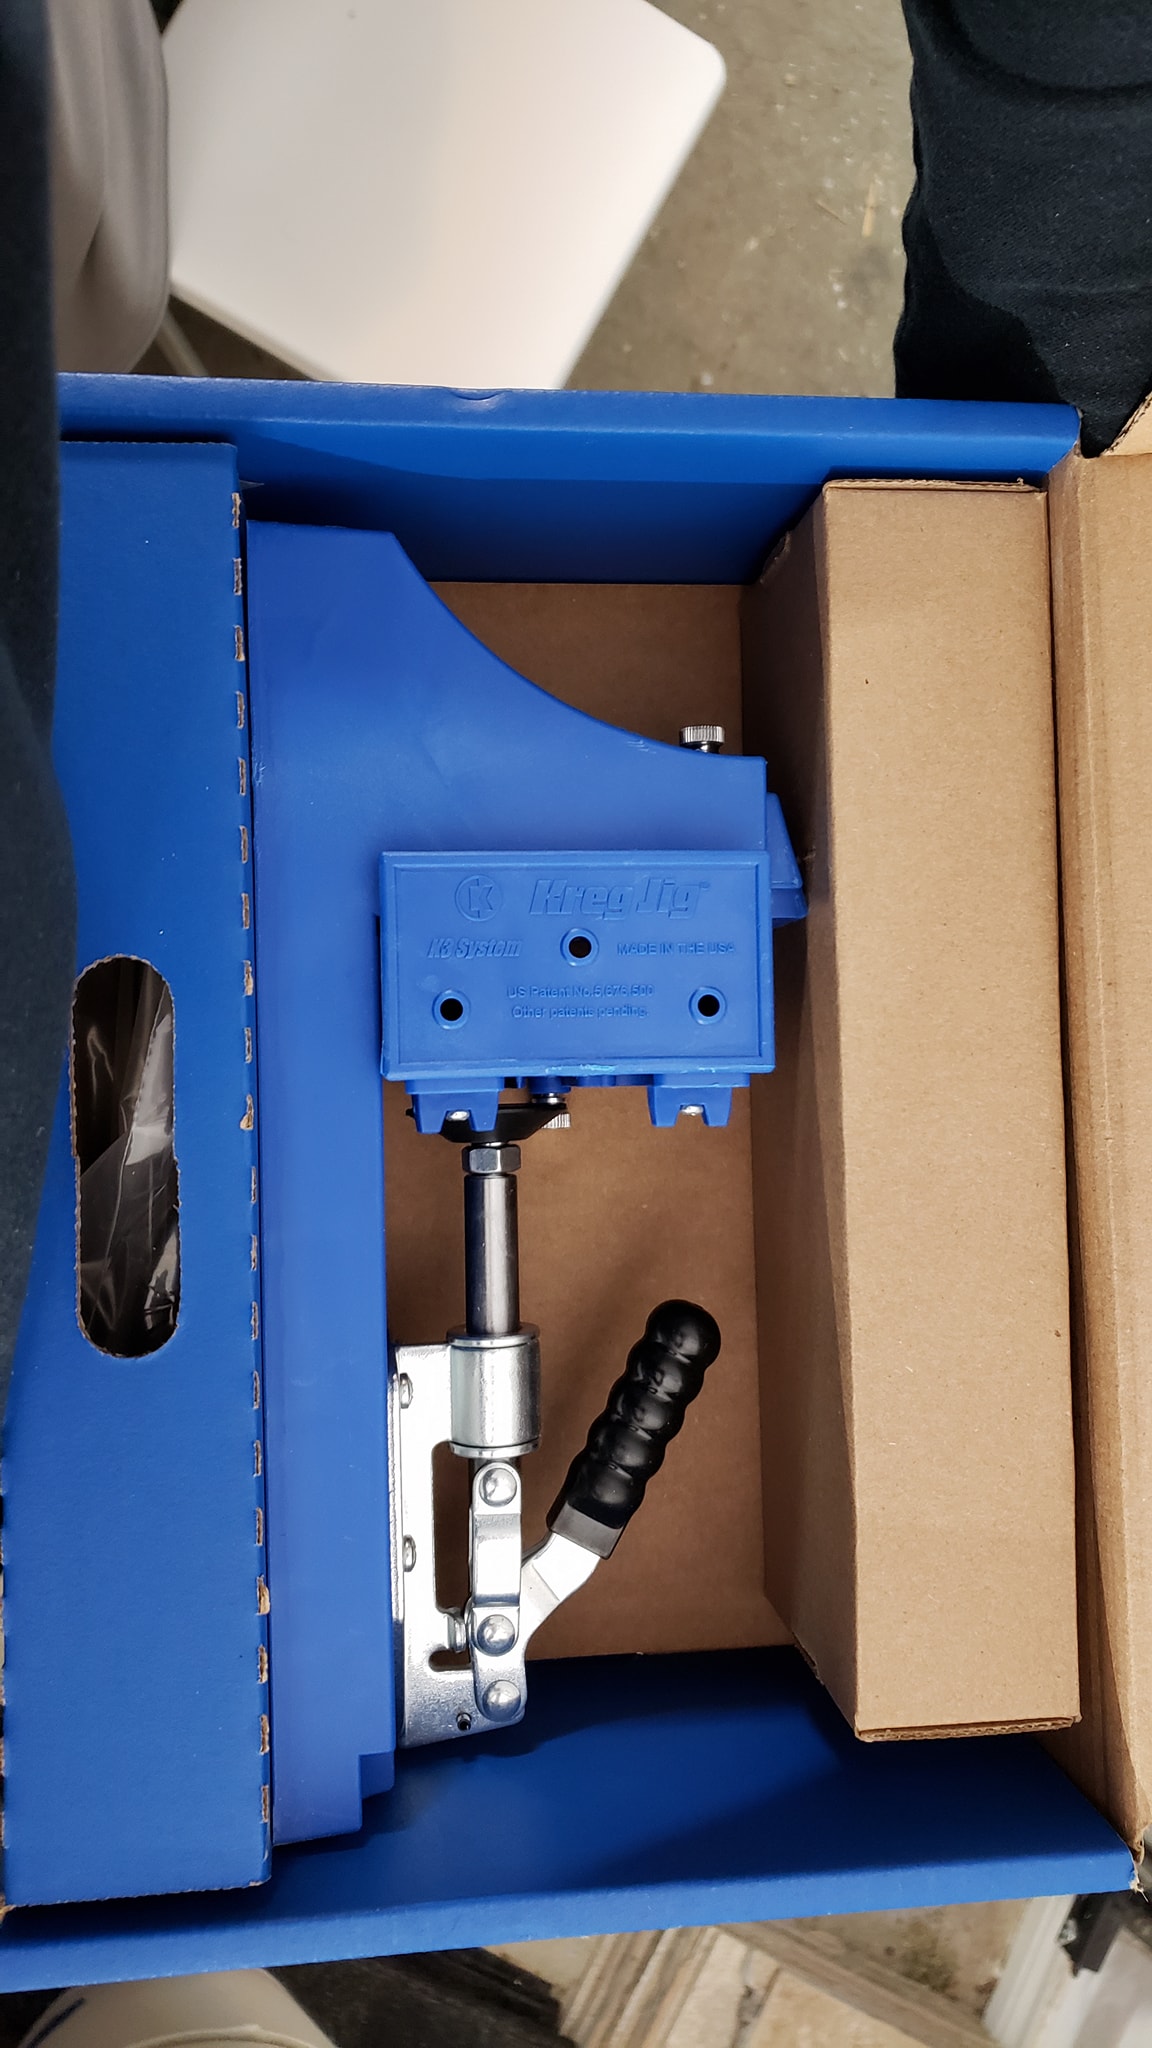 I paid $90 for the Kreg master system on clearance from Lowes back when Kreg discontinued it to launch the 5th version last year. I was worried I wasted my money, but this thing ended up SOOOOO valuable to my project. The clamp it came with was much needed, but some of the other master system extras (like the vacuum attachment) are laughably useless in my opinion. 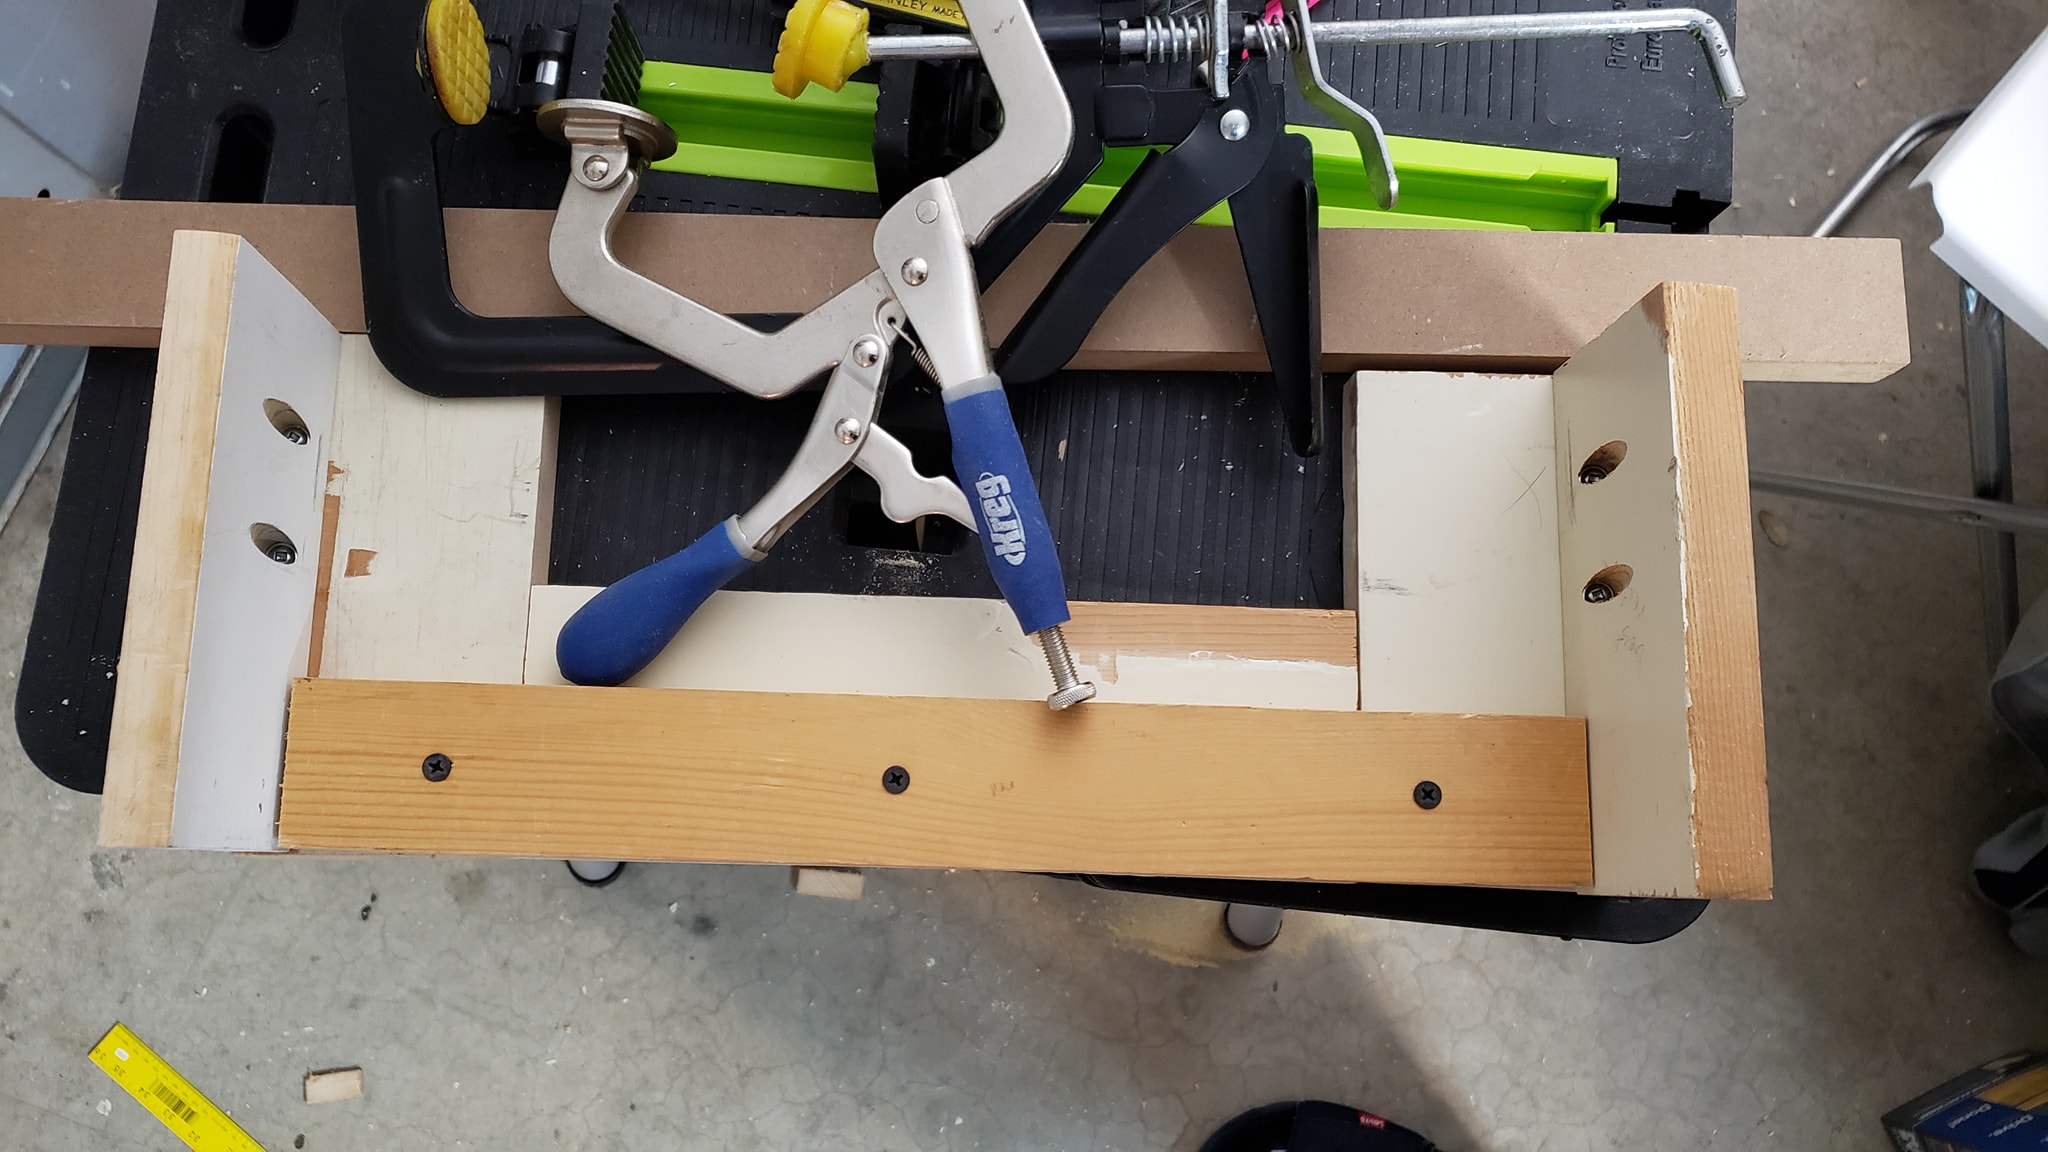 I know professional woodworkers look down on pocket holes, but my gosh... these were so much better than anything else I would have been capable of doing by hand. My only power tool on this build was my drill. 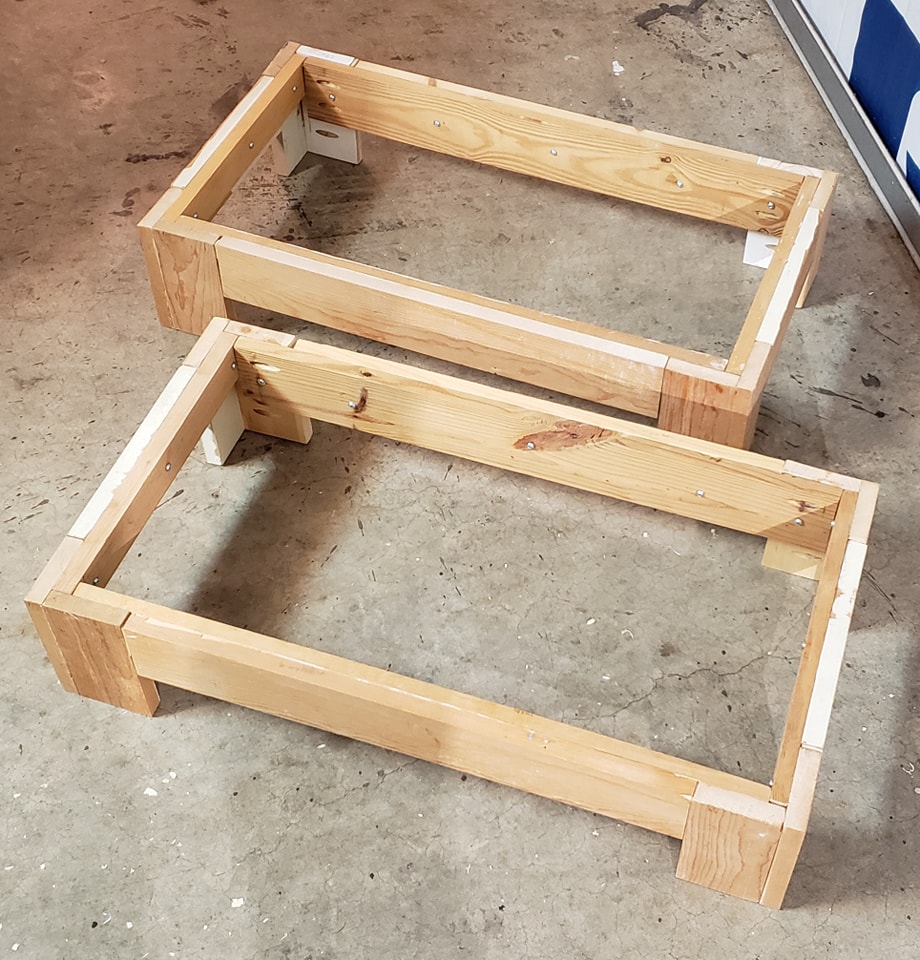 All screwed together and ready for the next steps. Both front sides are facing the camera in this pic. It's impossible to tell, but every exterior front, left, and right facing piece of wood was old growth pine of some kind from someone's previous project, except for one piece of some other kind of wood I had to use for 1 outward facing leg. The rest of the wood was completely random scraps of variously different types. I beleive 1 piece was possibly cedar because it smelled like the rodent area in Petco when I was sawing it lol. 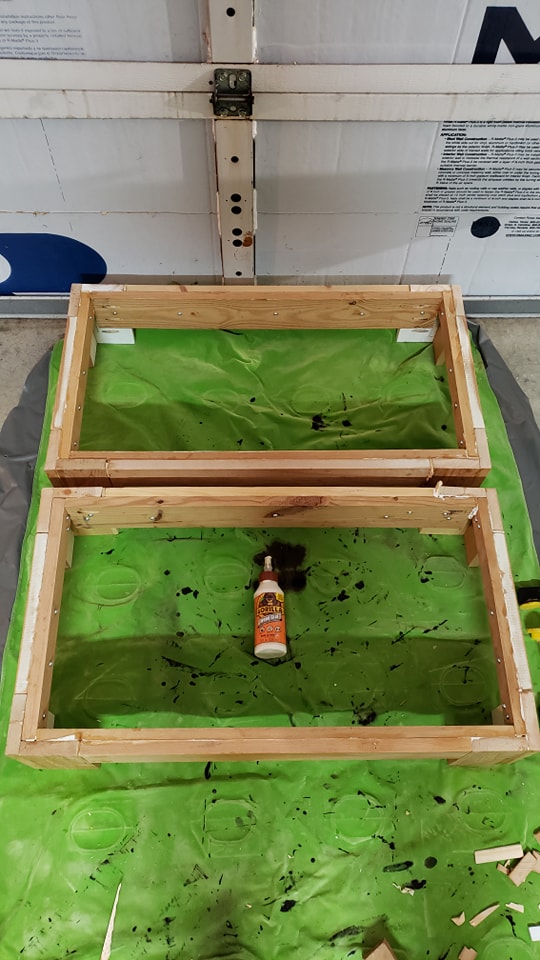 I disassembled both completely and filled every gap with a shim that I'd hand cut from more scrap. I then did the glue up and screwed them back together. These smaller bottles of Gorilla Glue are such a pain to squeeze! I highly recommend getting the bigger bottle! 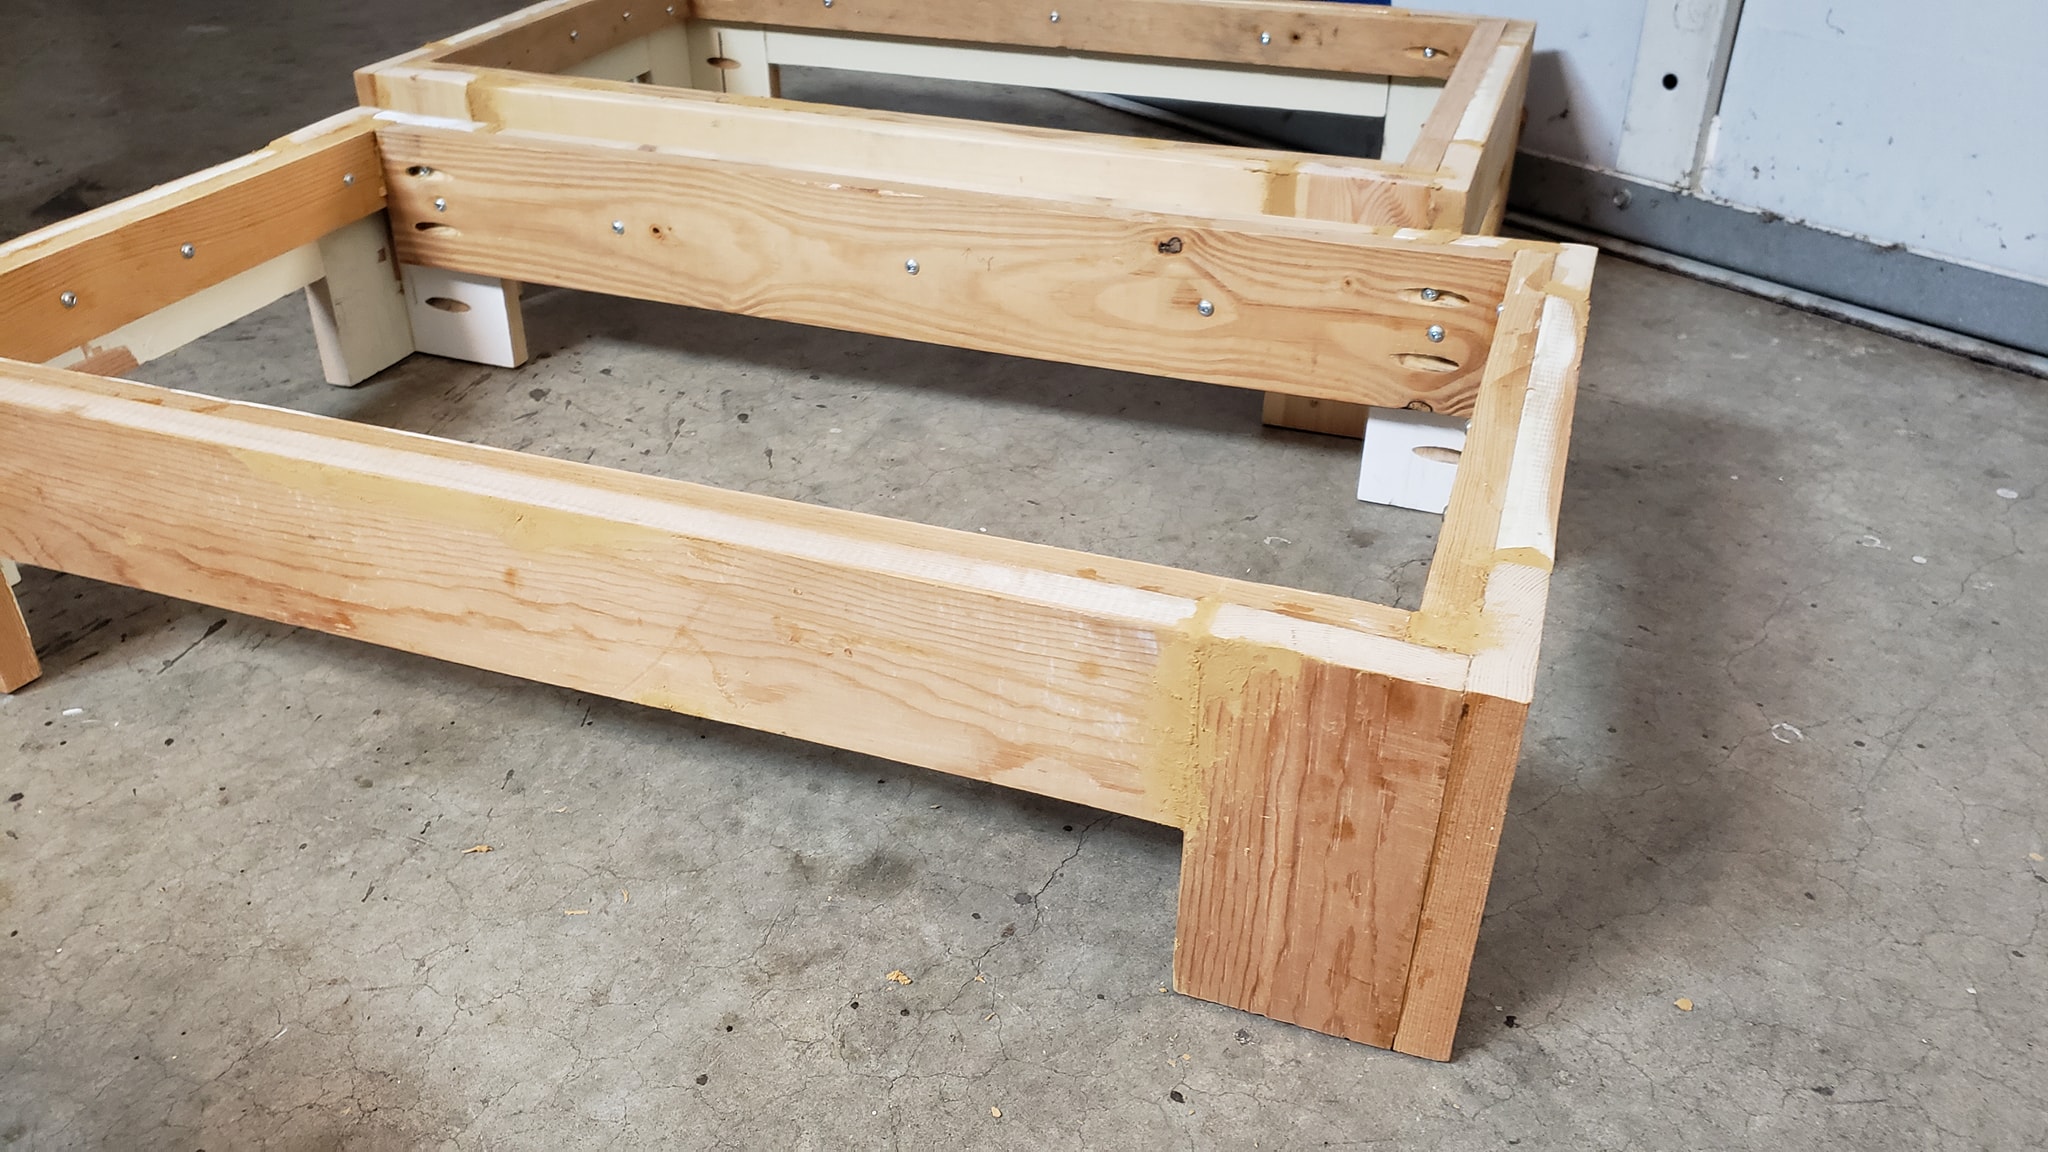 In this pic I have some Plastic Wood wood filler applied. (I regretted filling the gaps between the boards on the exterior, because it looked so artificial). Since I used so many random types of wood (and don't own a power sander), I knew I would never be able to stain the wood to match the (what I assume to be) oak veneer on my armoires. I know pine is known to take stain in weird ways too, so I didn't want to have to spend a bunch of money on various shades of stain, conditioner, and sanding equipment. So I decided to take advantage of my painting experience and give the wood a faux wood appearance. 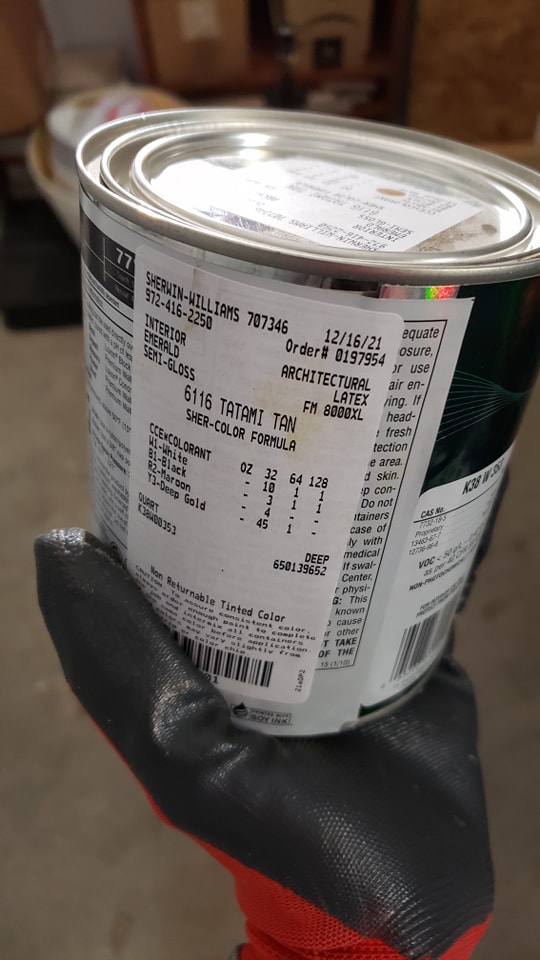 This is the color of latex paint I used for the base color: Tatami Tan. 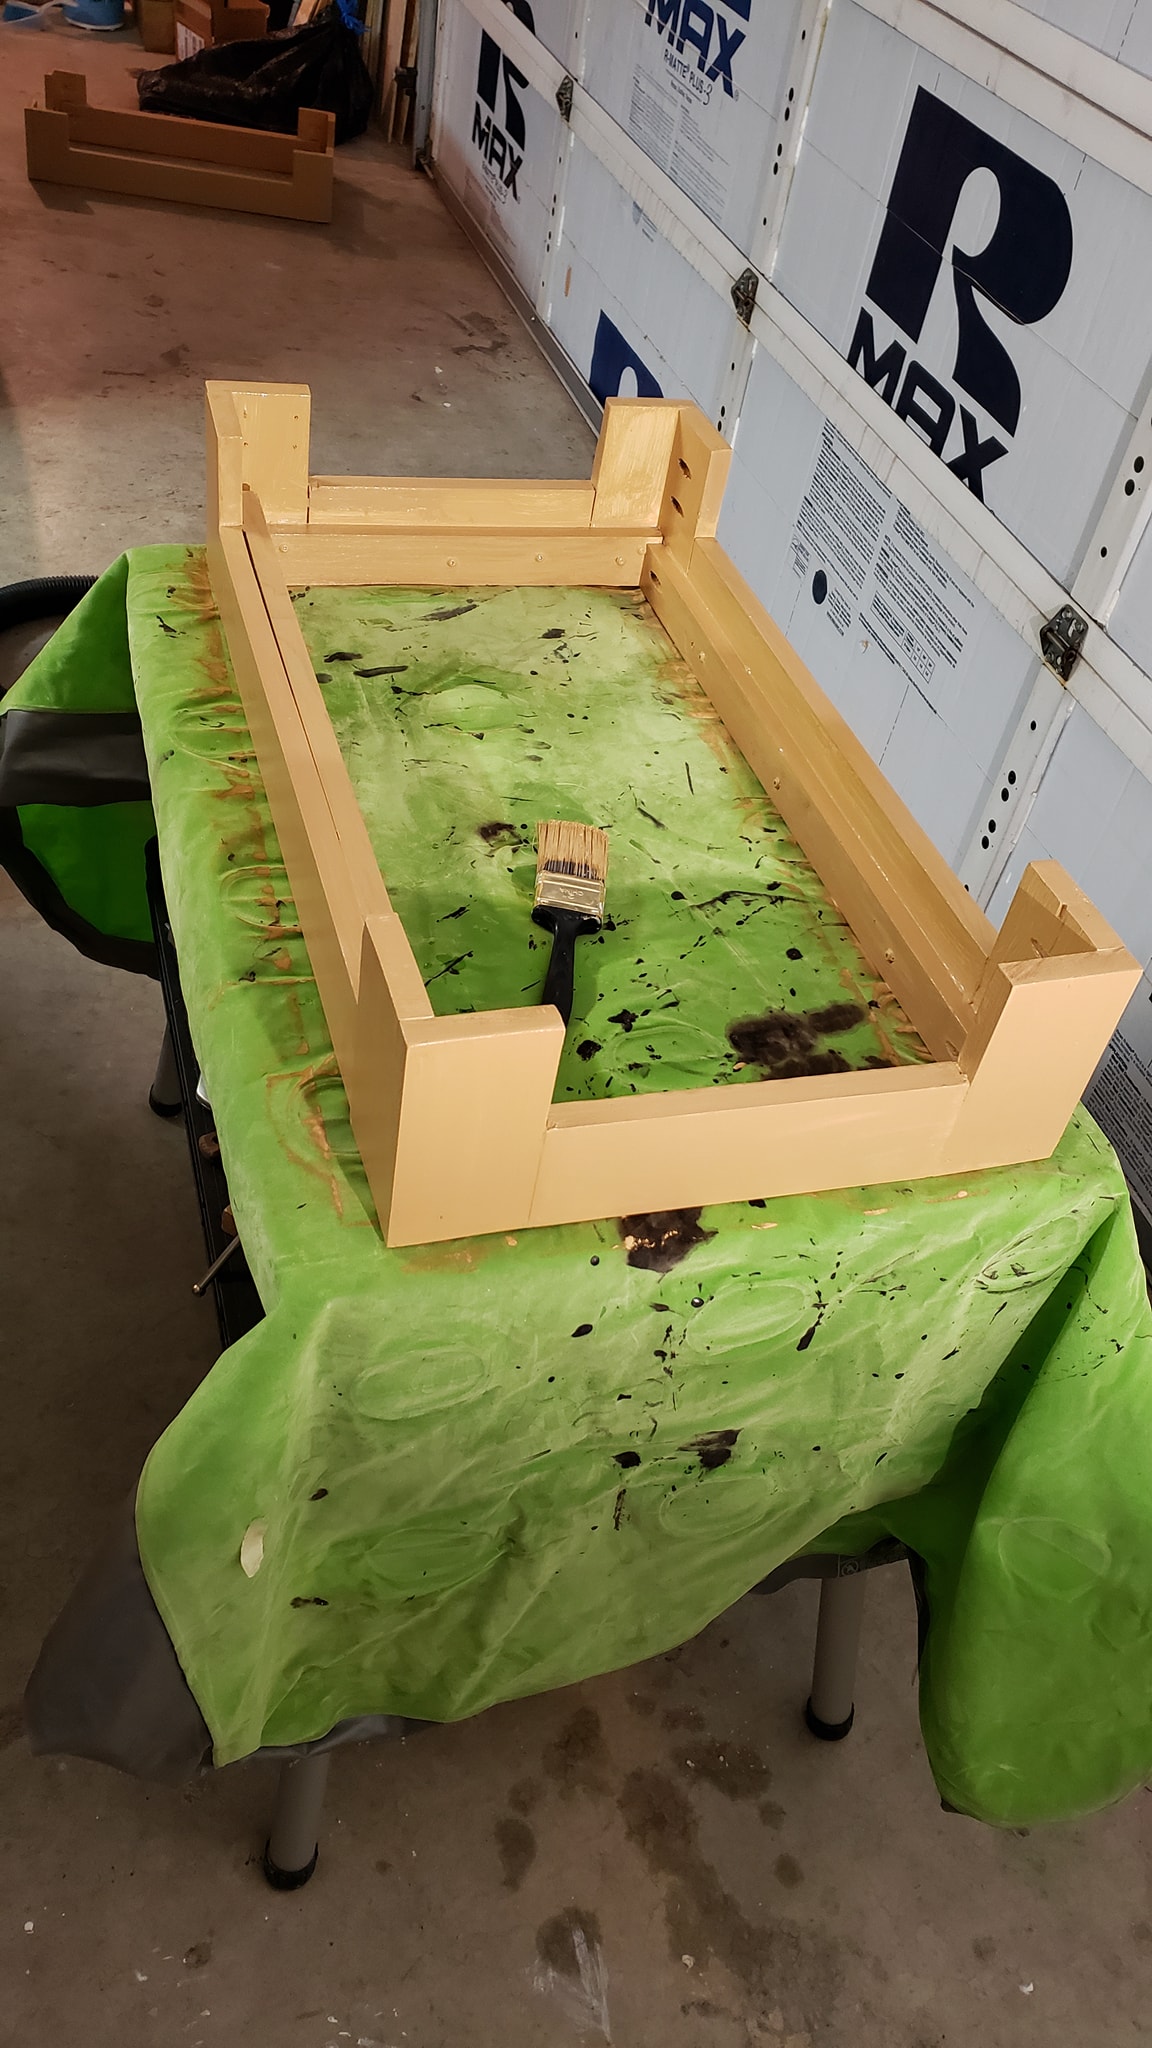 First coat of paint done. 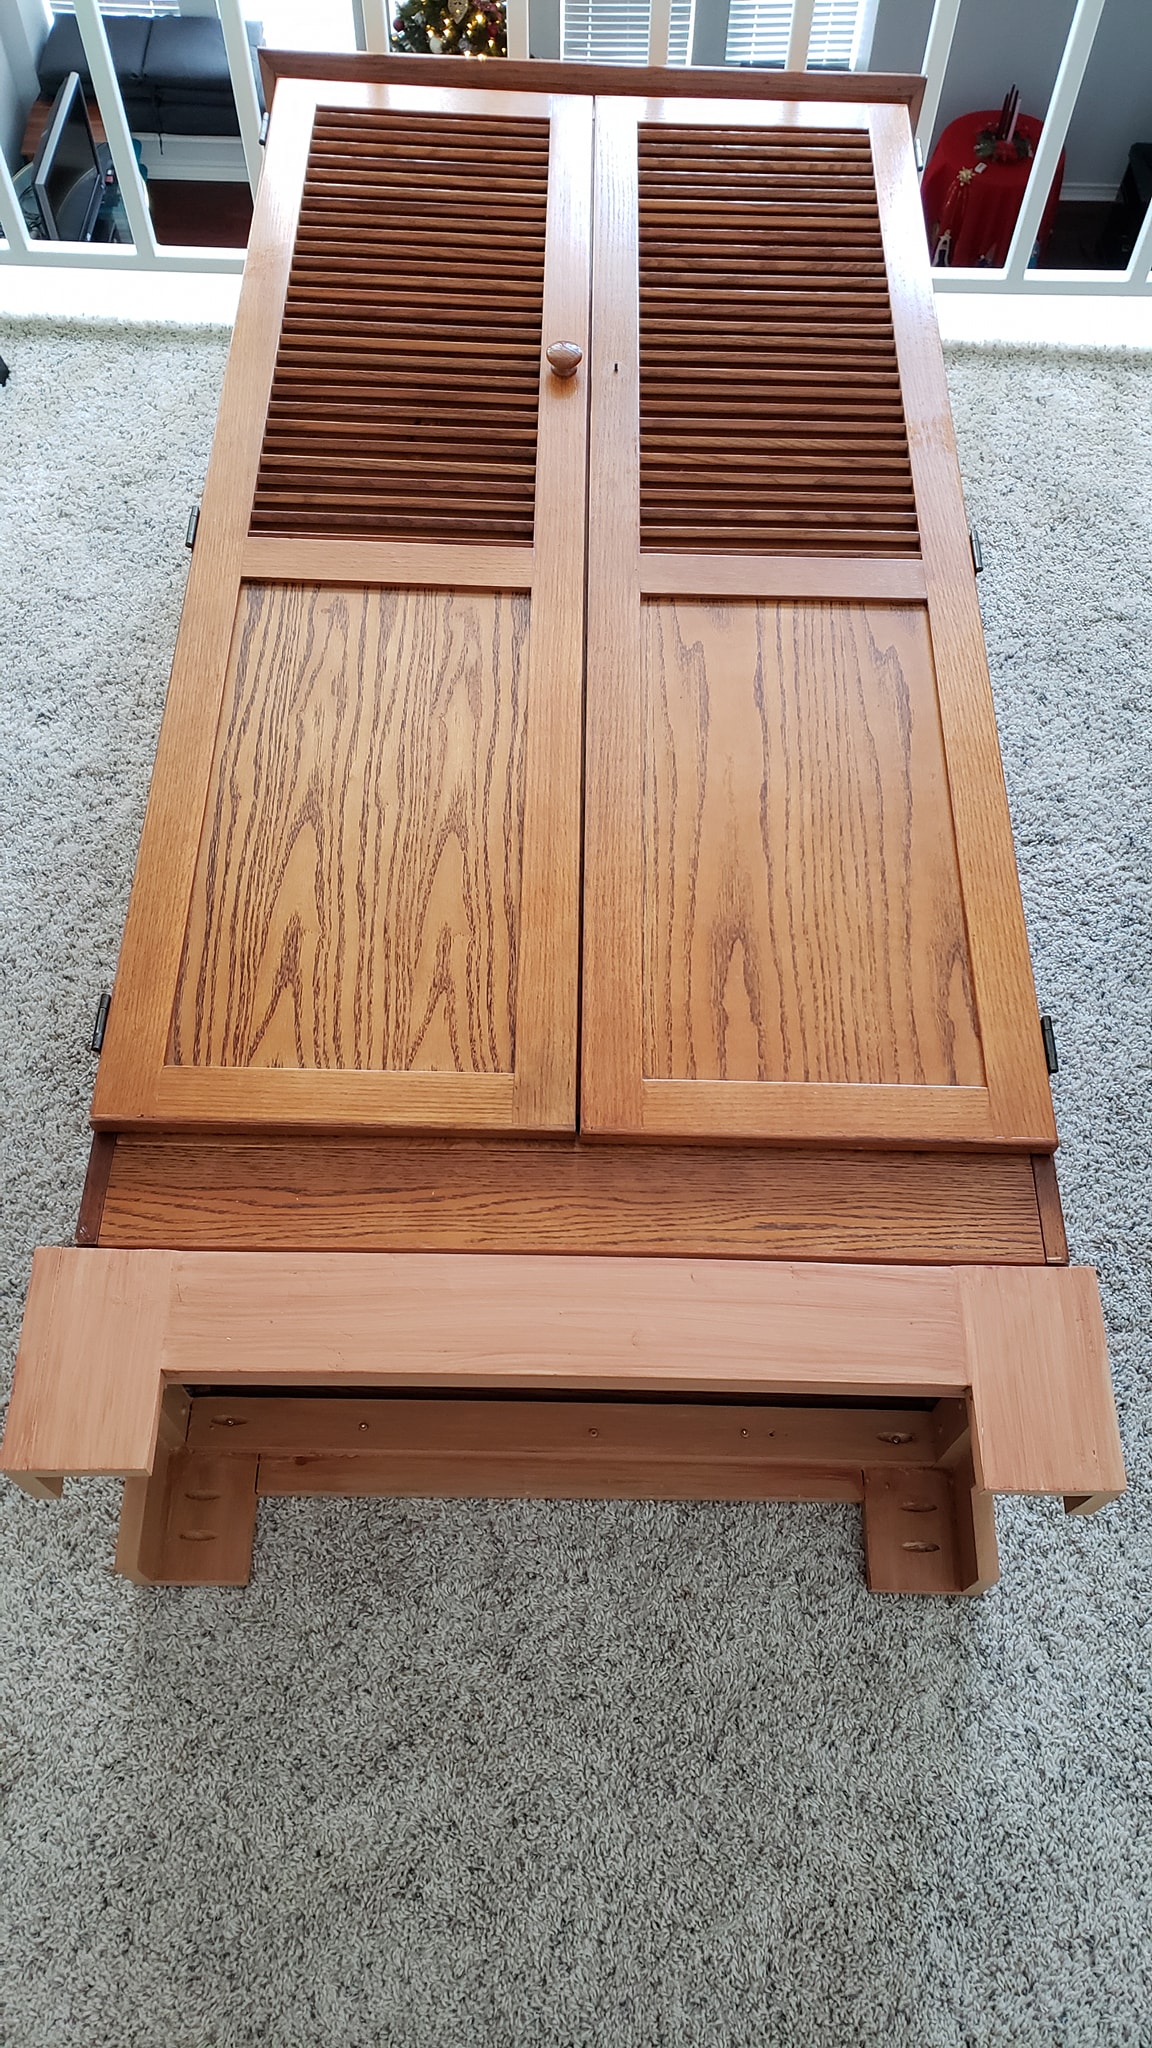 I did 1 layer of glazing, let it dry, and checked how it matched one of the armoires. Here's a pic of that. For this first layer, I mixed burnt sienna acrylic paint + water + glaze. 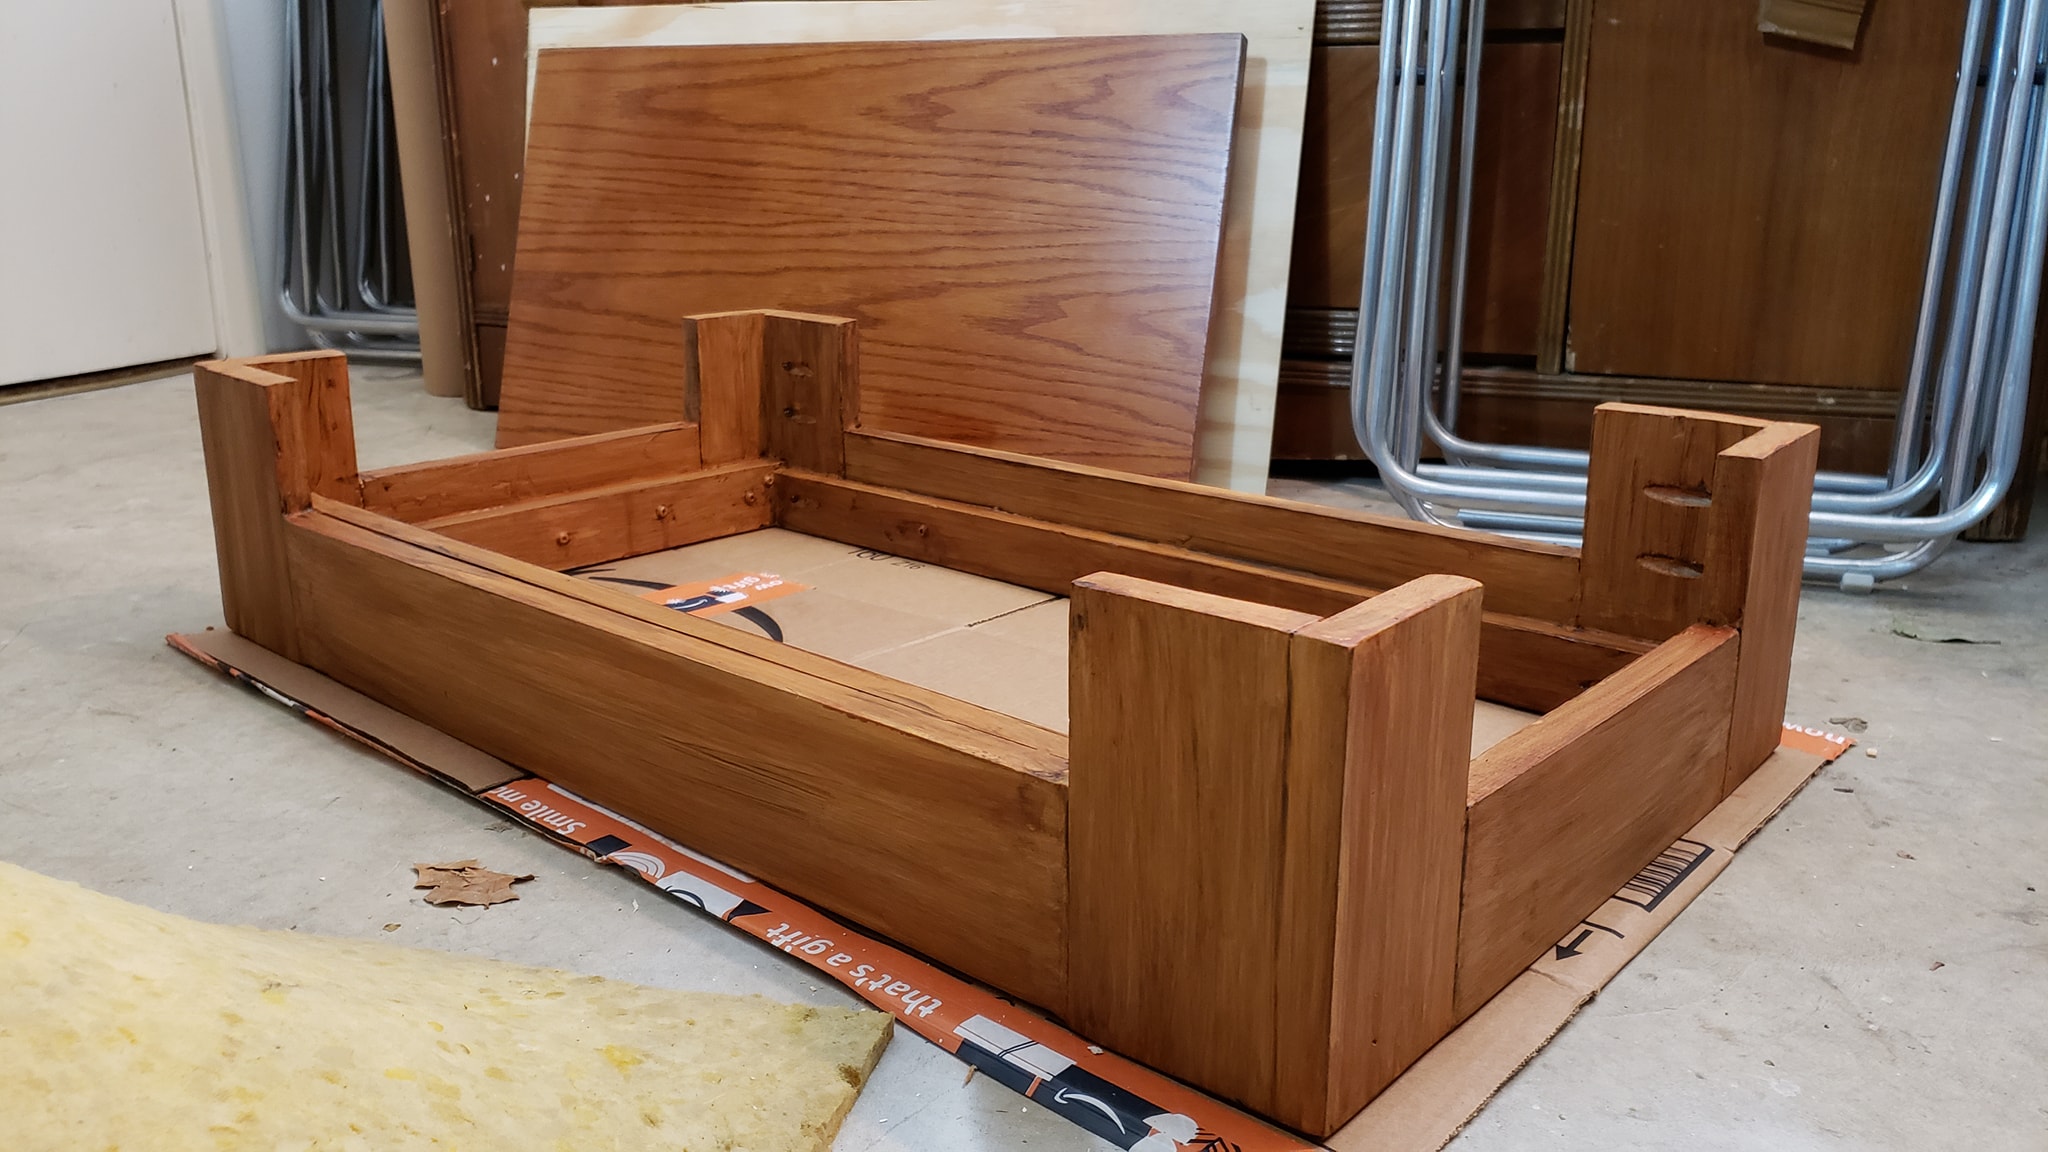 This pic has 1 or 2 more layers of burnt sienna glaze followed by 1 layer of black & burnt umber glaze (including fake gaps I drew in between the pieces of wood to make up for my disappointment with what I did with the wood filler). 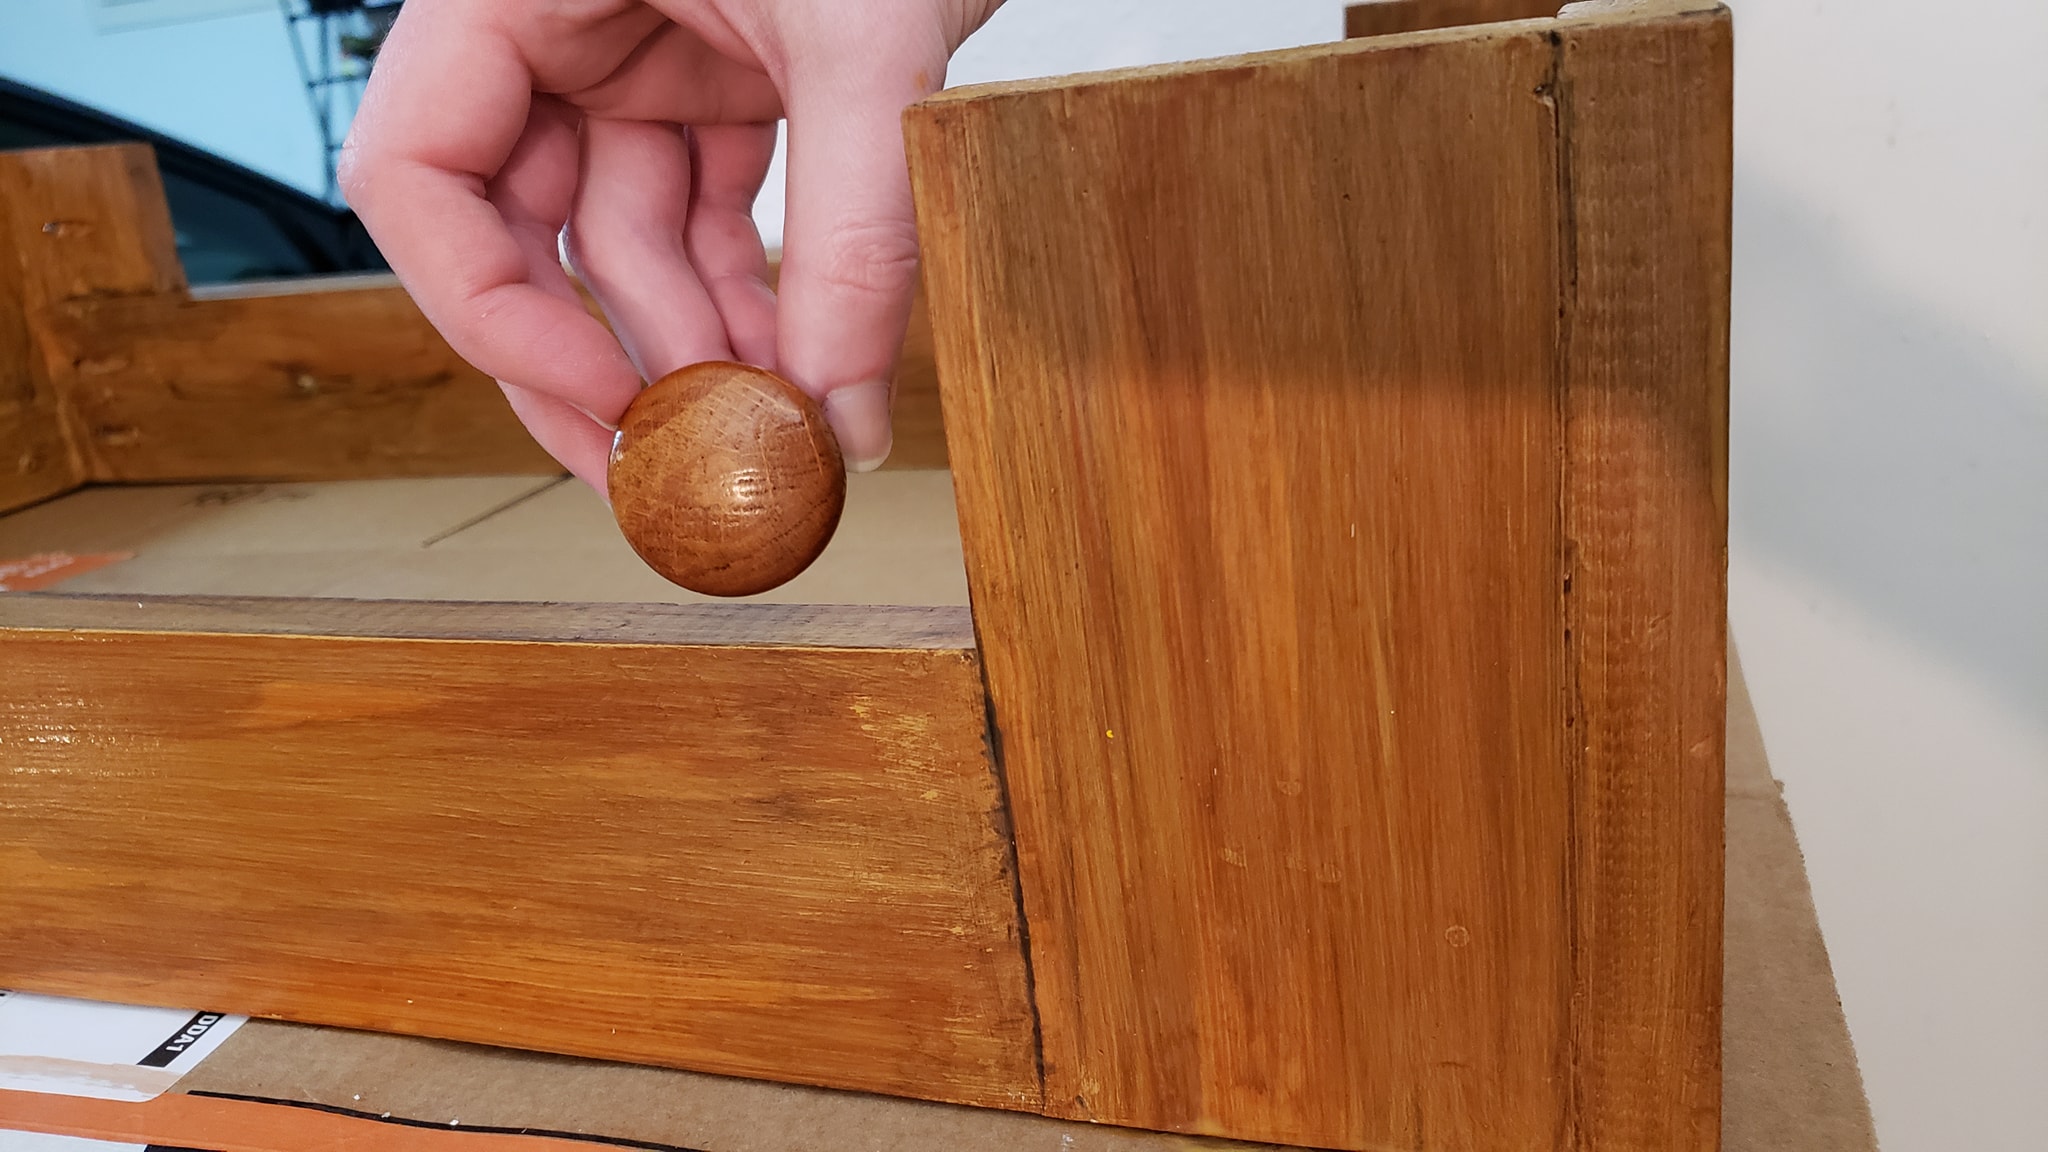 Pretty close, but I took a platform inside (no pic of this) and discovered the platform wasn't yellow enough.  So I did a glaze of mustard yellow, but it took it too far from the color, so I needed to do more layers. 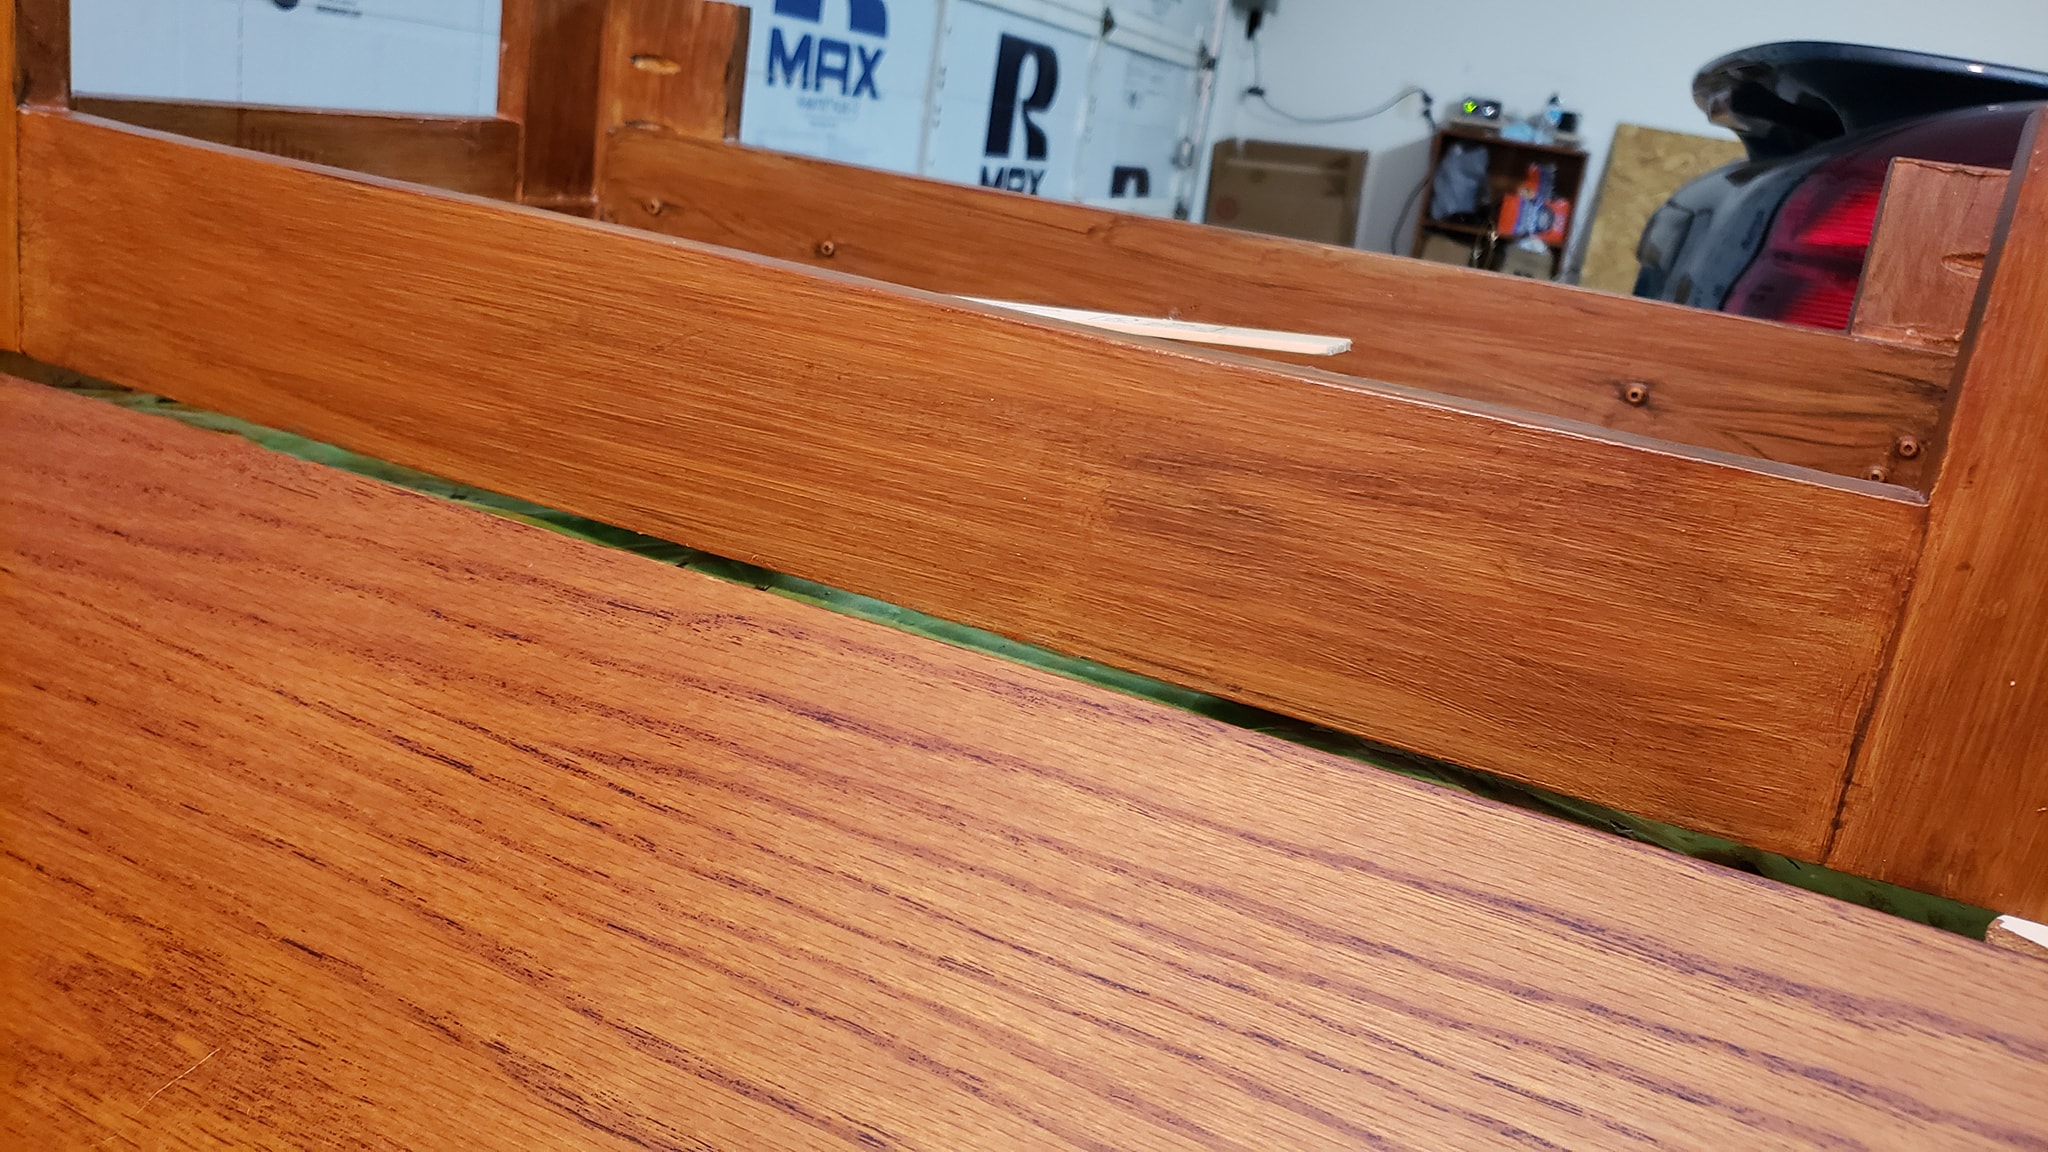 I did another layer of burnt sienna (a different brand of acrylic that was less reddish) glaze and I thought I got a pretty good match with one of the shelves from an armoire. 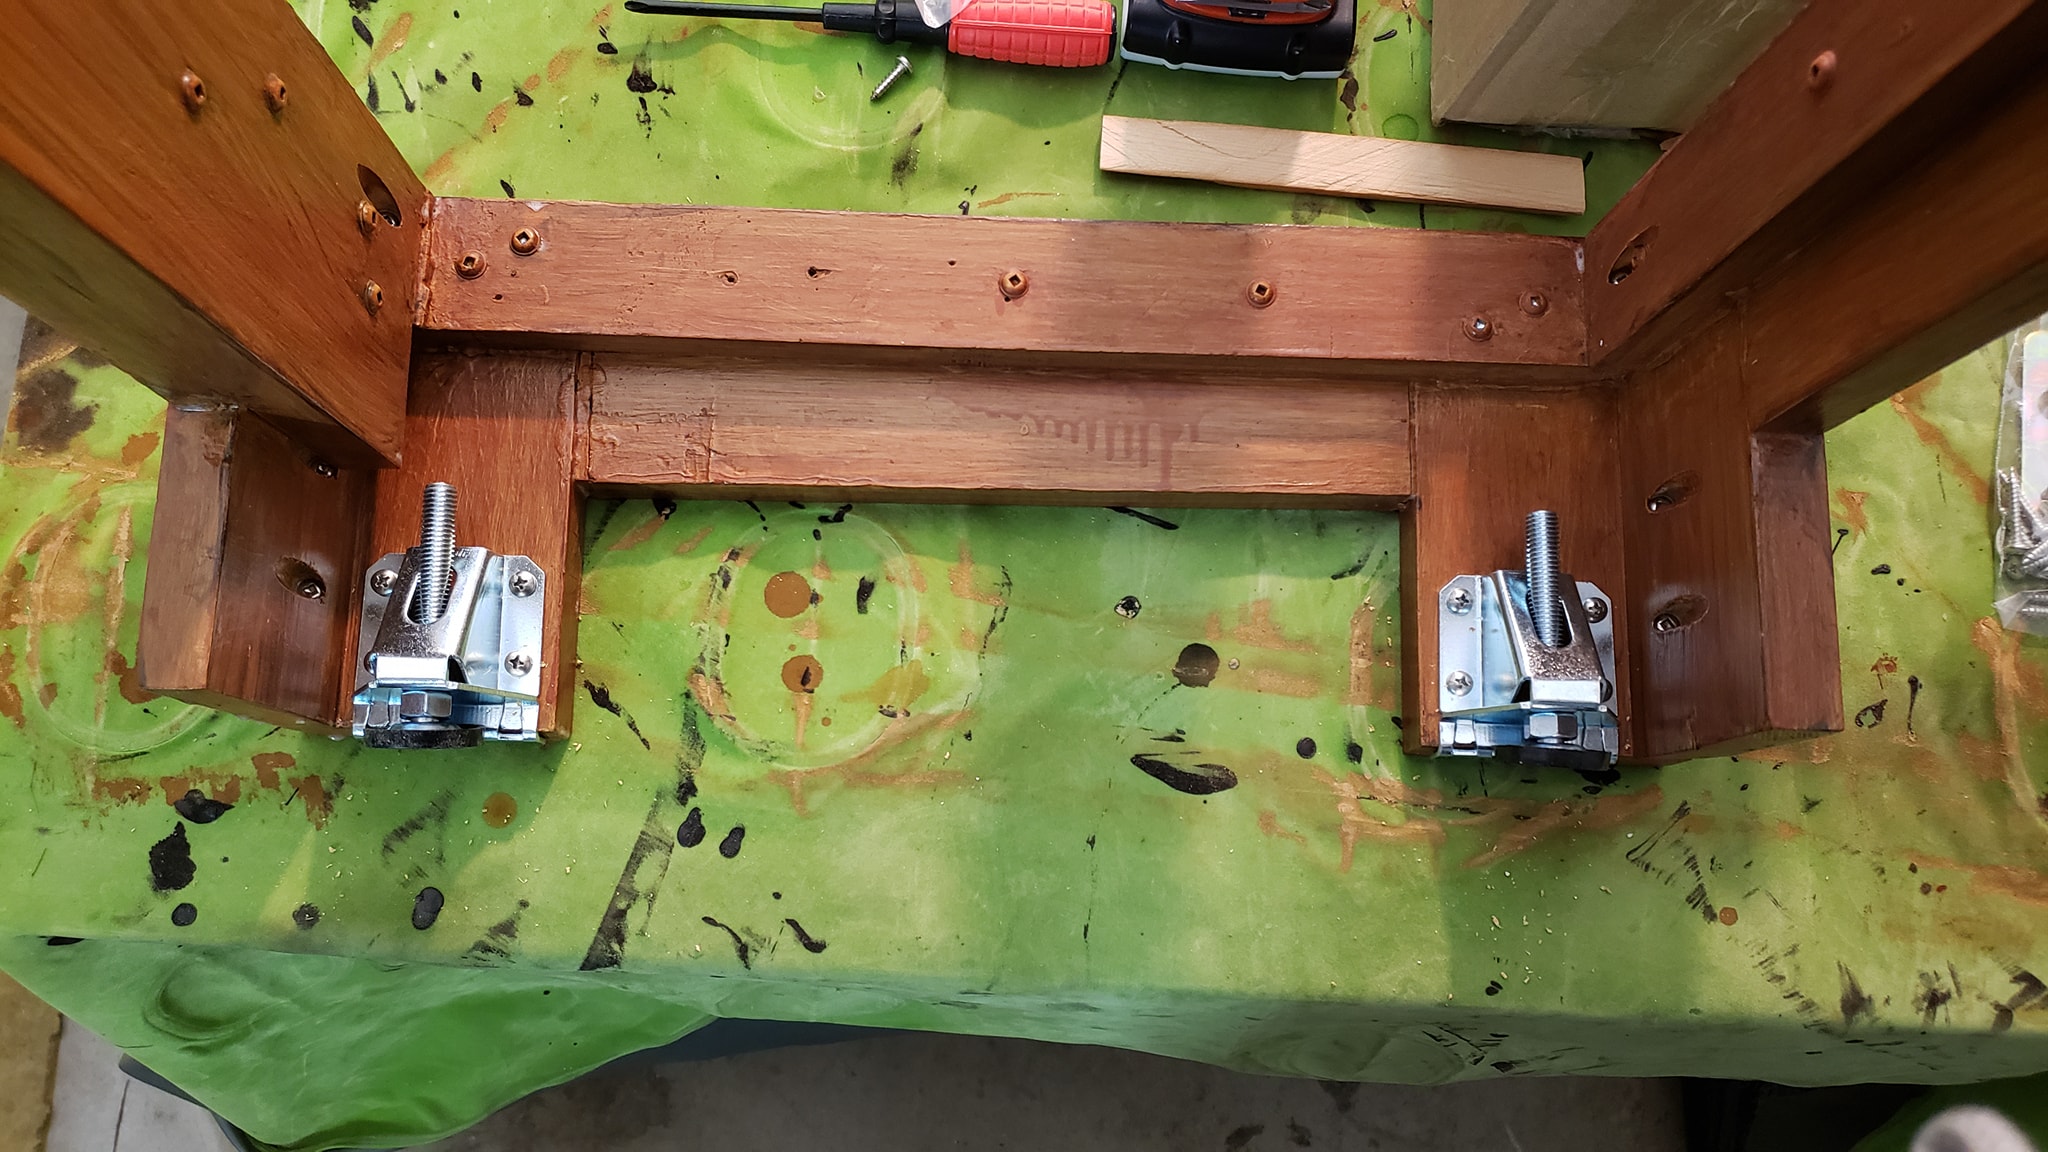 After 2 coats of satin water-based polyurethane had dried, I attached some heavy duty leveling feet I bought off Amazon. I did this, because I wanted to make sure the armoires wouldn't rock... but also... I wanted to make sure they didn't lean either.  All finished, finally, after around 2 weeks of working on them. 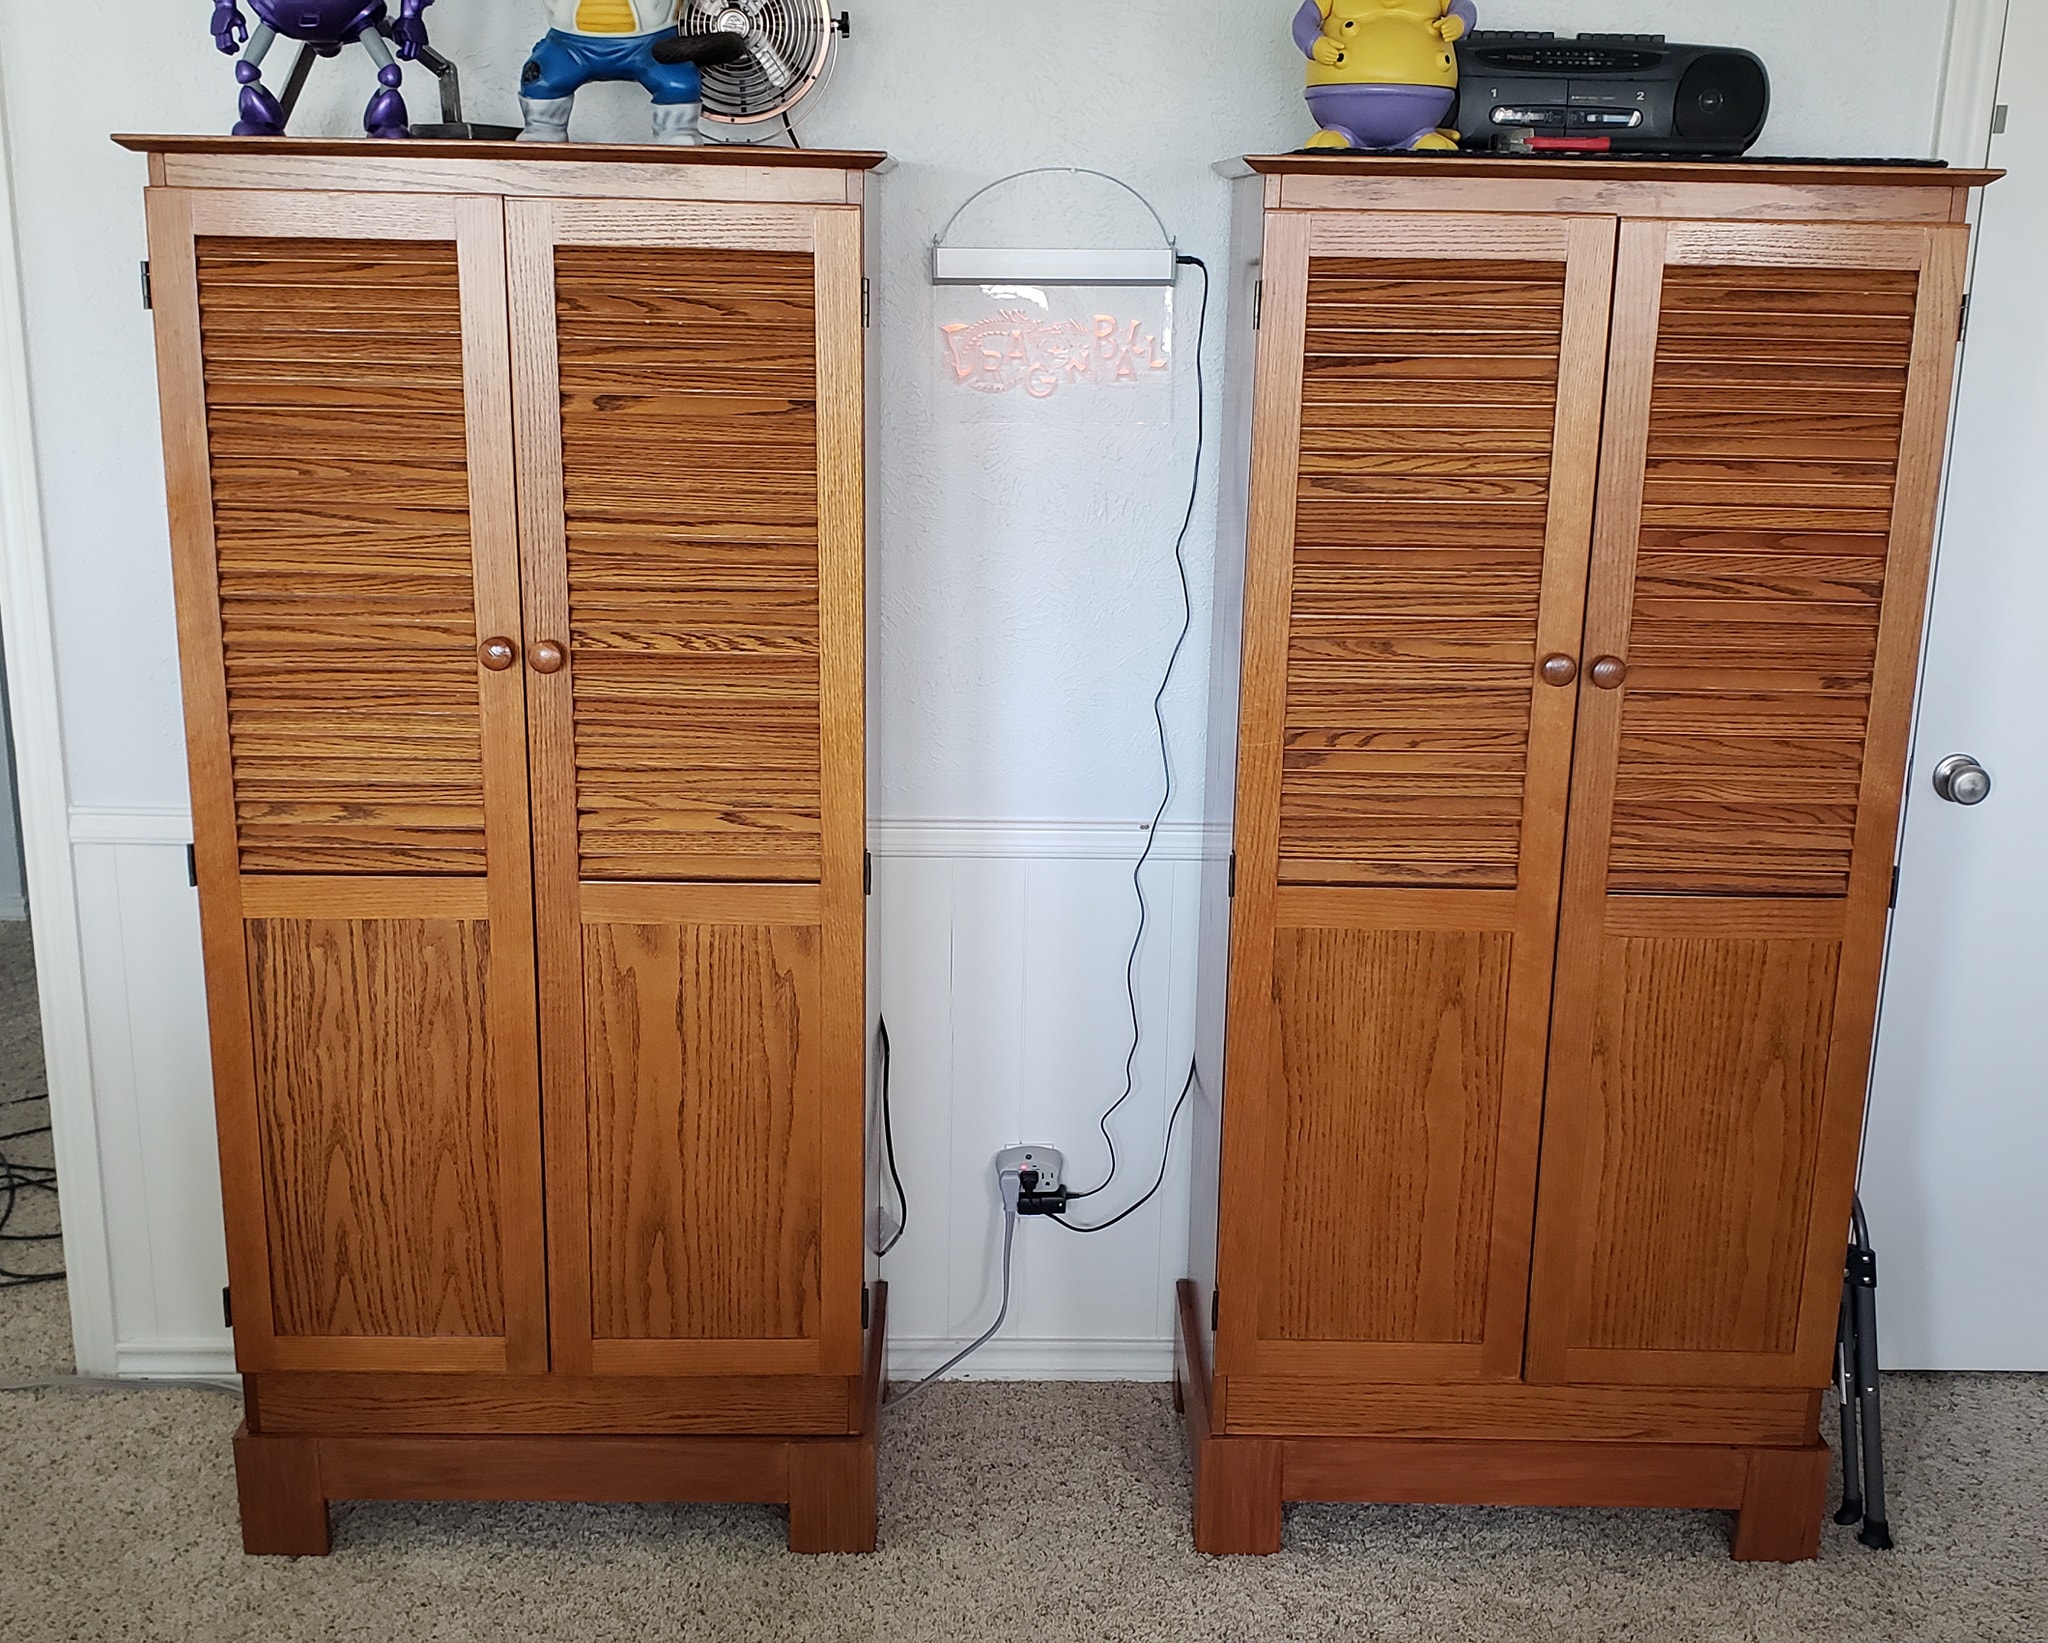 Both armoires set on top of the platforms and with the feet leveled. 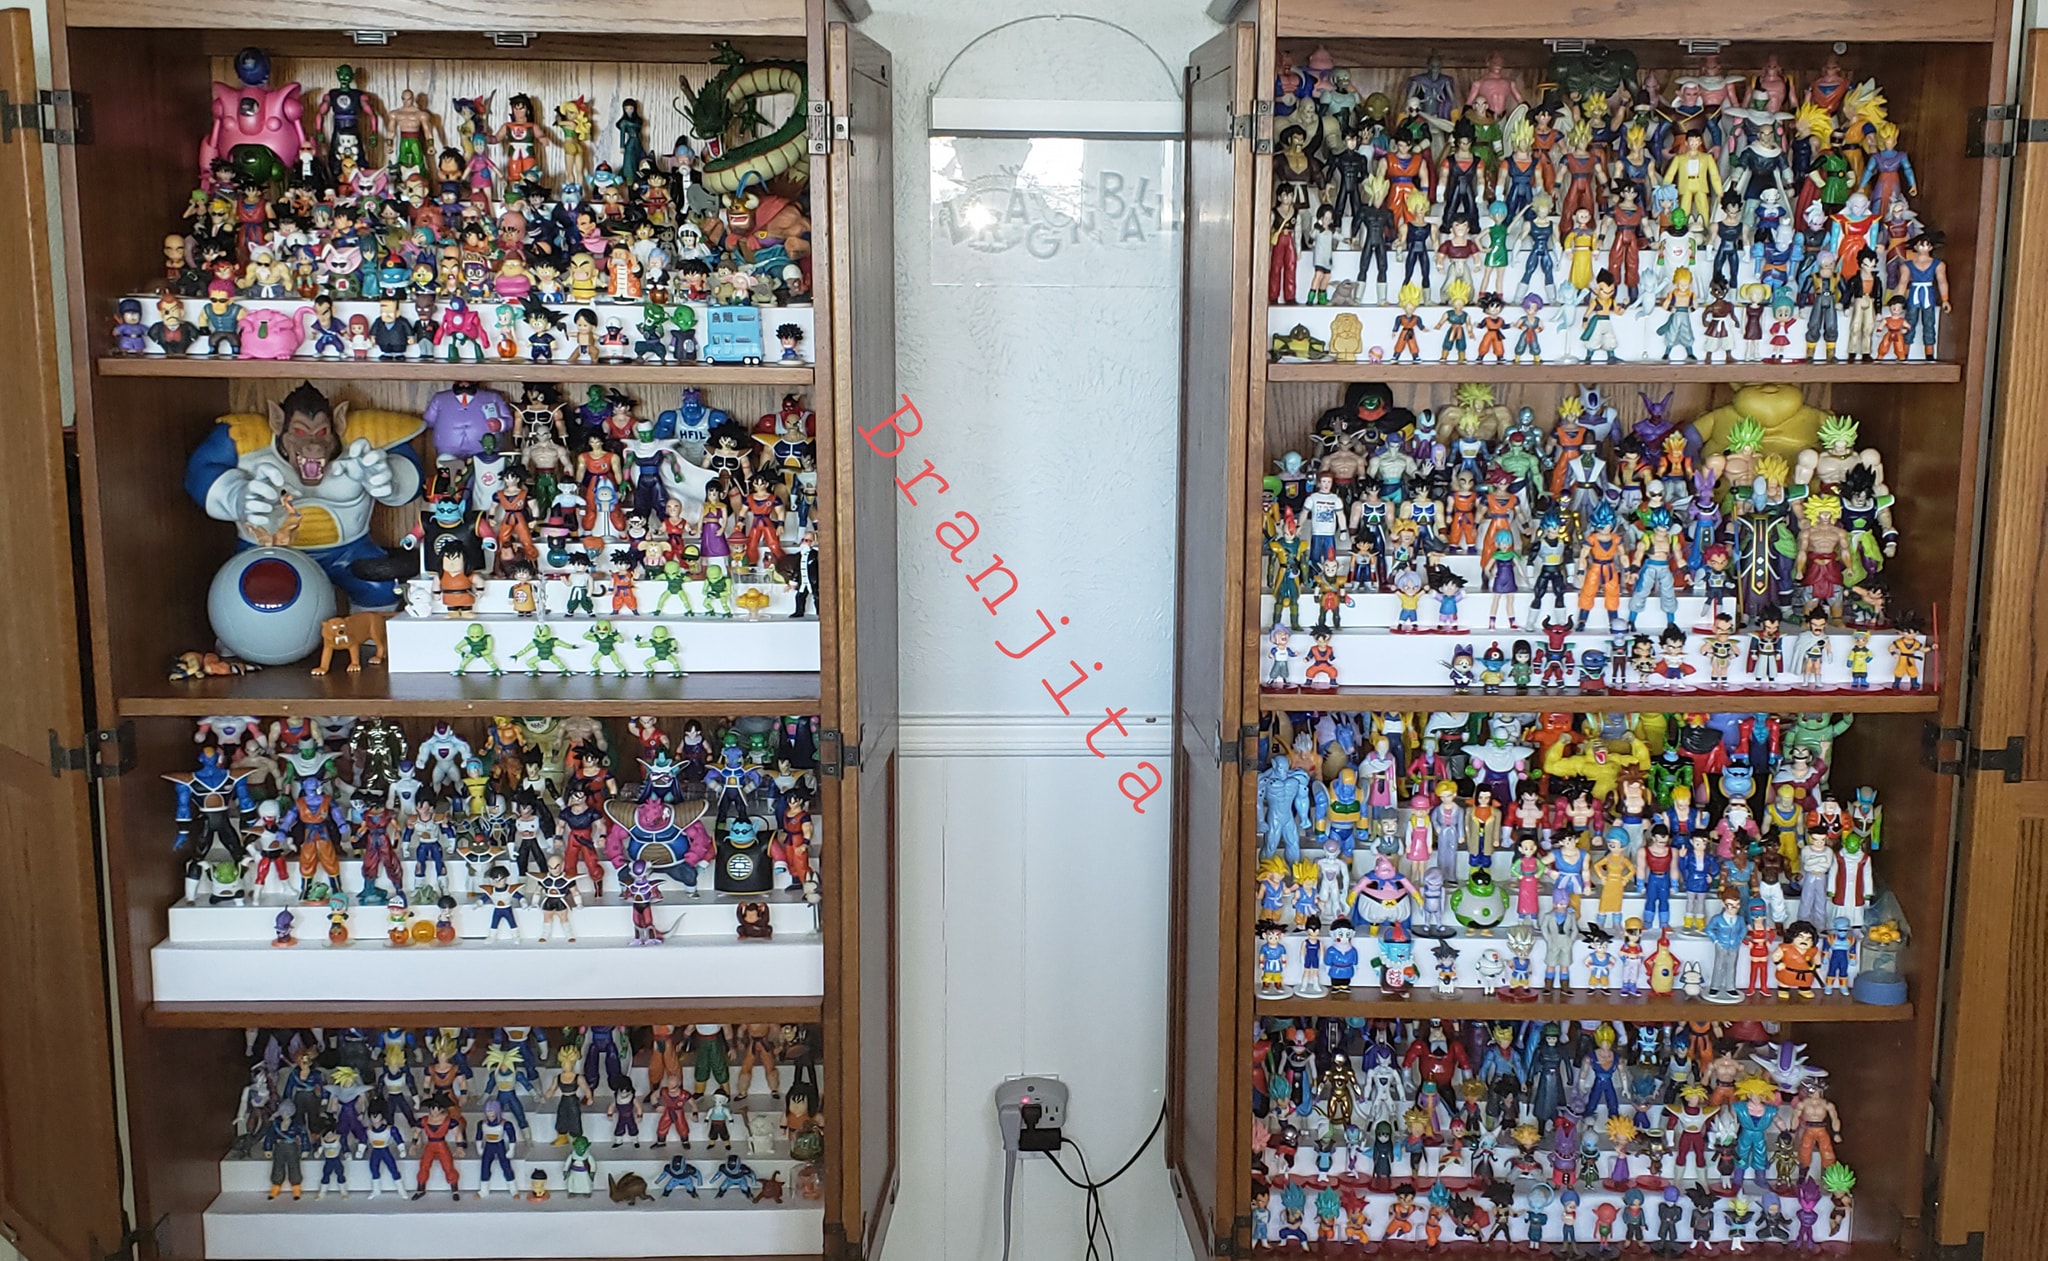 And finally... with my DragonBall collection inside. <3
|
|
|
|
Post by Branjita on Jul 30, 2023 14:50:45 GMT -6
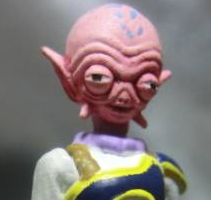
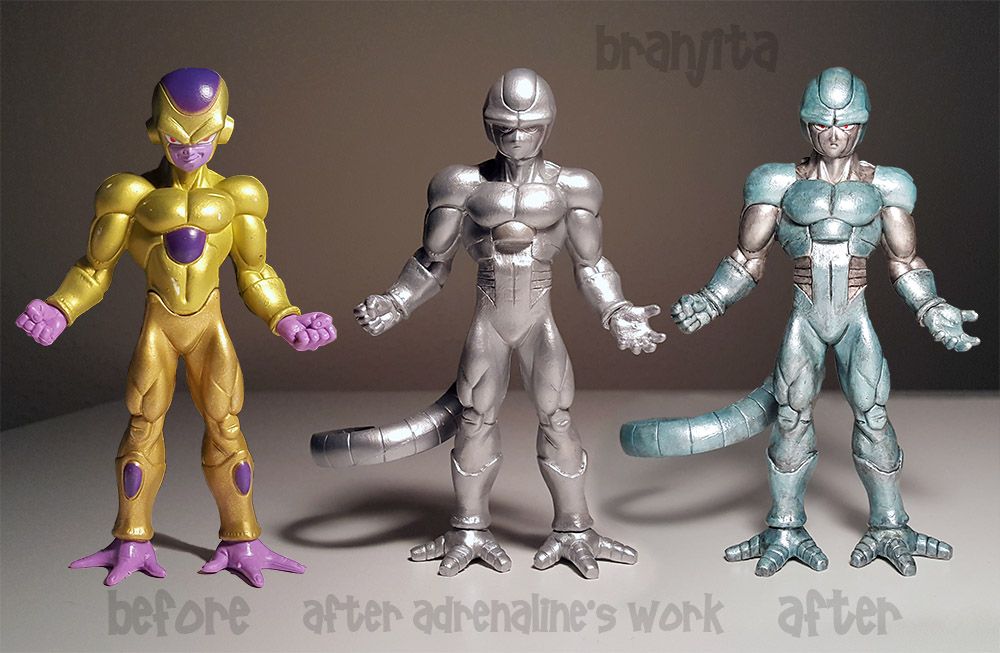
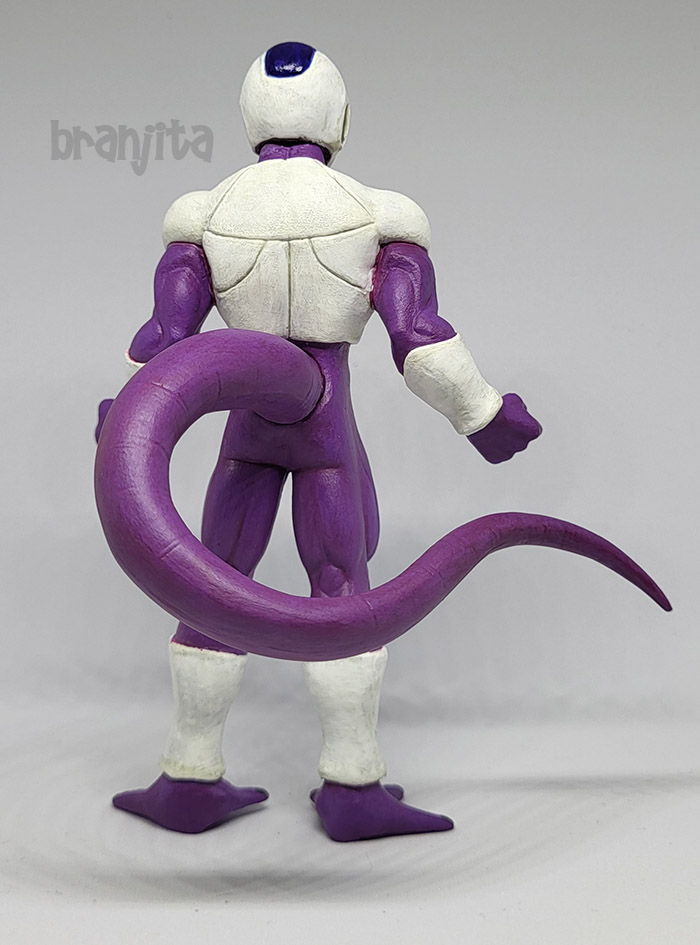
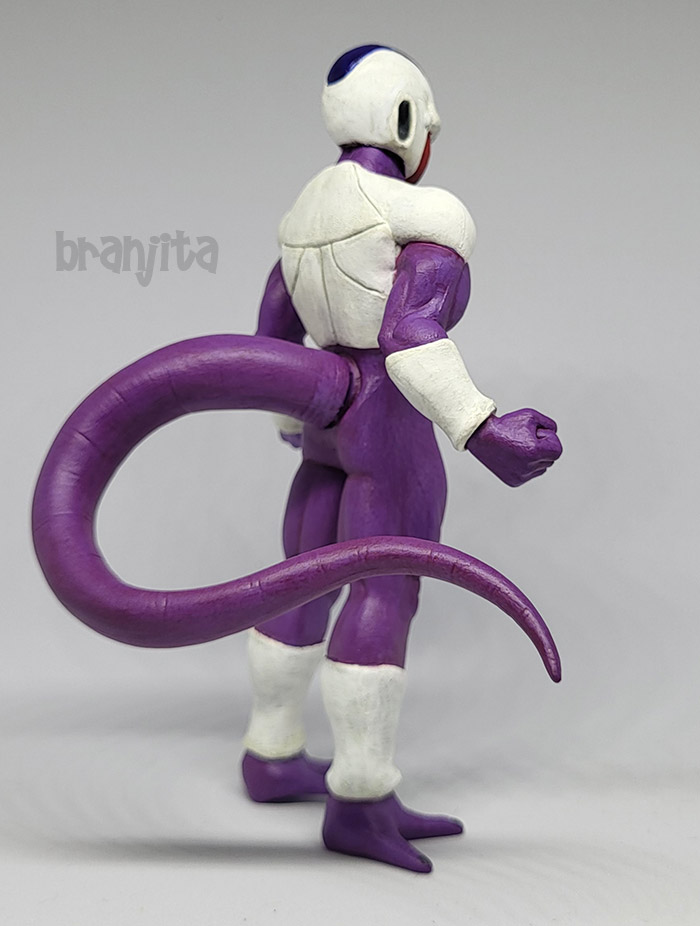
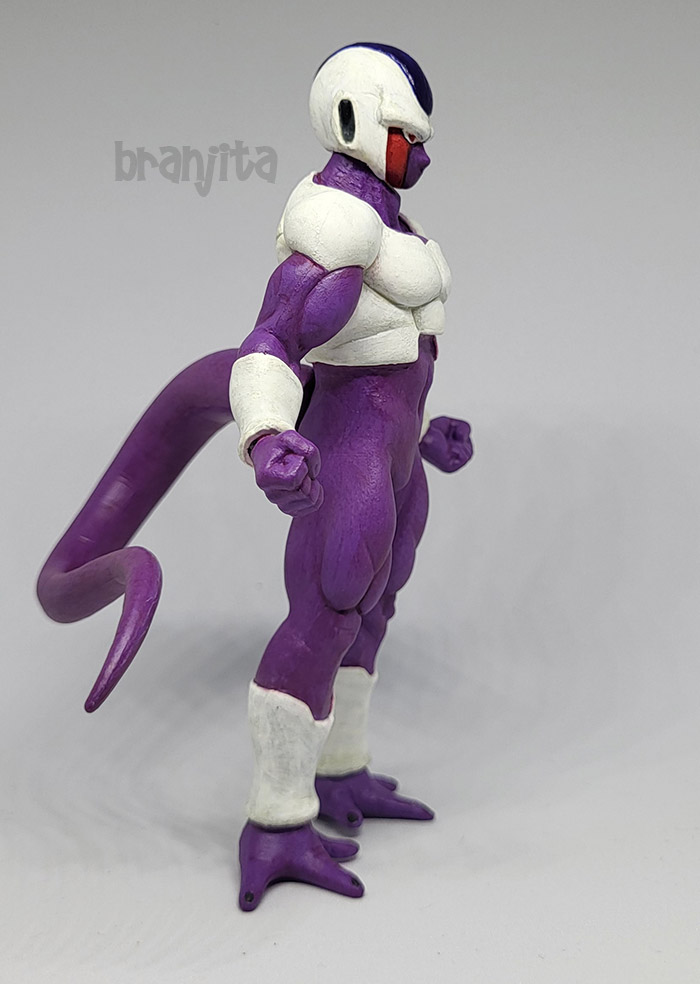
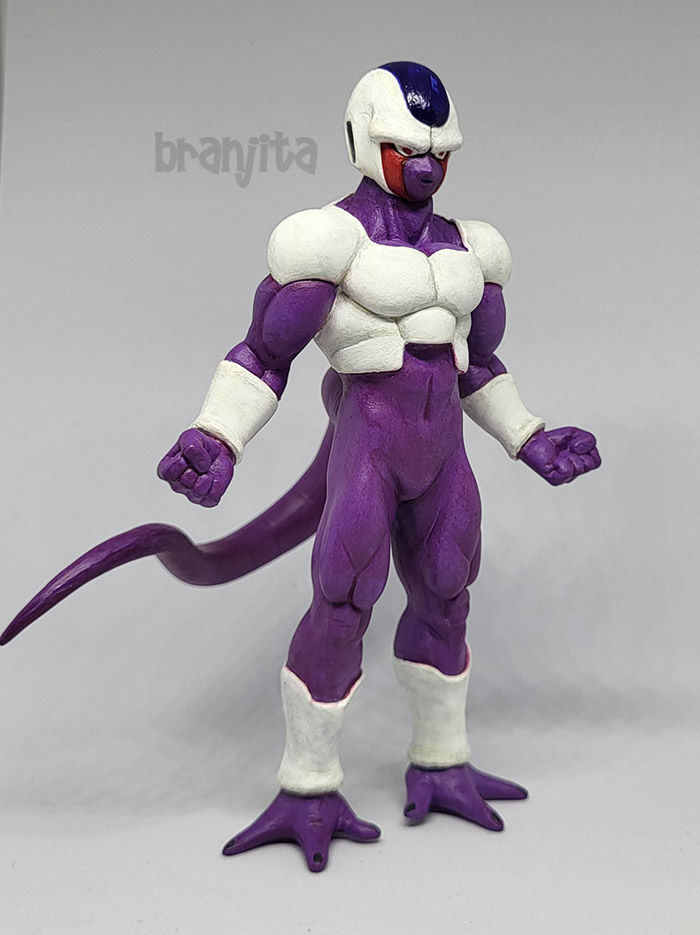
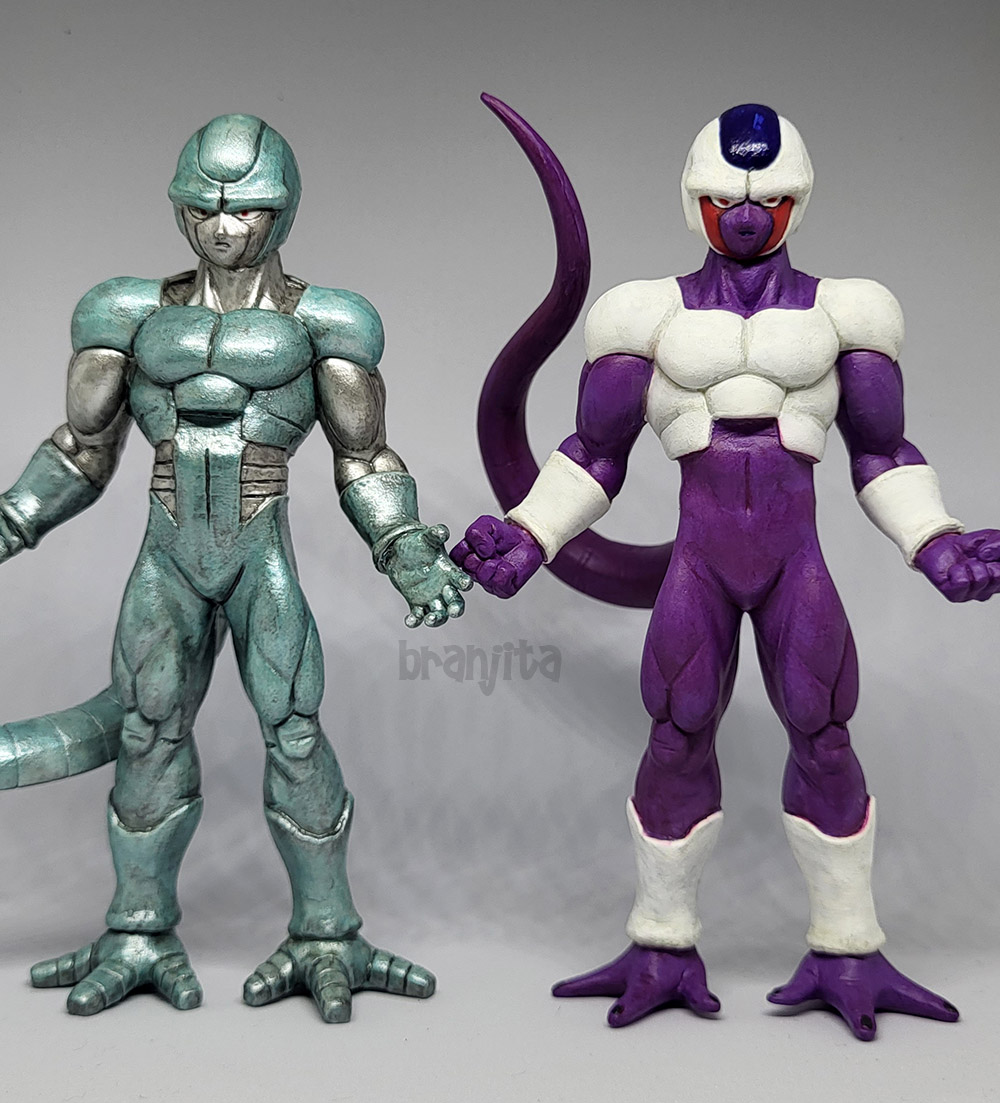
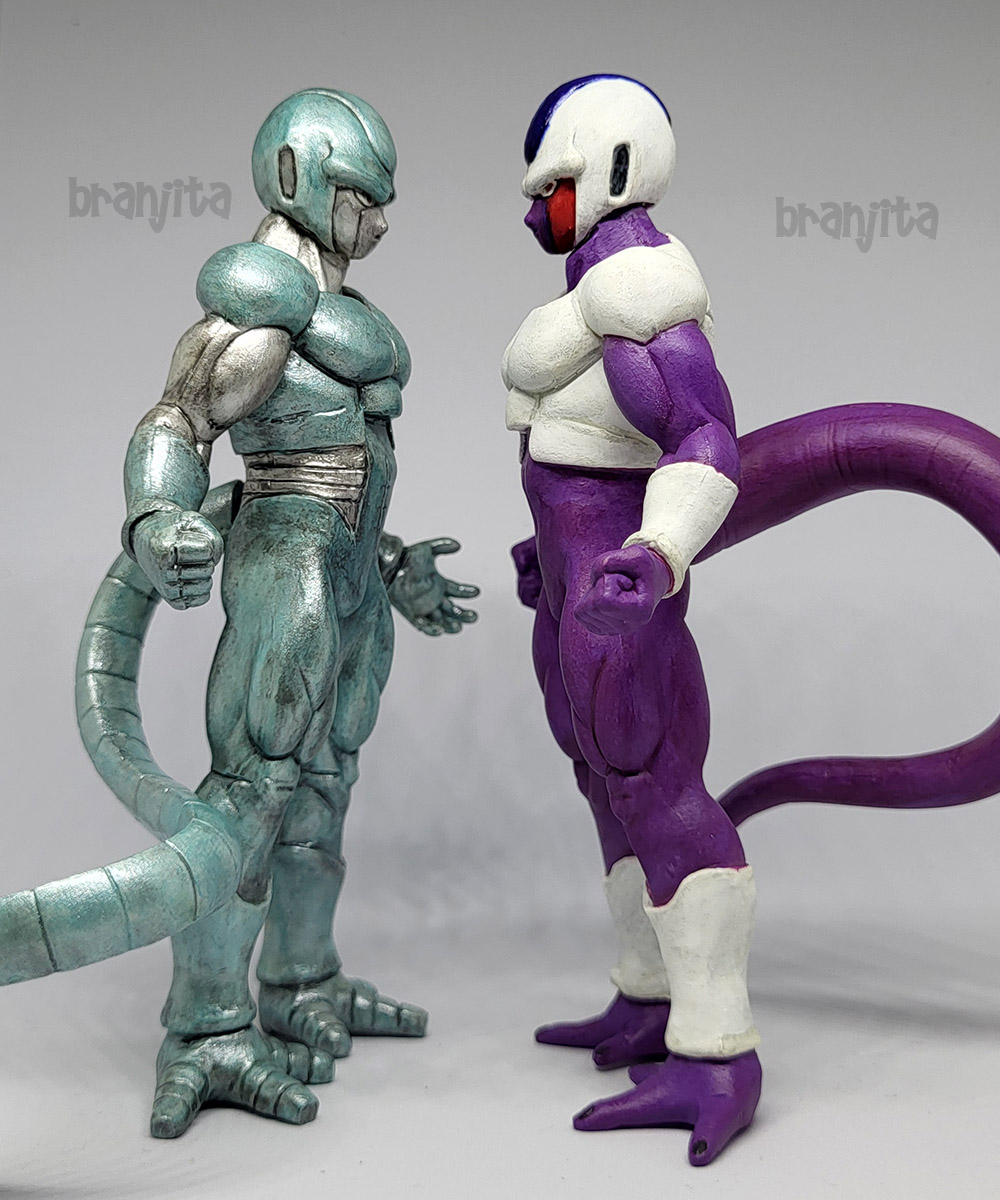
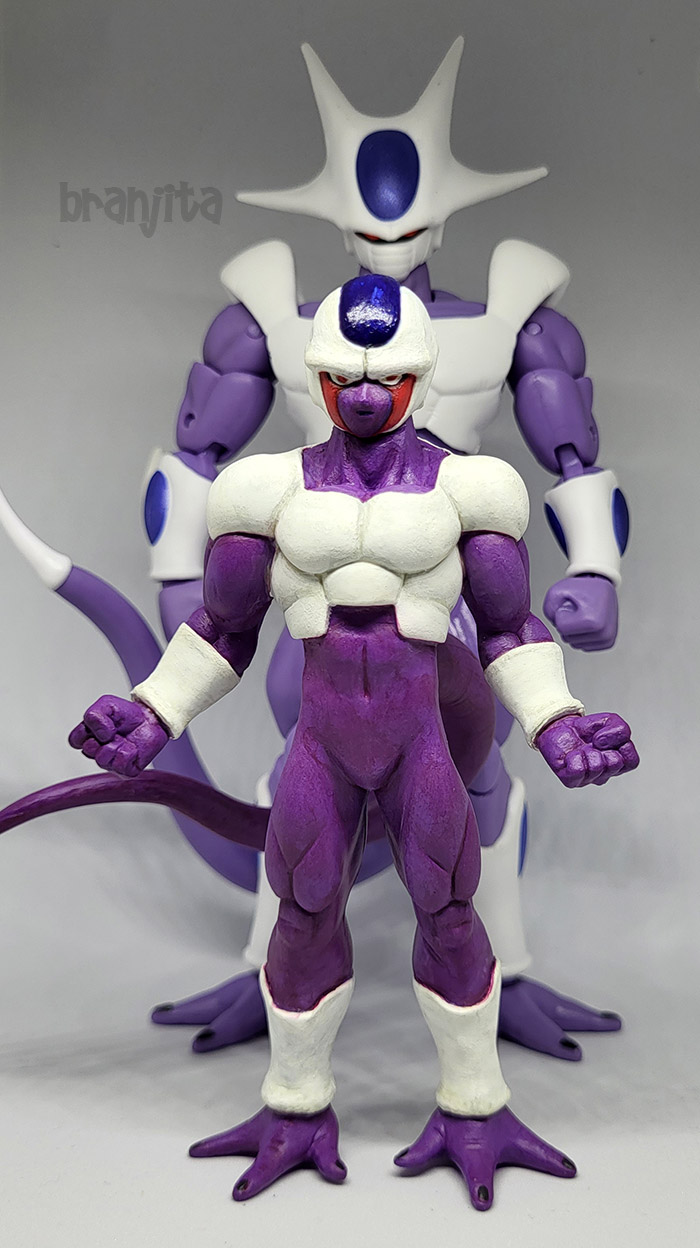
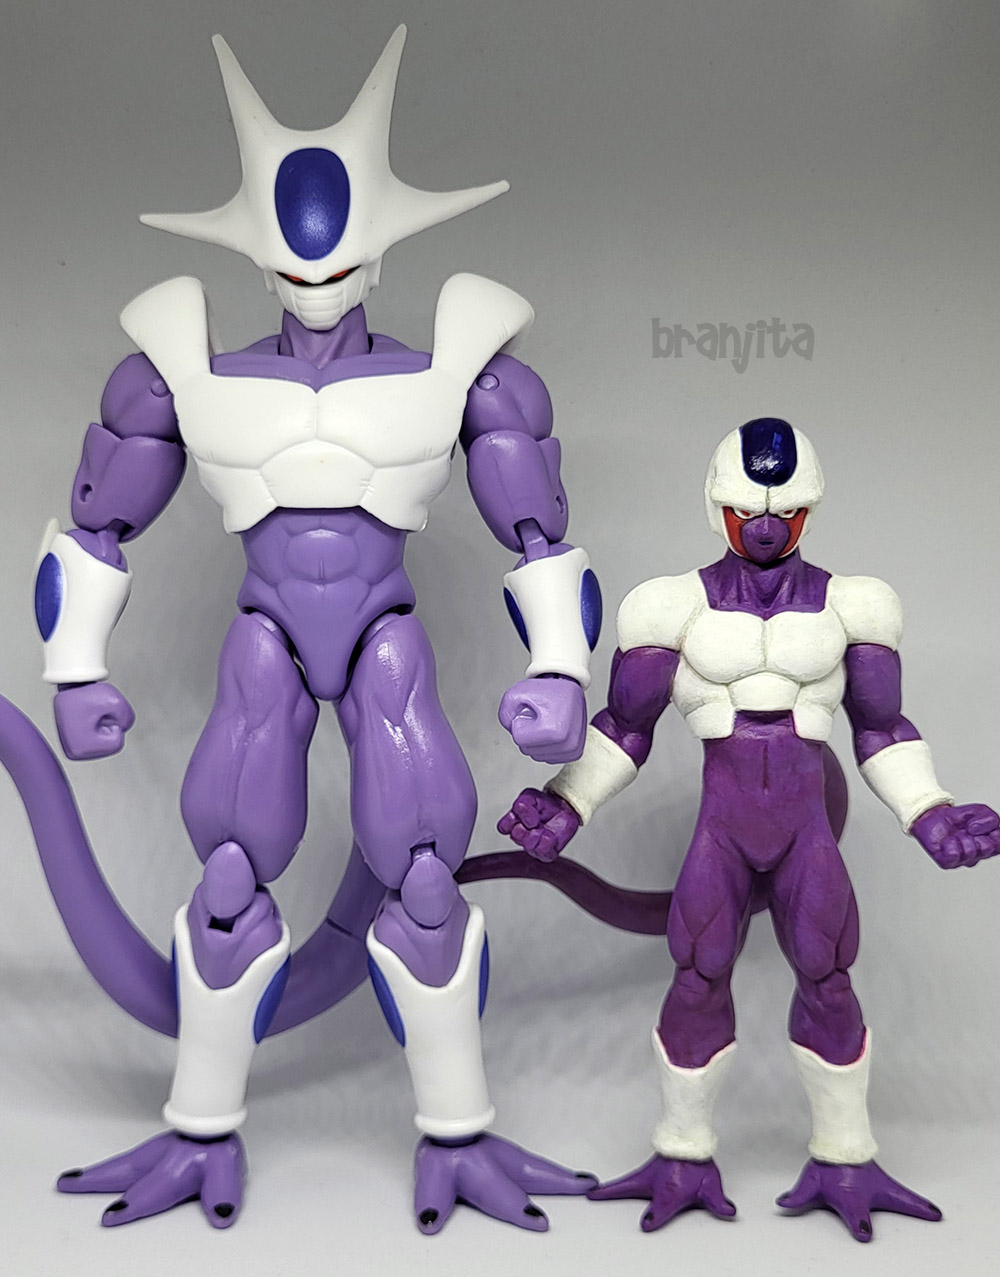
Cooler/Coora form 4Difficulty: For my portion, 3/10; for Adrenaline 's portion, I'd assume probably 6/10 How to make: This figure is made from a bootleg DXF(?) Golden Frieza (from the set of 6 bootlegs that includes SSB Vegeta, SSB Goku, Beerus, Future Trunks, SSG Goku, and Golden Frieza), a Chara Puchi Cooler form 4 head, and custom sculpting by Adrenaline . Adrenaline did this sculpting work for me in 2016, because he owed me in exchange of some design work I did. He did all the sculpting and the base coats of paint, I just provided the parts, added articulation to the tail, and then I ultimately painted over his base coats and did my typical detailing. The paint job was really easy since Adrenaline did the first few base coats for me.
I don't own another copy of that Golden Frieza, so to save time, here's a "before" picture with Meta Cooler.
 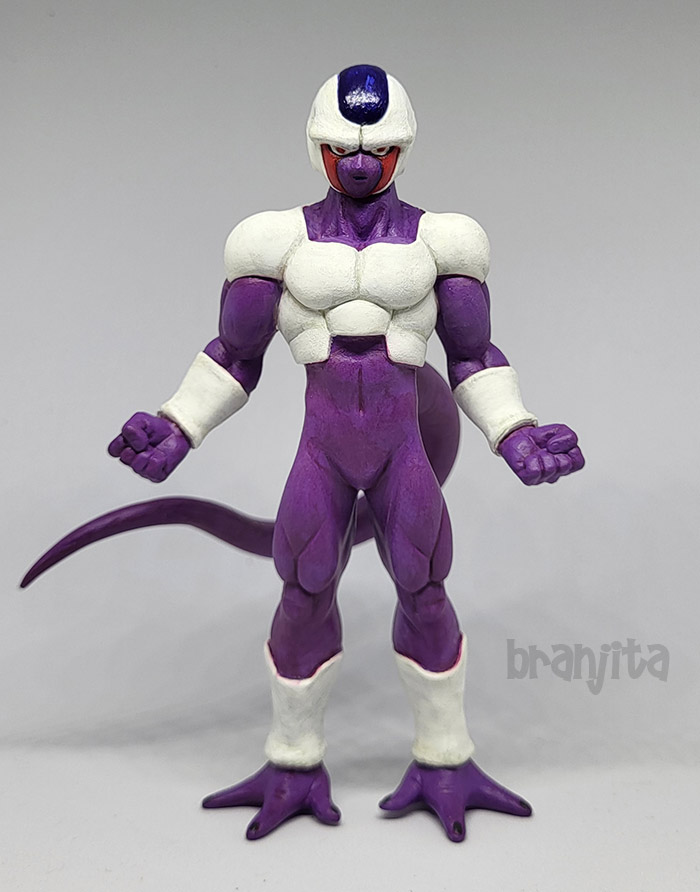 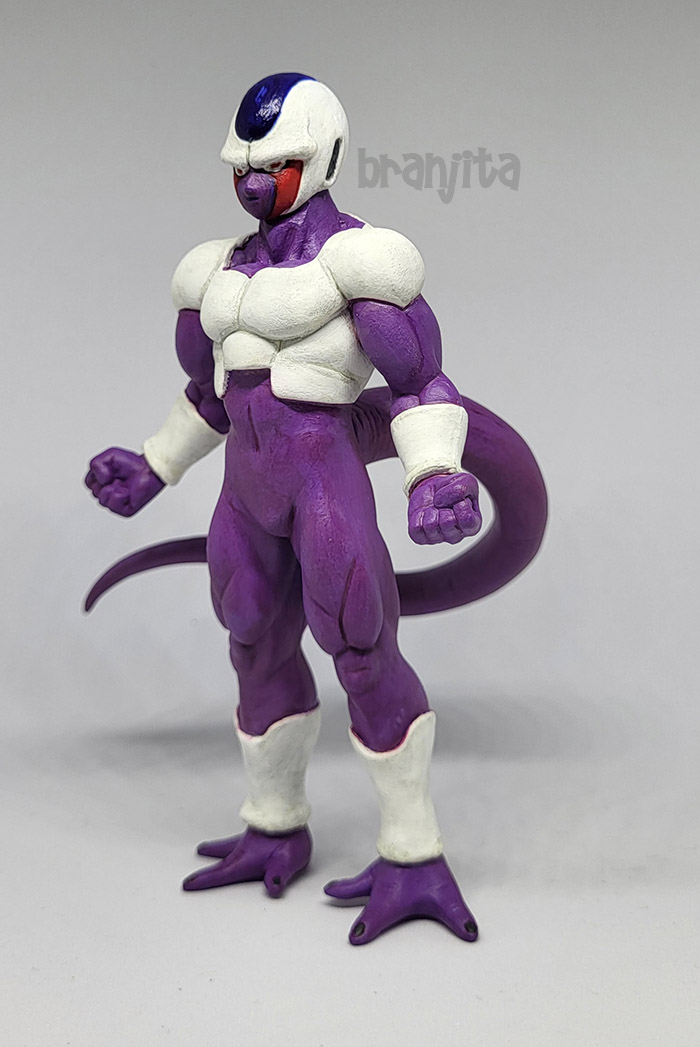 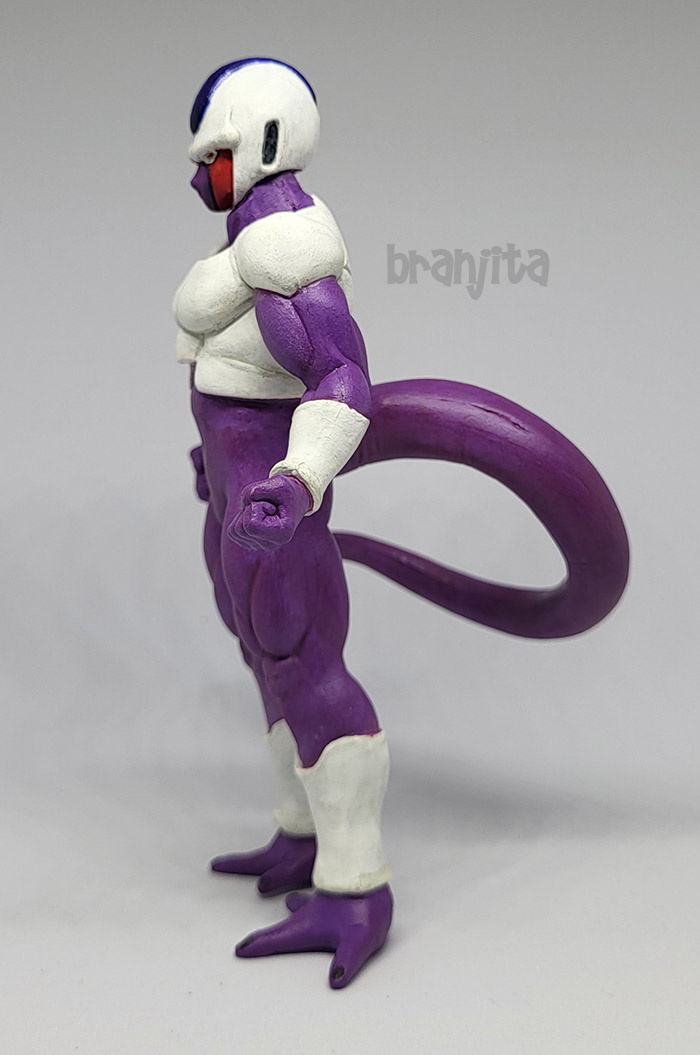 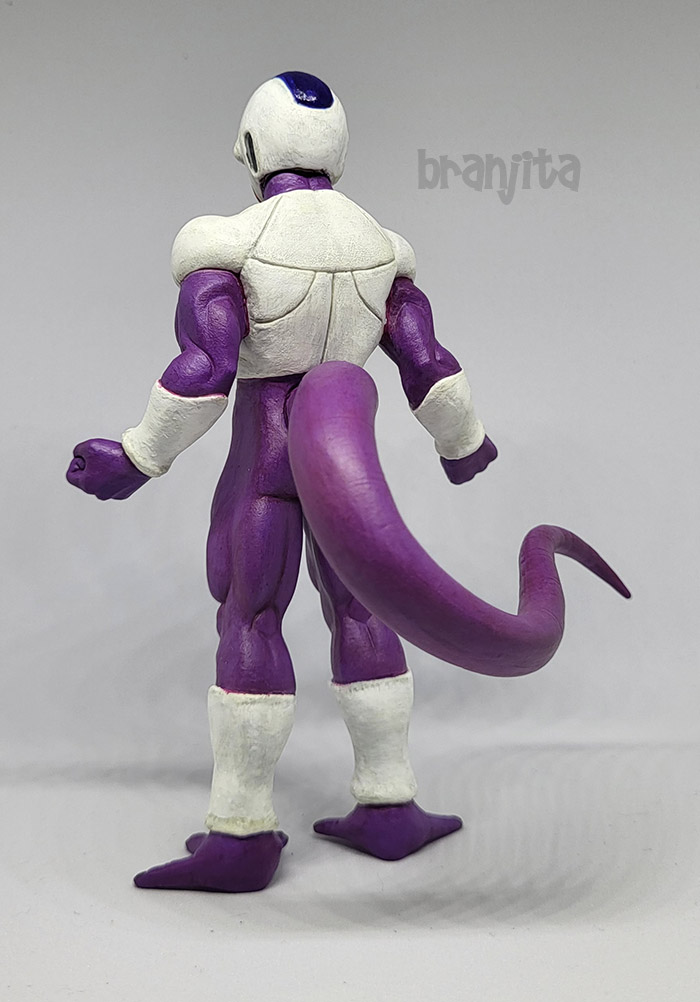        
|
|
|
|
Post by Branjita on Jul 30, 2023 15:03:05 GMT -6
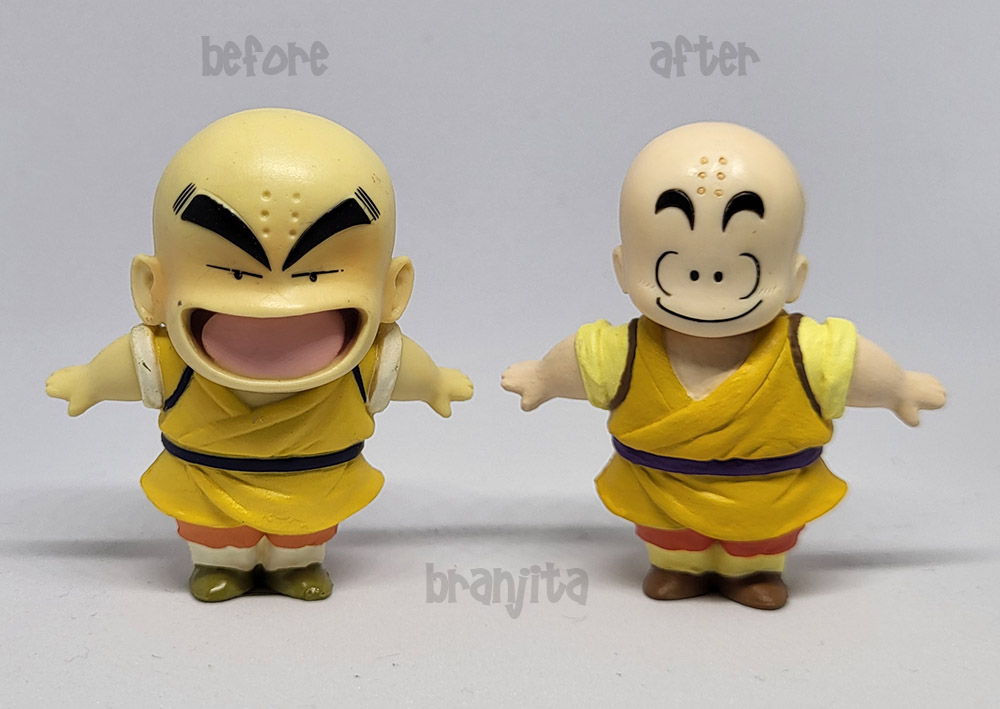
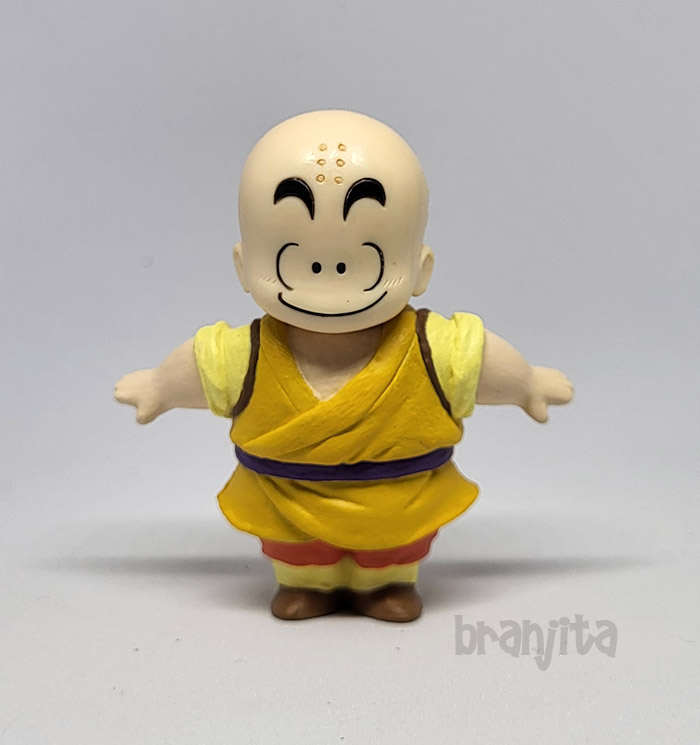
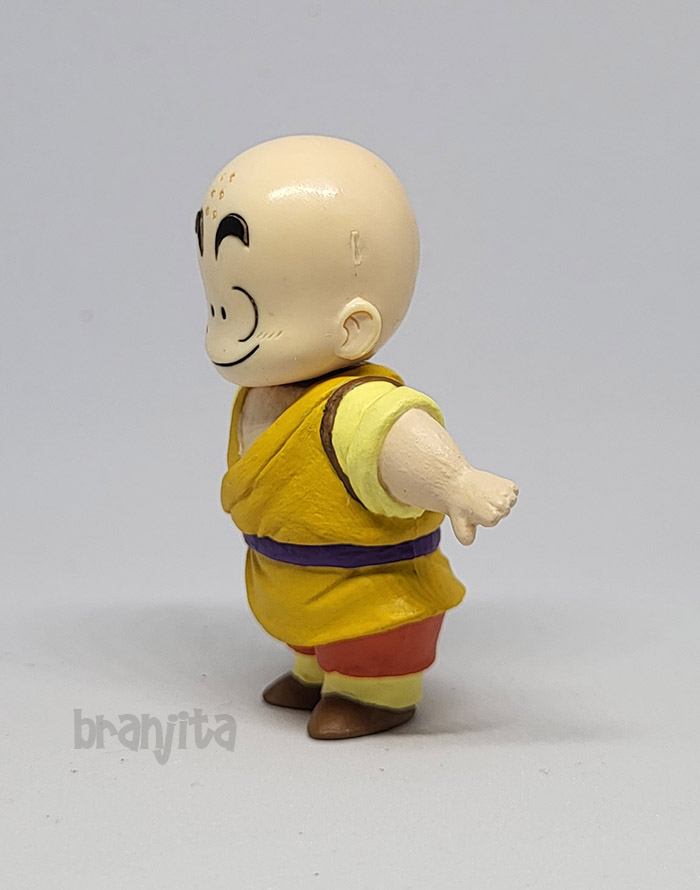
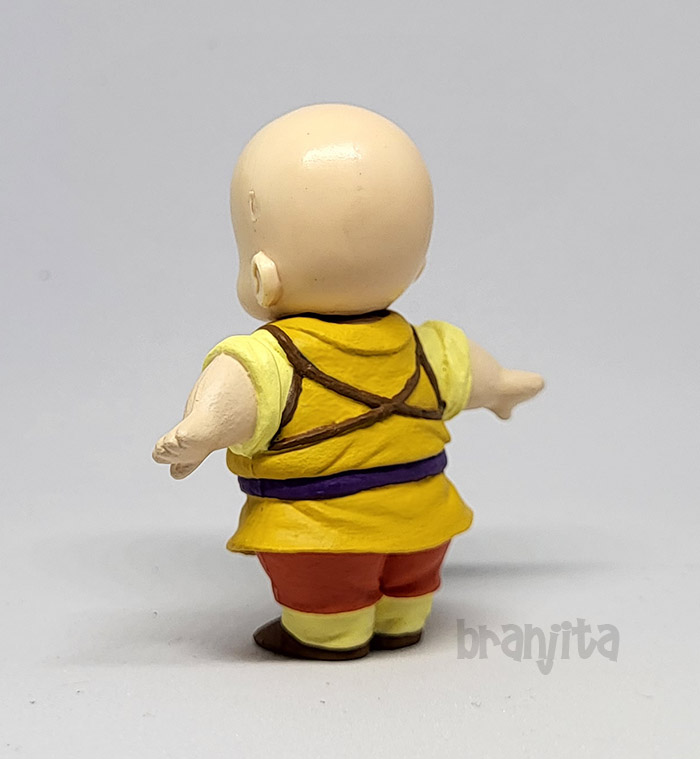
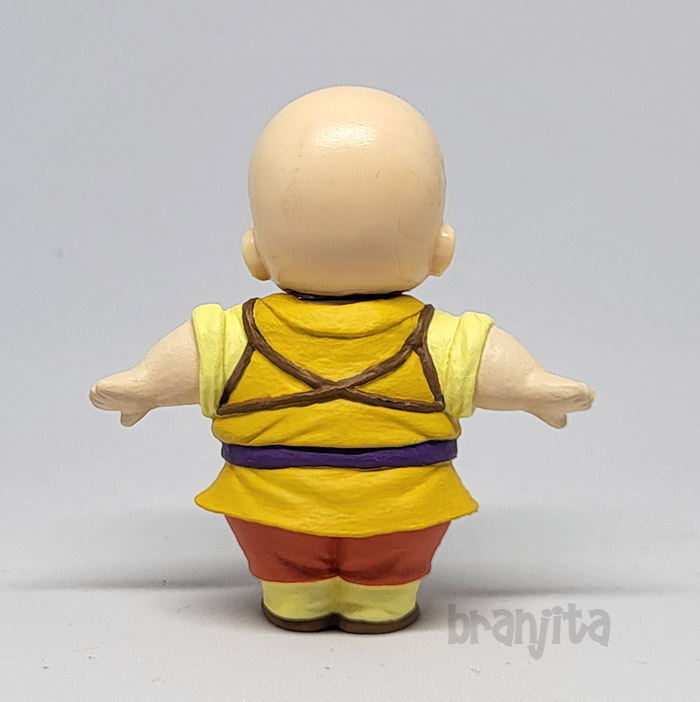
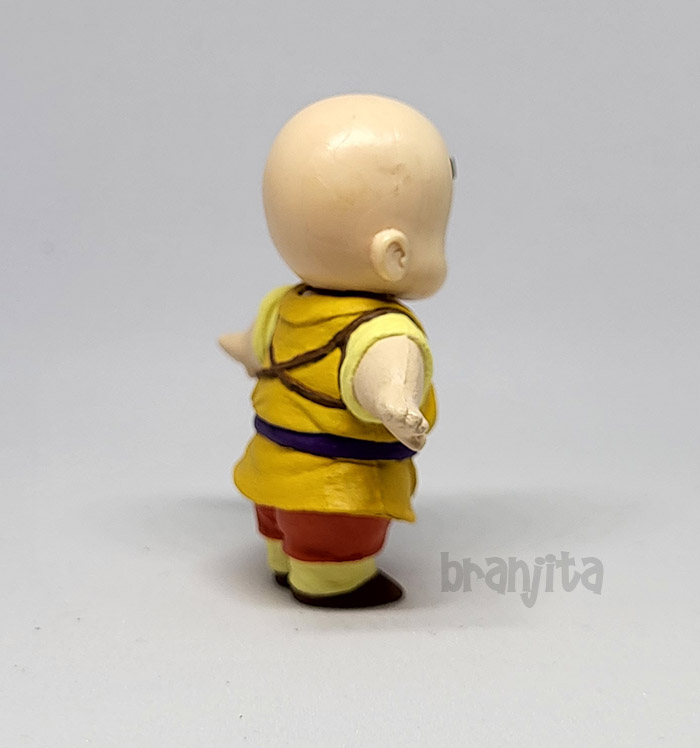
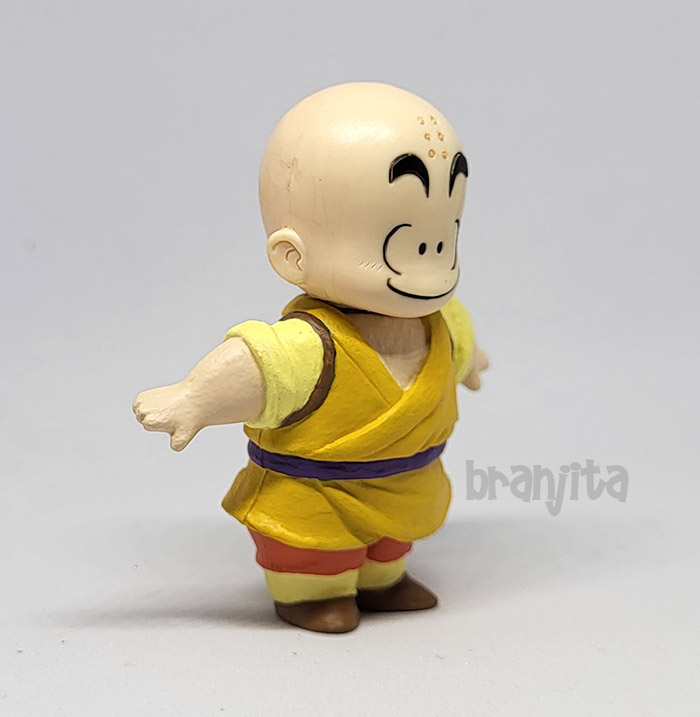
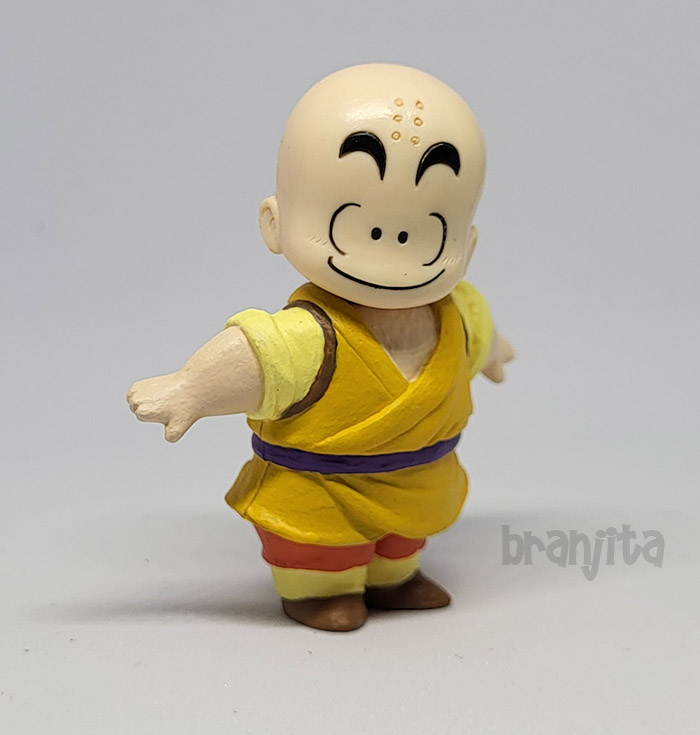
Kid KrillinDifficulty: For my portion, 1/10; for Adrenaline 's portion, I'd assume probably 3/10 This was another figure Adam did the sculpting on for me in 2016 while I did some design work for him. It mostly involved sculpting the shoulders and chest, because the giant DWC head covered what would normally be those things on Krillin's body. Adam did the base coats of paint as well, and I fully repainted it with just 1 to 2 more layers on top to freshen it up. I had it in a Ziploc bag for the past 7 years and there were a few chips in the paint. I don't heavily detail my DB figures, so there's no shading on this beyond what the clear coat gives. I also did not repaint the Chara Puchi Krillin head, beyond painting his dots and trying to match the skin tone to cover up the carving I did to add neck articulation to his head.
|
|
|
|
Post by ssj2dakota on Jul 31, 2023 18:24:25 GMT -6
And he returns!!! Paint jobs look phenomenal as usual. And props to the sculpting on Cooler - he looks great!
|
|
|
|
Post by Branjita on Aug 1, 2023 8:21:35 GMT -6
Thanks Dakota! Adrenaline gets all the credit for the sculpting on Cooler and Krillin. I'm pretty sure I barely did any of the sculpting on them. My paint might need to be thinned with a bit of water, and my phone's camera lens might need to be cleaned, but I'm pretty happy with these and happy to start up my old hobby again! It feels great to get some of these finished! More to come!
|
|
jibi
Rank: Saibaman
  
Posts: 84
|
Post by jibi on Aug 2, 2023 1:00:01 GMT -6
So cool! Cooler looks awesome! It's great to see you doing custom again. Can't wait to see more  |
|
|
|
Post by Alden on Aug 3, 2023 6:10:05 GMT -6
Good to see you back to customizing again. Keep it coming!
|
|
|
|
Post by Branjita on Aug 4, 2023 17:26:07 GMT -6
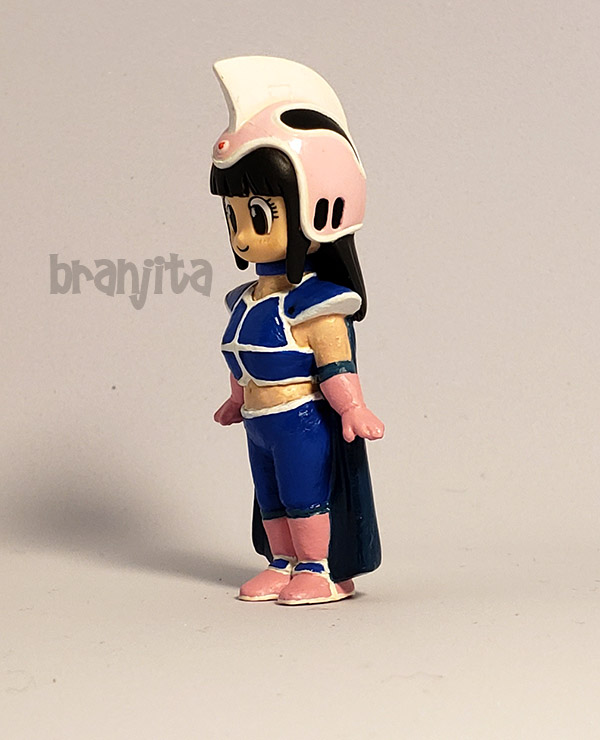
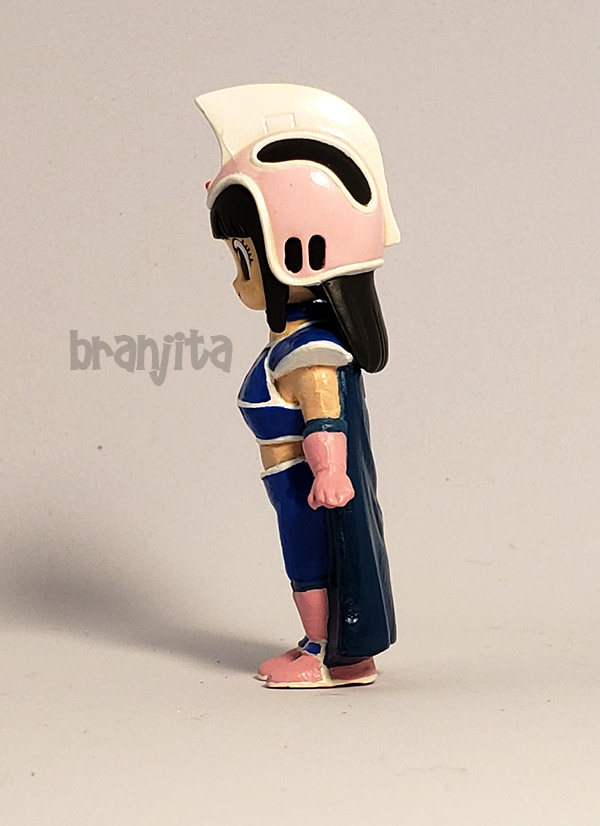
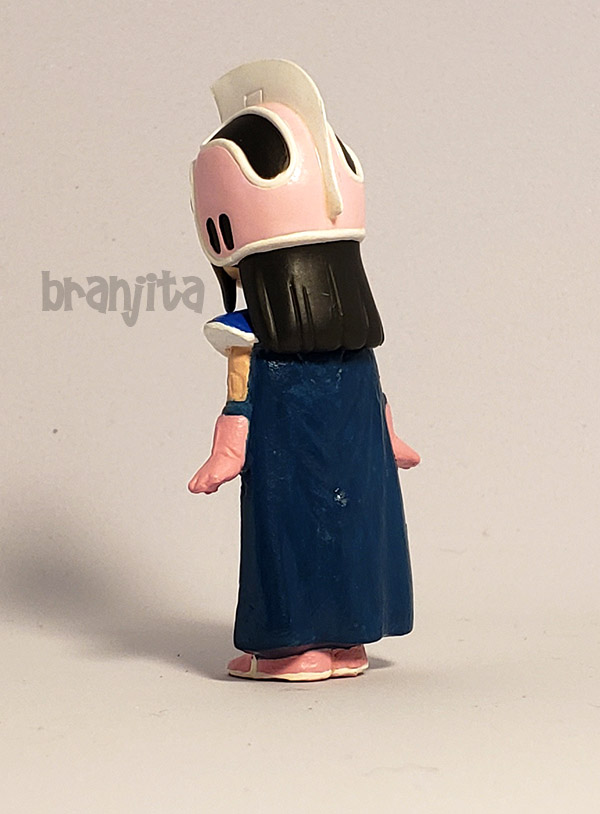
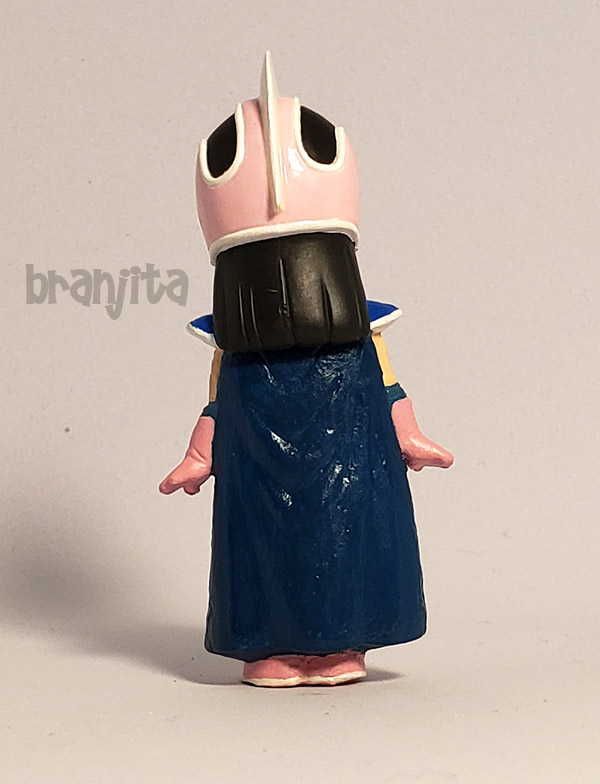
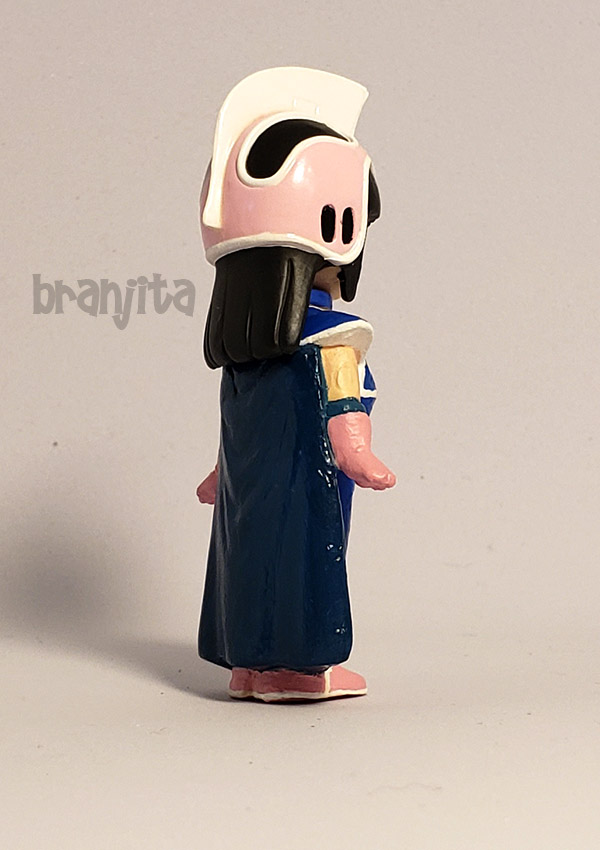
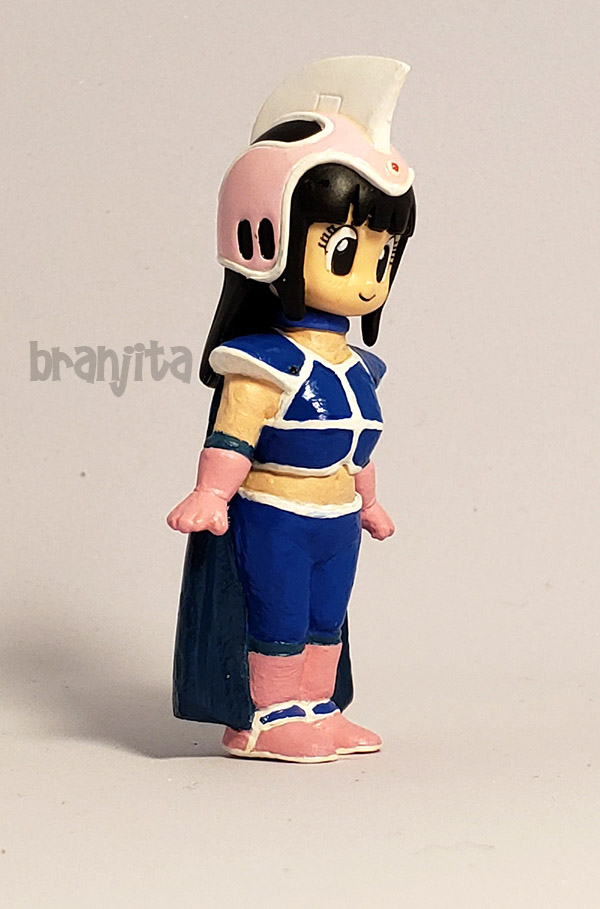
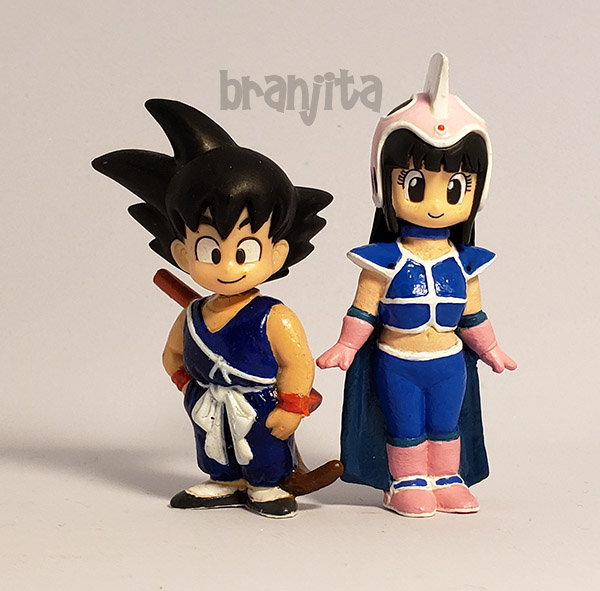
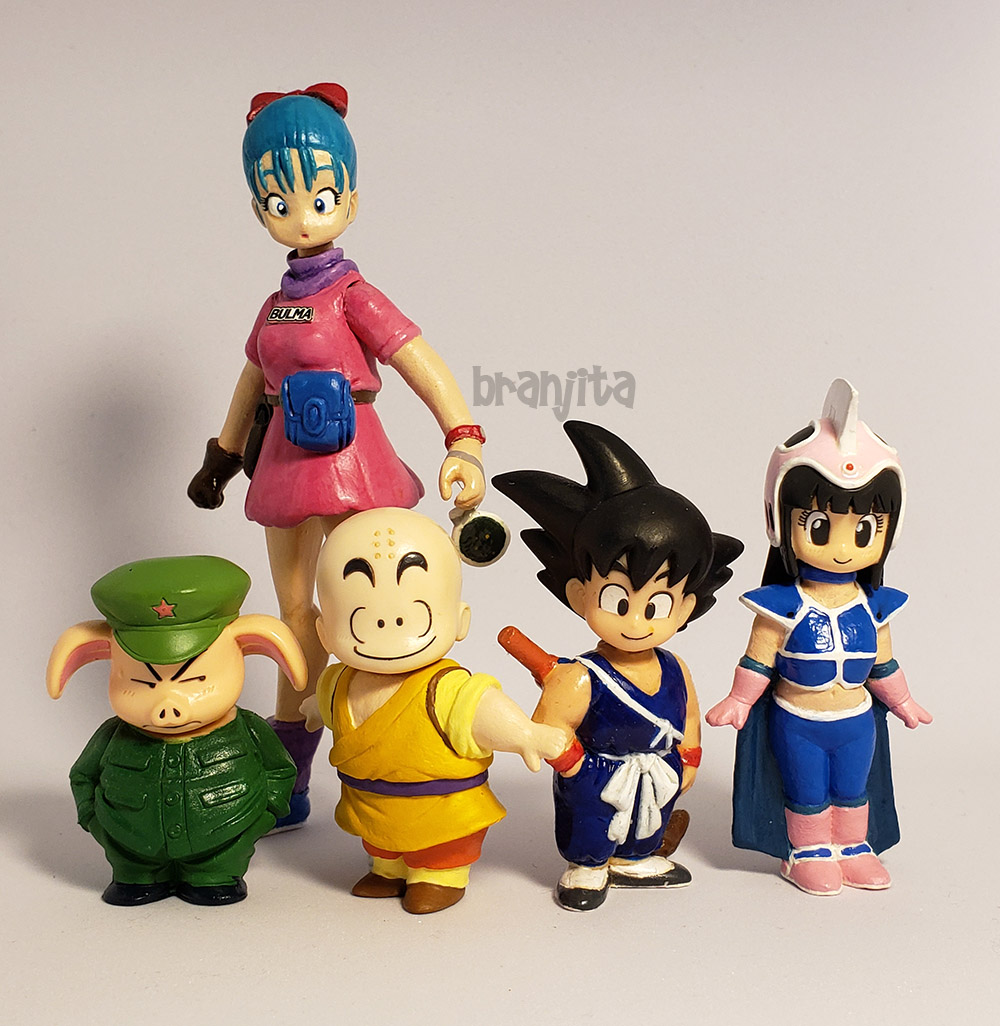
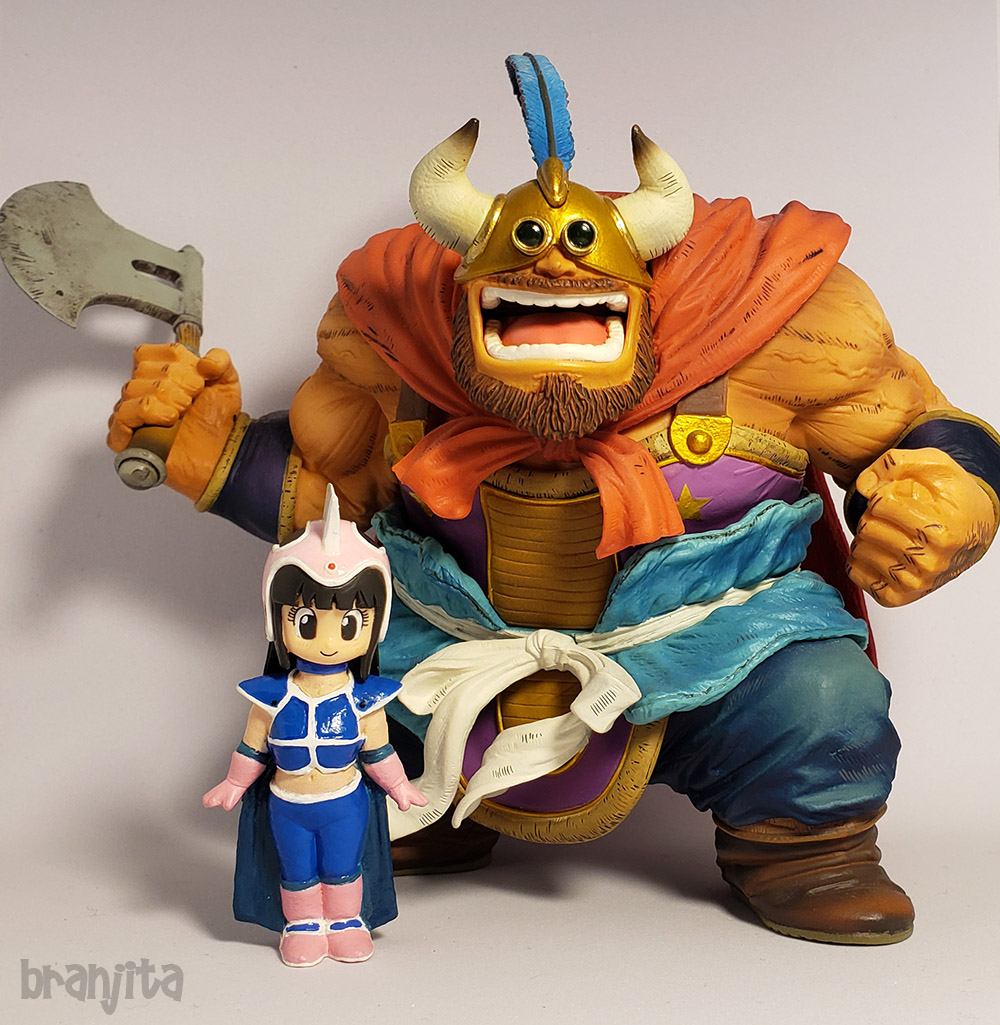
Kid Chi ChiDifficulty: For my portion, 5/10; for Adrenaline 's portion, I'd assume probably 7/10 This was another figure Adam did the sculpting on for me in 2016 while I did some design work for him. It started with a Bandai America 1995 Chi Chi body I cut the head off of and engineered a Chara Puchi Chi Chi head to fit with a neck peg. Disappointingly the hair prevents the head from moving much, but removing the head made the terribly difficult painting process easier. Adam mostly sculpted new shoulder pads and sculpted over the damage from shaving the old head off this body. (The reason for changing the head was to put a larger one on). The Bandai America 1995 figures are very rubbery plastic and covered in very sticky paint. Adam did all the base coats on it and practically finished this figure in 2016. I pulled it out to finish it in 2023 and... I just couldn't stand the idea of displaying a child in my collection in Kid Chi Chi's SUPER AWKWARD outfit. So, I instead decided to sculpt over her lower "armor" and then decided I needed to sculpt some more modest armor over her existing "armor" on the top half of her body. I had to design the top in Photoshop (very roughly) in order to see what it would look like, because I didn't want to change it too much. I wanted to do something that would be true to Toriyama's design work and not put my own spin on her appearance. Well... I HAD TO spin it, because there was nothing remotely similar to his disturbing design in any of his Dragon Quest, Pola & Roid, or Dragon Boy design work that I found for a ~12 year old character. None of the little girls in any of those series were dressed this... weirdly. I do have to wonder... what in the world was he thinking when he came up with her design. I'll get off my soapbox now, but the TLDR is that I can't accept Toriyama's design for Kid Chi Chi now that I'm 20+ years older than when I first watched DB, so I had to make a more acceptable version.
|
|


