|
|
Post by Branjita on Aug 14, 2013 11:47:16 GMT -6
|
|
|
|
Post by Branjita on Aug 14, 2013 11:47:20 GMT -6
|
|
|
|
Post by Branjita on Aug 14, 2013 11:47:30 GMT -6
NailDifficulty: 8/10 How to make: The sculpting and jacket making portion is only 5/10, but the painting is 11/10 which averages to 8/10 in my opinion. First, start off with the Jakks Nail figure, or like me, the more common shirtless Piccolo figure. I put him in boiled water so I could reposition the legs. All of these Jakks Piccolos have the legs too close together, so this really helps not only with standing, but appearance. So put him in some hot water, remove him from it, space the legs while he's still hot with a clothes pin or something between the legs, then put him in the freezer to chill for a few minutes. Remove him, and the pose should stay. (It's usually a little better to overdo the change than underdo it.) The jacket is made from clear vinyl from a fabric store--there are better materials out there, but it's what I had available. The clear vinyl works decently well because Nail's jacket in the anime didn't seem very form fitting and seemed kind of stiff and boxy, another good option would be fake leather. I cut that out after figuring out how to make a jacket out of it and then painted it with 4 coats of house latex paint as a primer, then about 6 coats of navy blue acrylic colors then flat clear acrylic. I used a bit of semi-gloss clear on the inside to make it smoother and easier to get on the figure. The neck wrap is made from epoxy putty and I patched the battle damaged pants with that as well. I resculpted the face a bit by making the eyes a bit smaller and I cut off the mouth and sculpted a new one. The face already had slightly asymmetrical cheeks, so the expression I sculpted worked well to me. I bought this figure used from Adam, and he had super glued a vest he made to the figure, so I had to sand a bit of that off the front and back before I started painting. The painting took many hours. I worked on other Namekian characters while working on him, but I would estimate the total and complete repaint (nothing is still the same as Jakks painted him) at approximately 12 hours. The sculpting, sanding, and jacket making portions were at least another 6 hours off and on. If you start with a perfect figure, you may only want to paint the pants, but I wanted him to be better than perfect. The red in particular is very difficult to paint as the lines are very thin. A very complicated paint job. What I had to do to restore it: Brand new custom made from a slightly damaged shirtless Piccolo figure. 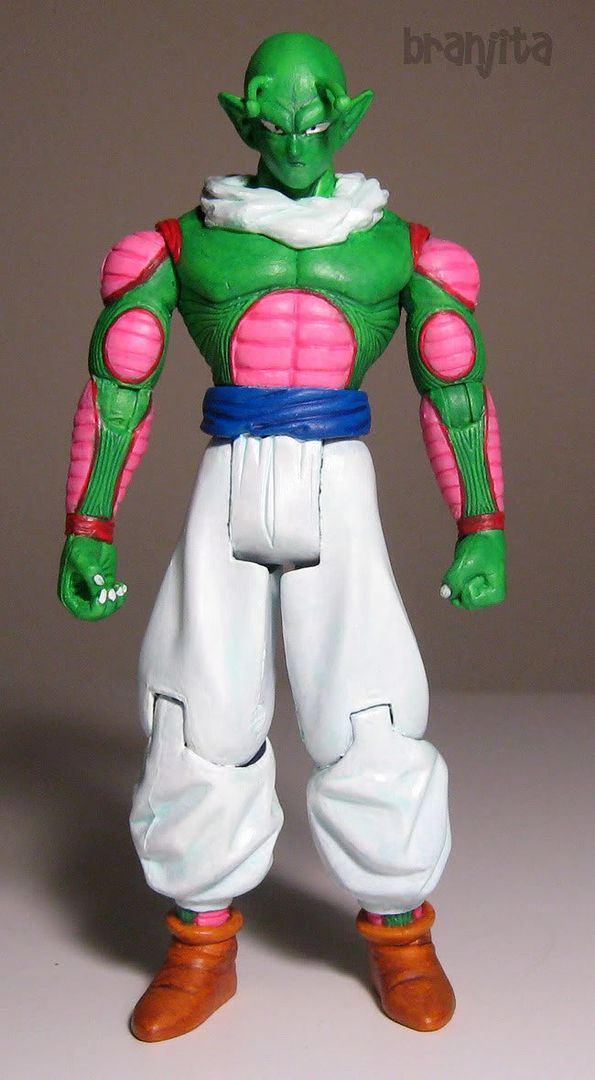 i48.photobucket.com/albums/f232/BrangetaBB/IMG_4628s.jpg i48.photobucket.com/albums/f232/BrangetaBB/IMG_4628s.jpg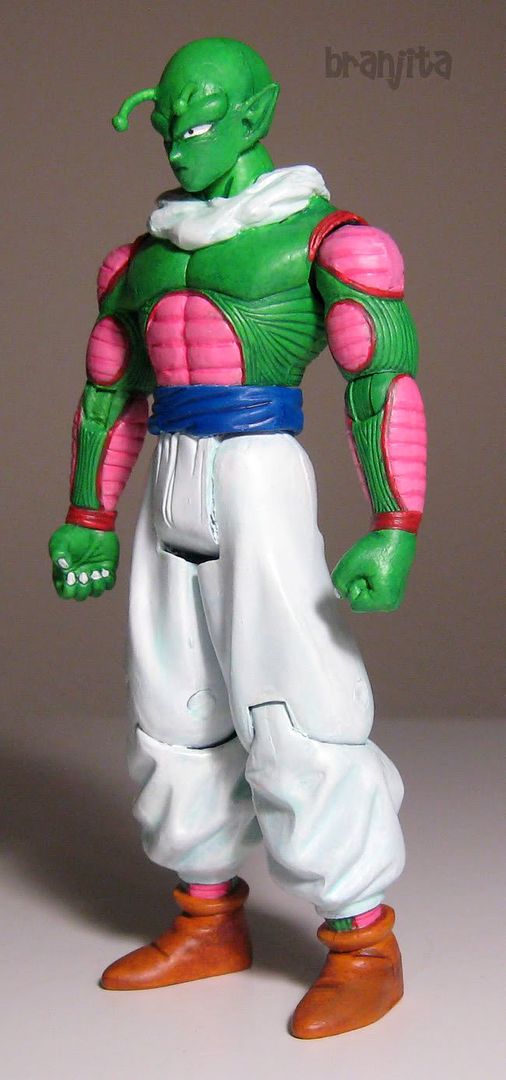 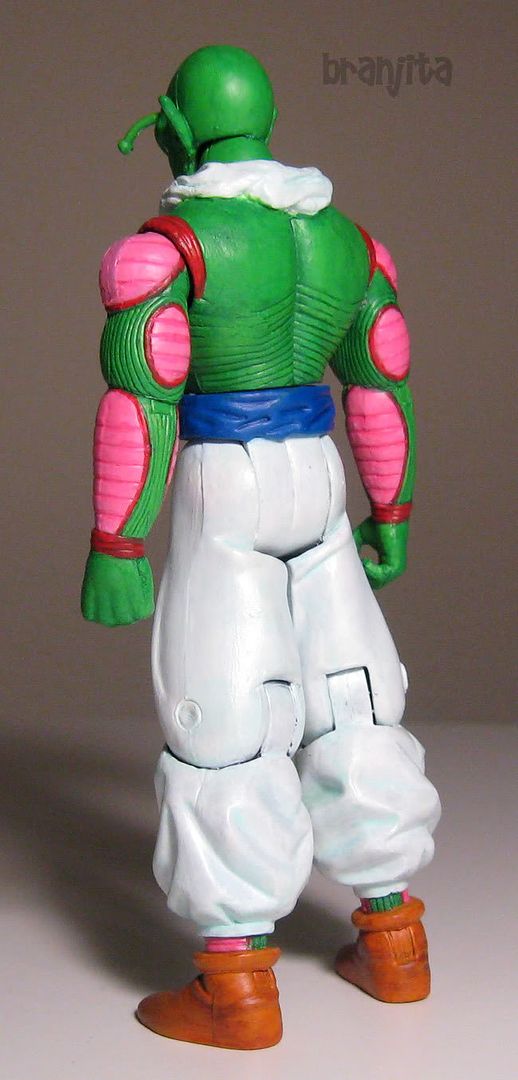 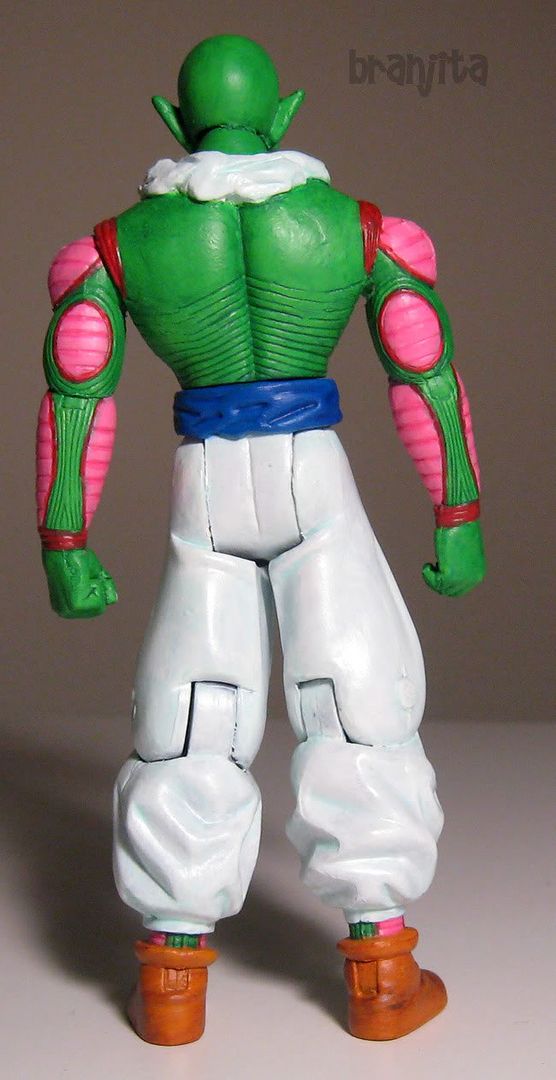 "http://i48.photobucket.com/albums/f232/BrangetaBB/IMG_4633s.jpg i48.photobucket.com/albums/f232/BrangetaBB/IMG_4635s.jpg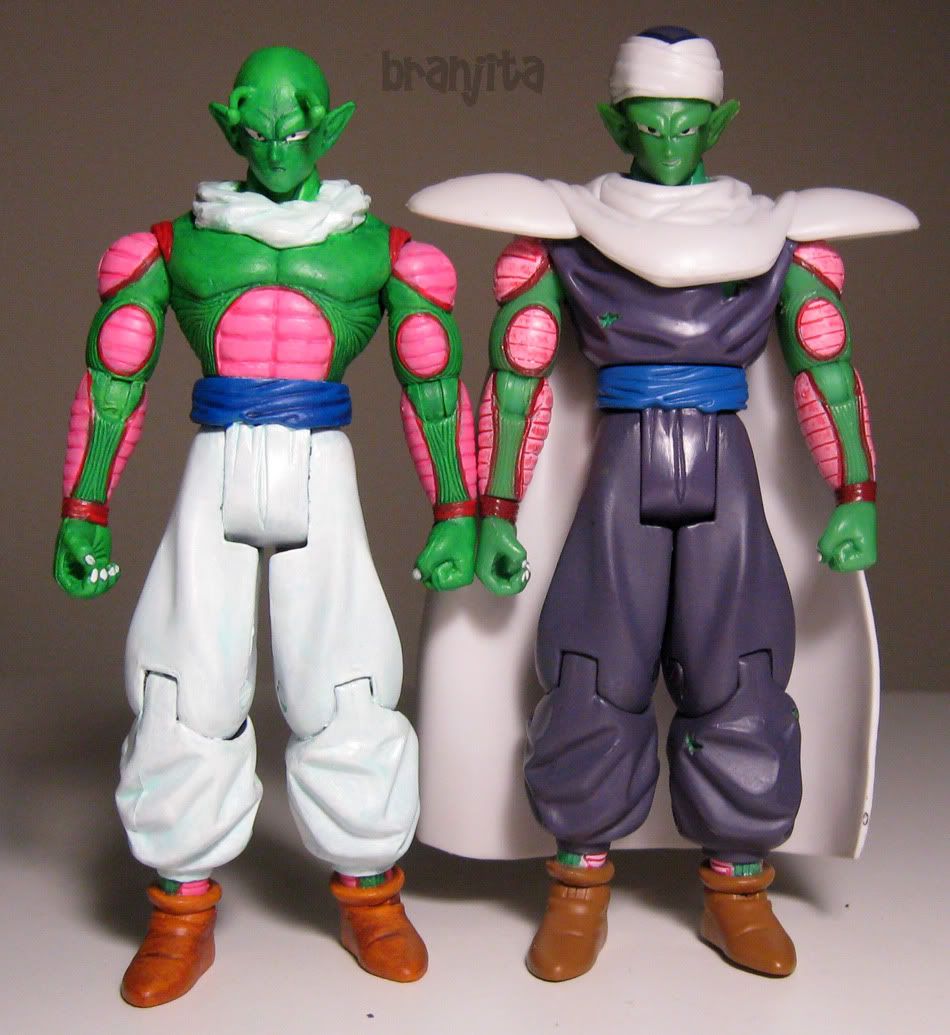  i48.photobucket.com/albums/f232/BrangetaBB/IMG_4641s.jpgi48.photobucket.com/albums/f232/BrangetaBB/IMG_4640s.jpgi48.photobucket.com/albums/f232/BrangetaBB/IMG_4638s.jpg i48.photobucket.com/albums/f232/BrangetaBB/IMG_4641s.jpgi48.photobucket.com/albums/f232/BrangetaBB/IMG_4640s.jpgi48.photobucket.com/albums/f232/BrangetaBB/IMG_4638s.jpg
|
|
|
|
Post by Branjita on Aug 14, 2013 11:47:41 GMT -6
Perfect CellDifficulty: 3/10 How to make: I started with what I believe is the Beckett exclusive metallic Perfect Cell, but you can start with whatever you want. This repaint only takes an hour. You'll need to repaint the blue skin as a very pale gray, and I did some shading. I then tried to match the purple. In my case it was mostly red, a little lavender, a tiny bit of dark purple, and a bunch of pearl additive. Took a lot of coats because for whatever reason, the lavender is extremely translucent. I put a little on the exposed purple parts as well to help match as I was only 95% a match. I semi-glossed the face parts, so it looks a bit different than the rest. Lazyness. I also outlined the eyes in black. Back when these Cell figures first came out, I used to correct them for other people on commission. I'd resculpt the face with a heated up nail held in a pair of forecepts and repaint accurate to the show. It made the figure a better likeness as the eyes are seriously improper on this figure as is the expression. However, I didn't want to do that this time. I just straight up repainted and just wanted to match the color of purple that was all over the figure already. Here's a few pictures of some of the 4 or 5 Cells I did in the past though. Some people didn't want extremely elaborate 'burning hot nail' resculpts though so they just got new eyes and smiles, but the very best was the most elaborate one I really had to be careful with that had the lines under the eyes and the biggest smirk. Not sure who ended up owning that one but I don't own any of them anymore. i48.photobucket.com/albums/f232/BrangetaBB/perfectcellcustom.jpgi48.photobucket.com/albums/f232/BrangetaBB/Mvc-045s.jpgi48.photobucket.com/albums/f232/BrangetaBB/Mvc-046s.jpgi48.photobucket.com/albums/f232/BrangetaBB/perfectcellandFThead.jpgWhat I had to do to restore it: This figure was used. In the before picture you can see the one flaw, the chest scuff. I just put some Testors Model Masters Semi-Gloss Acryl Clear on it and it actually disappeared. I wish scratches on my car were that easy! He also has what looks like a mole on his cheek in my pics. I didn't even notice it when I was painting or I would have sanded it off. 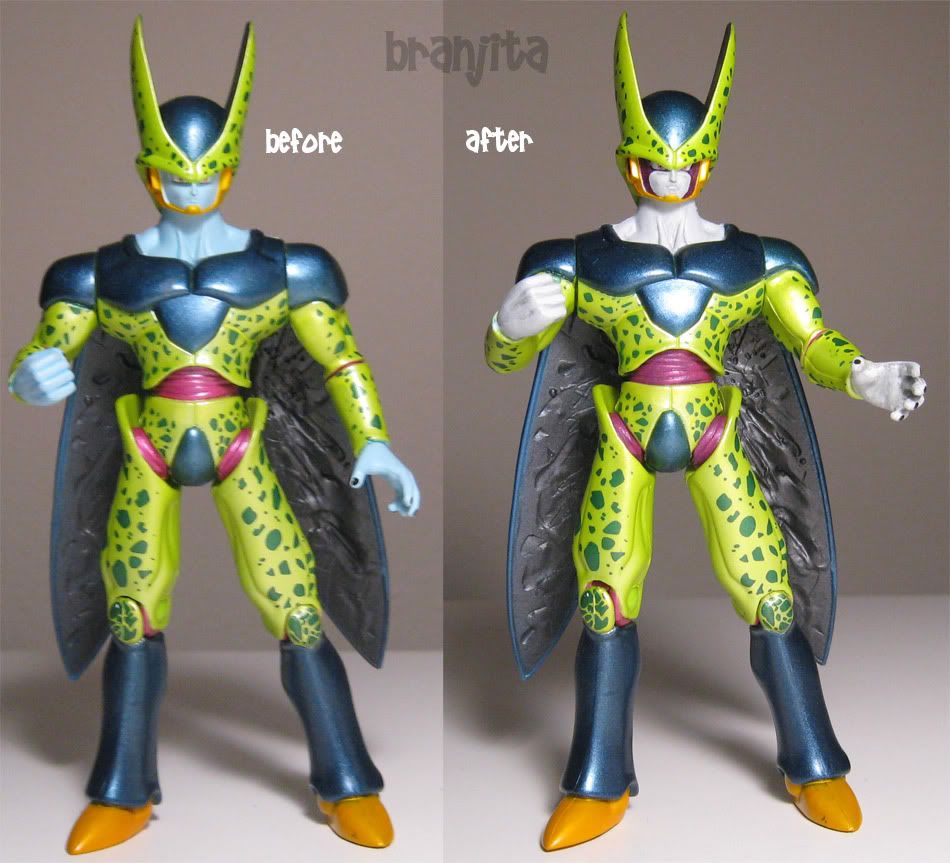 i48.photobucket.com/albums/f232/BrangetaBB/IMG_4689s.jpgi48.photobucket.com/albums/f232/BrangetaBB/IMG_4693s.jpgi48.photobucket.com/albums/f232/BrangetaBB/IMG_4695s.jpg i48.photobucket.com/albums/f232/BrangetaBB/IMG_4689s.jpgi48.photobucket.com/albums/f232/BrangetaBB/IMG_4693s.jpgi48.photobucket.com/albums/f232/BrangetaBB/IMG_4695s.jpgDidn't do anything to the back except the gray skin i48.photobucket.com/albums/f232/BrangetaBB/IMG_4697s.jpg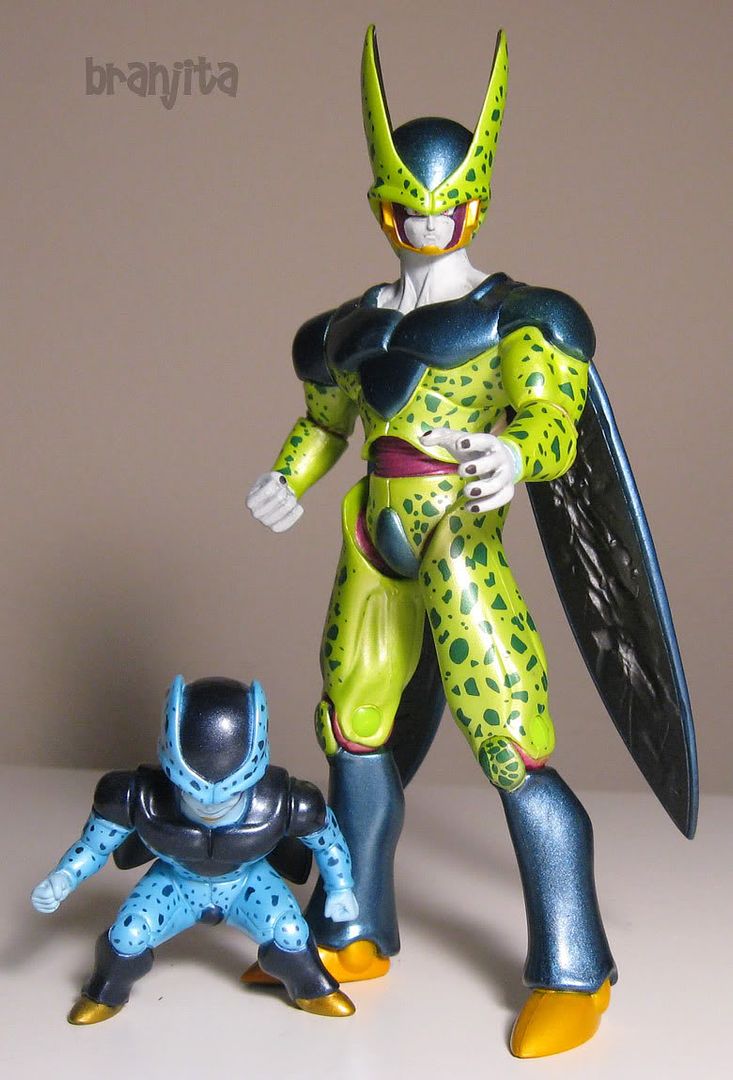 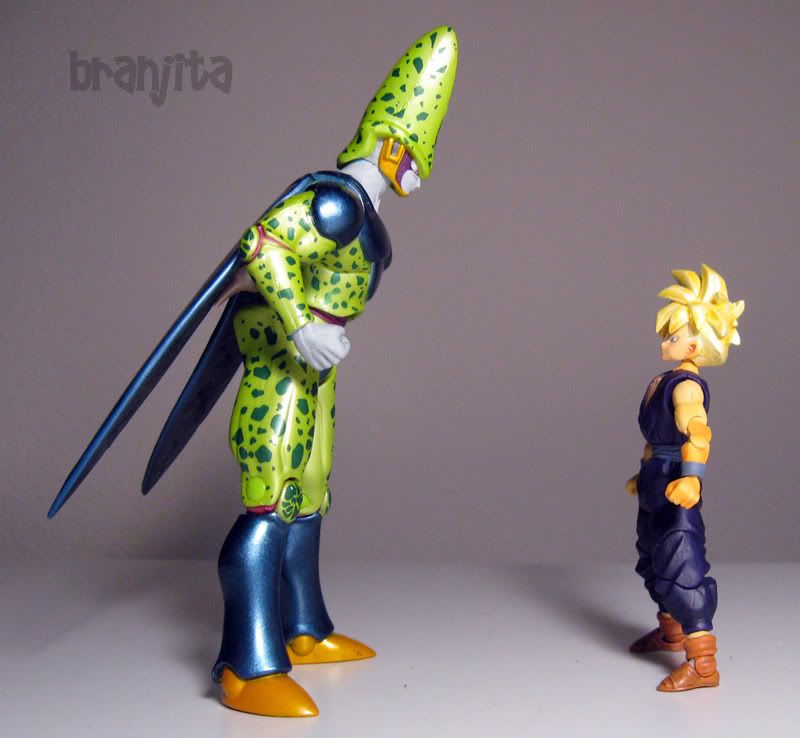
|
|
|
|
Post by Branjita on Aug 14, 2013 11:47:46 GMT -6
|
|
|
|
Post by Branjita on Aug 14, 2013 11:47:55 GMT -6
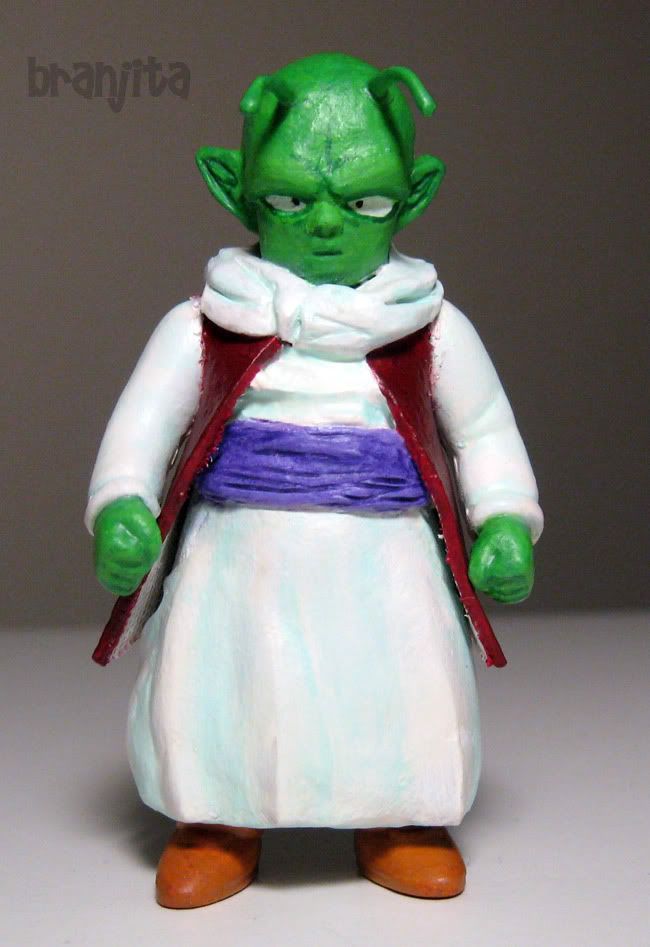
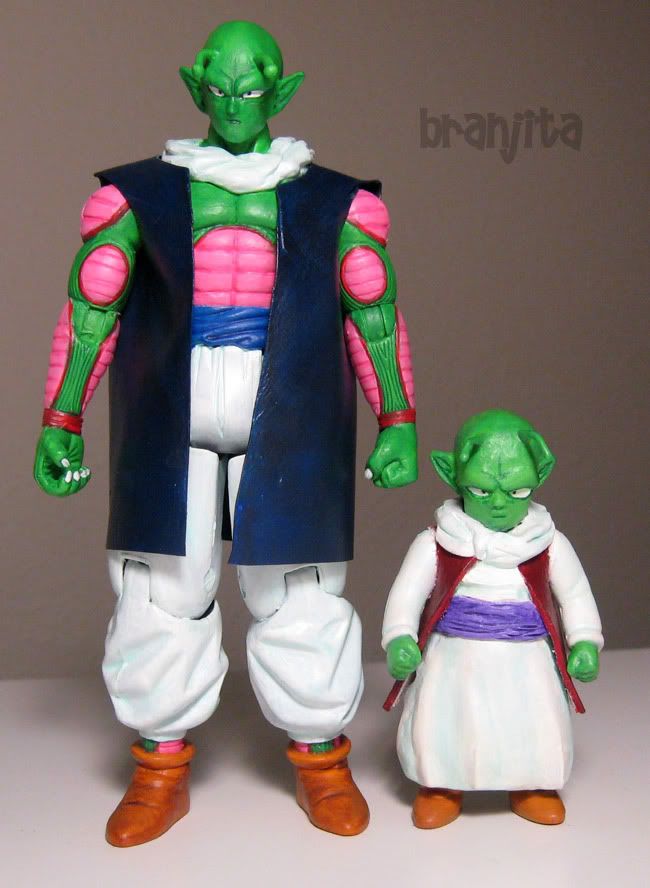
Saiyan Saga PiccoloDifficulty: 9/10 How to make: Gosh, this ended up being a difficult, time consuming custom, and if I didn't get fed up with him, he could have been slightly better. What in particular? The cape. It was taking so much white paint, and I didn't sand the parts I sculpted onto it completely flush, so there's slight errors on it, and the Folk Art paint I was using on it was a bit thick (as usual with that brand) so the white has some texture to it in areas where it is up to 10 layers thick. Anyway... start with Irwin series 4 Piccolo. This figure is nearly perfect except his neck is extremely short. The first thing you need to do is sand the heck out of the torso where the arms attach. I found out the hard way that if you don't do this ahead of time, the torso will remove all your beautiful paintwork on the arms. Sculpt a longer neck. You'll probably want to cut the peg off his back that attaches to the cape. I didn't bother, but should have. You'll need to shave the 'head' of the peg off on his neck peg so you can put his head in and out without having to pop the body open each time. You'll need to enlarge the peg so it fits snug. Now draw lines on the shoulders and paint them. I wanted Piccolo to look evil, so I resculpted his nose, added under-eye lines, and added long fingernails. If you're going to repaint the head, in order to make the hat fit and not damage your paint you'll have to sand the inner lip off of it and then gloss it. You'll need to put some Model Masters Flat Clear Acryl on the head to protect the paint from the hat. I did a full repaint of the figure because I wanted him to be perfectly how I wanted him to look. I'm really happy with him and consider him a vast improvement over the original figure as well as the Jakks Piccolo. What I had to do to restore it: It's basically new. I started it years ago but nothing was finished. 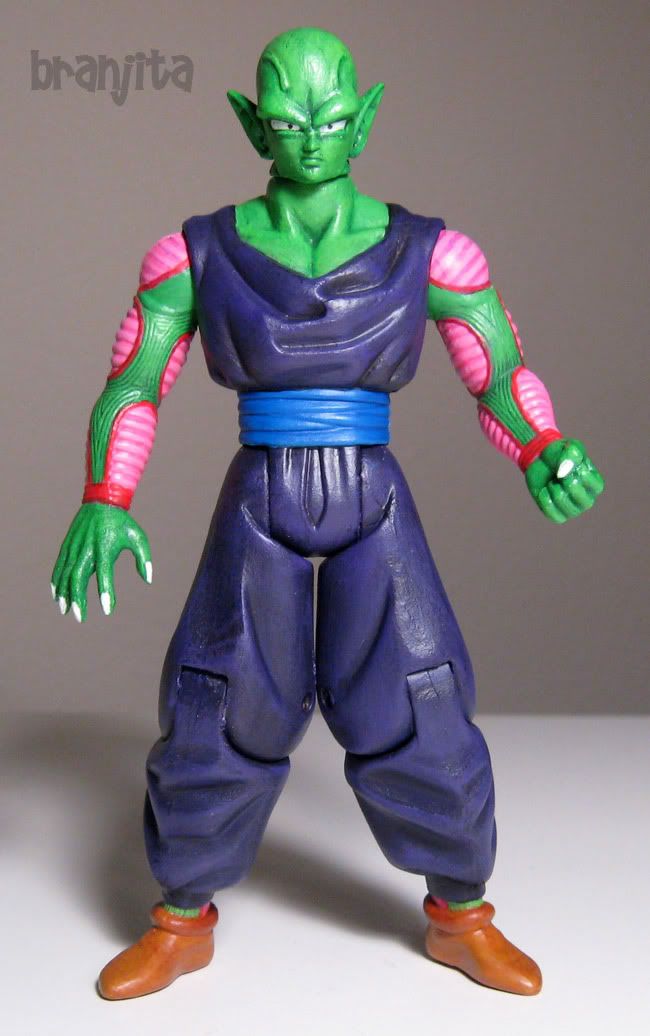 i48.photobucket.com/albums/f232/BrangetaBB/IMG_4732s.jpgi48.photobucket.com/albums/f232/BrangetaBB/IMG_4730s.jpgi48.photobucket.com/albums/f232/BrangetaBB/IMG_4729s.jpgi48.photobucket.com/albums/f232/BrangetaBB/IMG_4728s.jpg i48.photobucket.com/albums/f232/BrangetaBB/IMG_4732s.jpgi48.photobucket.com/albums/f232/BrangetaBB/IMG_4730s.jpgi48.photobucket.com/albums/f232/BrangetaBB/IMG_4729s.jpgi48.photobucket.com/albums/f232/BrangetaBB/IMG_4728s.jpgCompared to a mostly unmodified Piccolo and an unmodified one 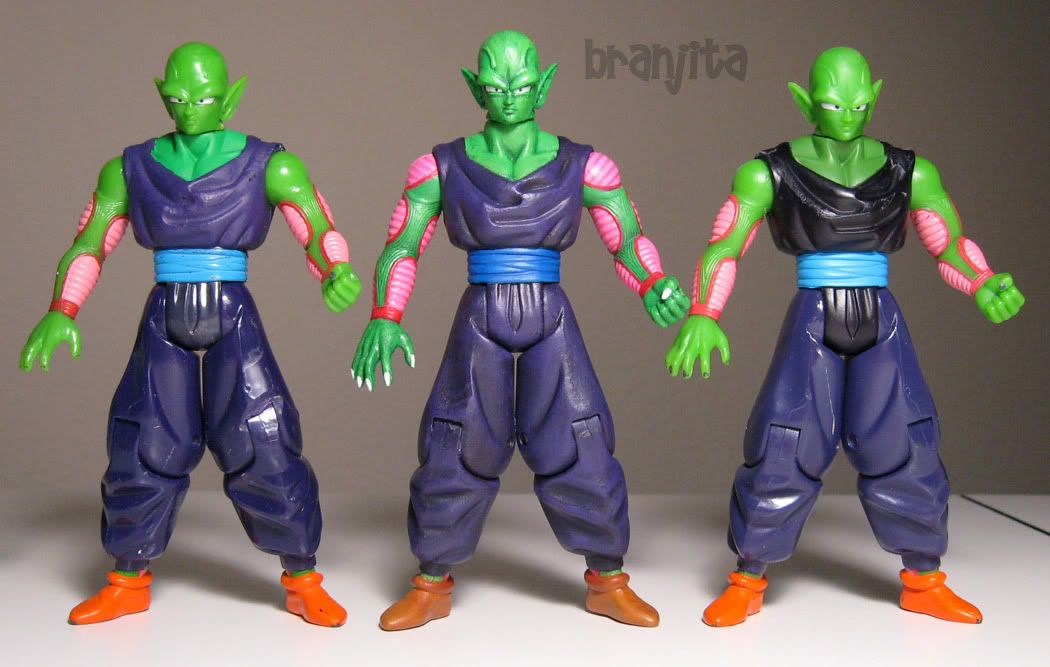  i48.photobucket.com/albums/f232/BrangetaBB/IMG_4735s.jpgi48.photobucket.com/albums/f232/BrangetaBB/IMG_4736s.jpgi48.photobucket.com/albums/f232/BrangetaBB/IMG_4737s.jpgi48.photobucket.com/albums/f232/BrangetaBB/IMG_4739s.jpg i48.photobucket.com/albums/f232/BrangetaBB/IMG_4735s.jpgi48.photobucket.com/albums/f232/BrangetaBB/IMG_4736s.jpgi48.photobucket.com/albums/f232/BrangetaBB/IMG_4737s.jpgi48.photobucket.com/albums/f232/BrangetaBB/IMG_4739s.jpgI'm no longer a bigger fan of Jakks' Piccolo than Irwin's... or should I say Branjita's Piccolo...? 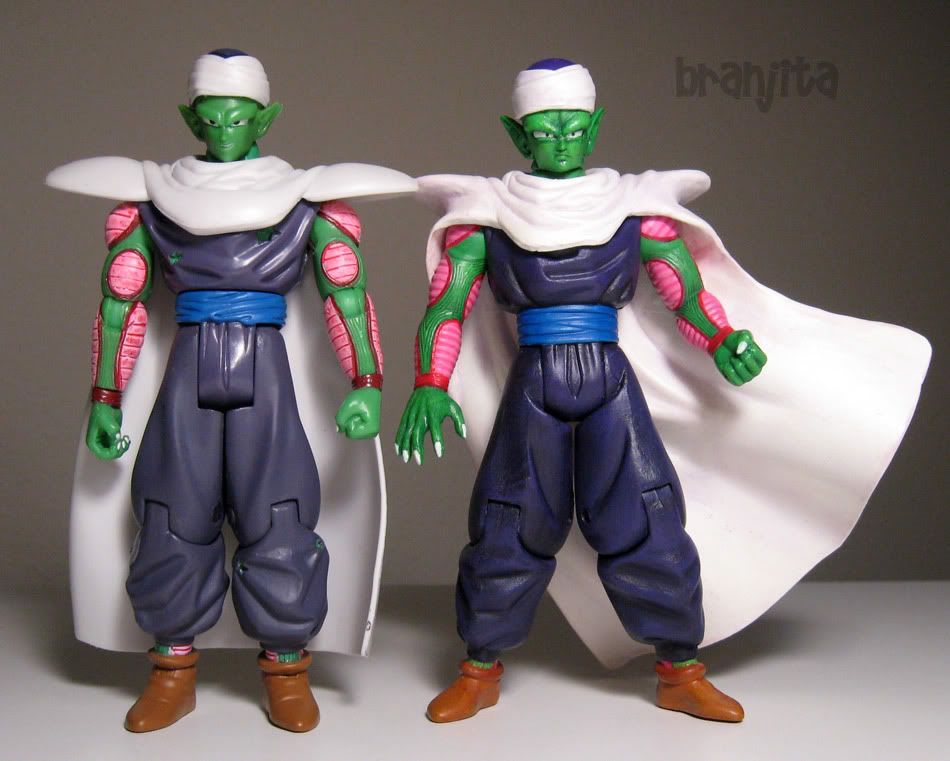 My whole Namekian family of customs 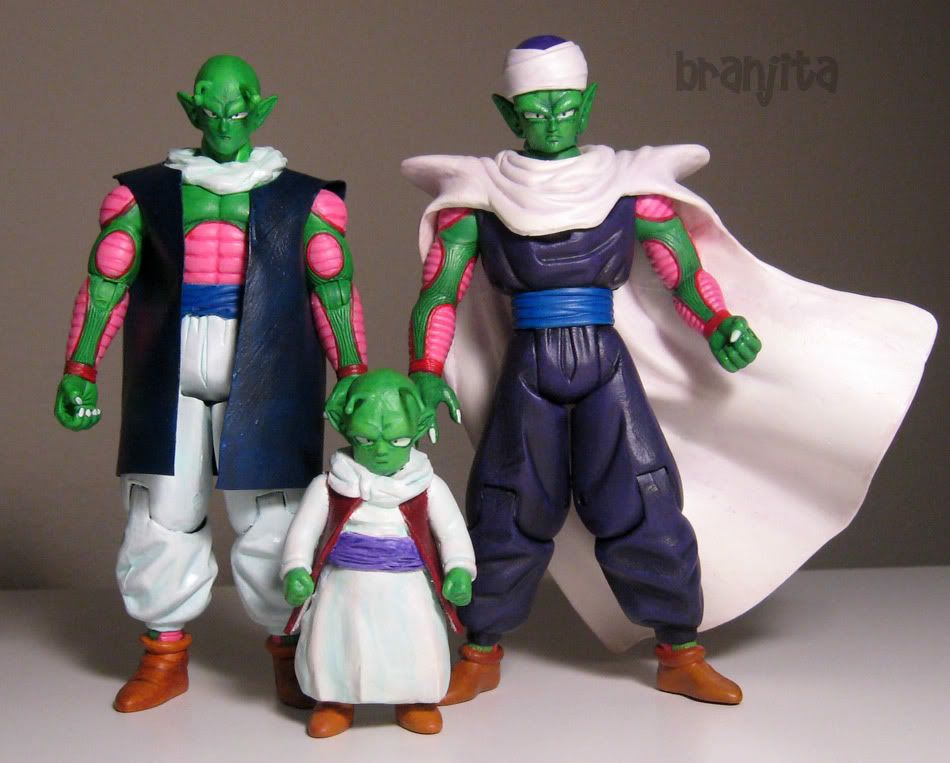
|
|
|
|
Post by Branjita on Aug 14, 2013 11:48:03 GMT -6
Jakks RaditzDifficulty: 9/10 How to make: Take Jakks Raditz, remove his head, and cut his legs shorter. I took the area out above his boots. Switch the boots so the geometry doesn't get messed up (it'll look like Raditz is standing on the side of his feet if you don't) and boil and pop the feet and switch them from the shins/boots. Pop the arms out, sculpt new upper arms onto the originals, and sculpt around the articulation. (Get the tail out while you're at it, because it's going to get in your way and scratch your paint off before it dries.) Had I not chosen to give Raditz one of my fancy paint jobs, the elbow articulation would have been retained. I like him better like I did him... fancy... so I have no regrets. After that, you need to sand him like crazy and spend a mind-boggling amount of time painting the body separately from the tail and head for the next... 20 or 30 hours approximately. Once that is done, heat up the head and tail in some boiled water for a minute or two and carefully put them back on after wiping all the water off them. Now spend forever painting the head, and don't bother with the tail. For the scouter I repainted it and made a new clear lens out of some clear lamination that was some excess from something Kinkos laminated for me years ago for school. Use permanent marker to color it lime green. Overall, I made this into a very lengthy project, but since I like Raditz, it was worth it. I had a lot of fun with his photos too. Enjoy! 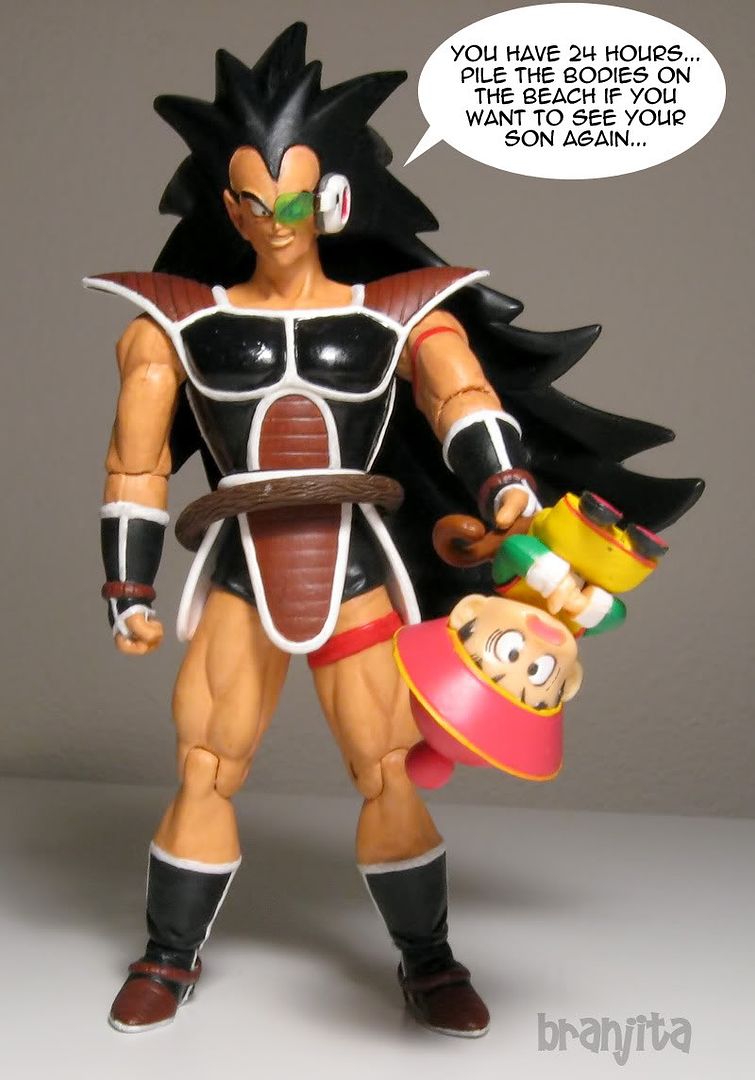 [img src="http://i48.photobucket.com/albums/f232/BrangetaBB/IMG_5110s-1.jpg [img src="http://i48.photobucket.com/albums/f232/BrangetaBB/IMG_5102s.jpg 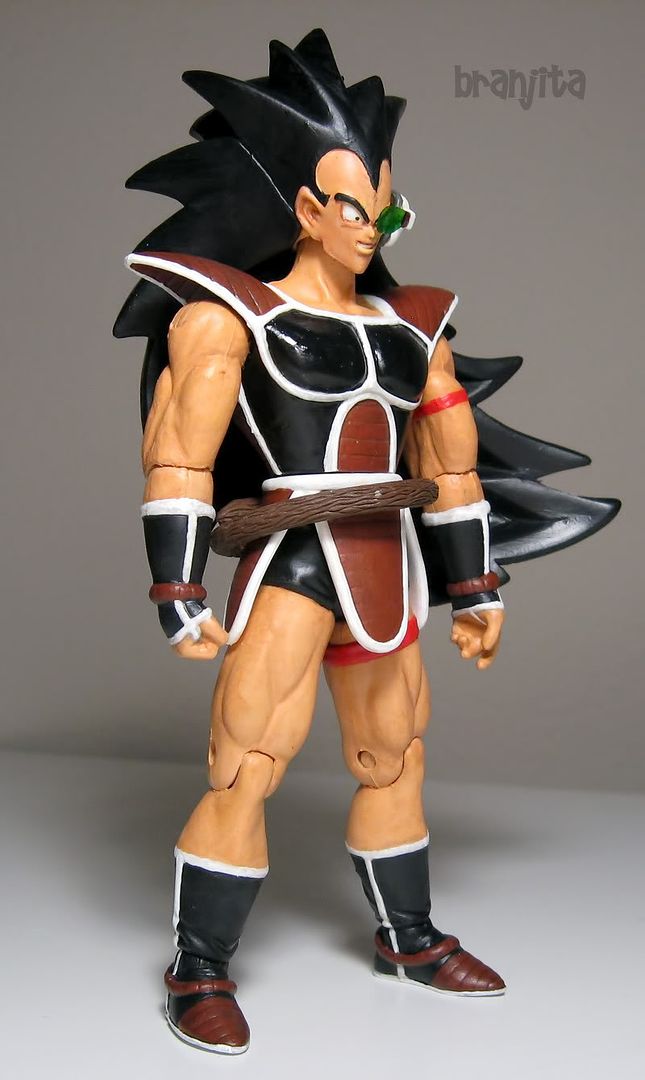 [img src="http://i48.photobucket.com/albums/f232/BrangetaBB/IMG_5105s.jpg I spent so damn long on painting it, including the backside that the hair covers, that there's no way I'm not showing it off. You can see the sculpt of the new upper arms pretty well now too. [img src="http://i48.photobucket.com/albums/f232/BrangetaBB/IMG_5086s.jpg [img src="http://i48.photobucket.com/albums/f232/BrangetaBB/IMG_5087s.jpg [img src="http://i48.photobucket.com/albums/f232/BrangetaBB/IMG_5088s.jpg Before and After (had to do this in Photoshop since I don't have another Raditz) 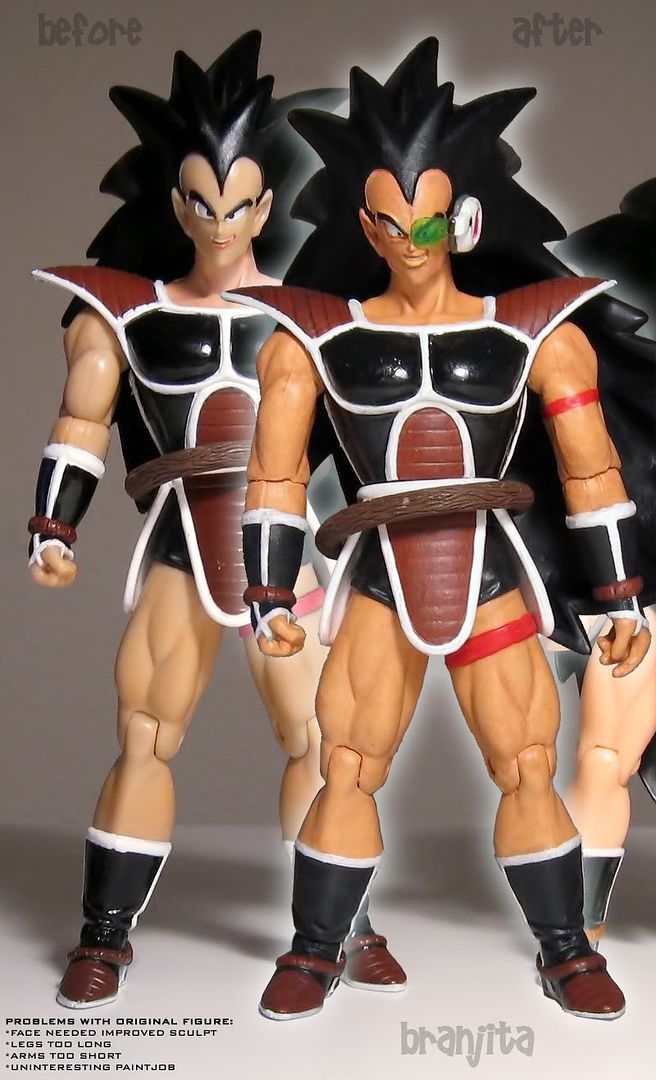 Compared to Irwin. 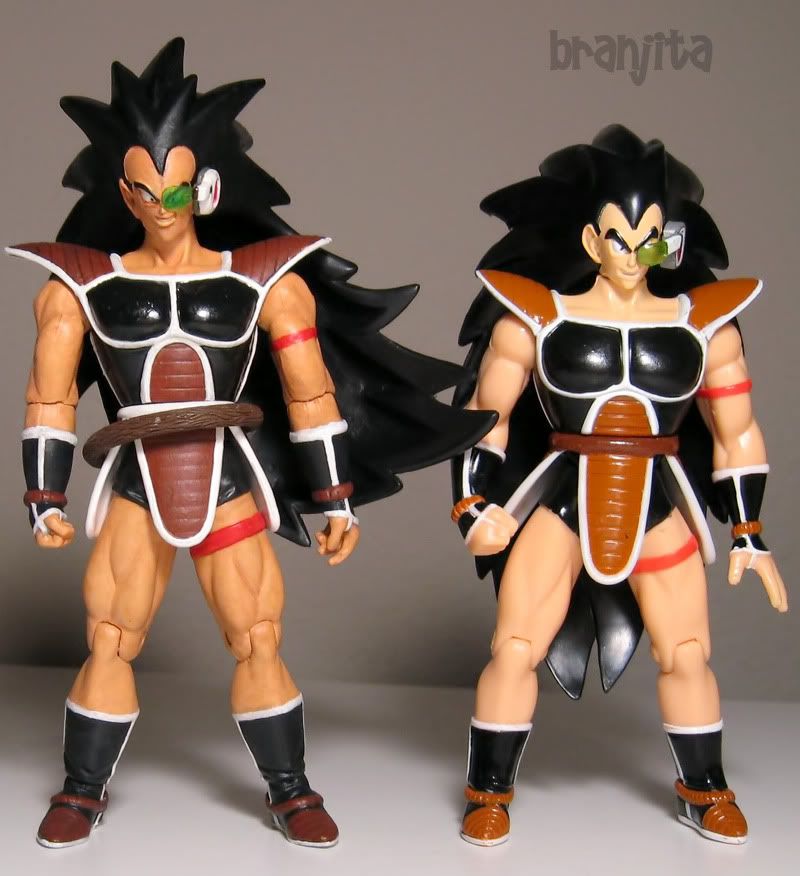 Nappa isn't looking too cool anymore. 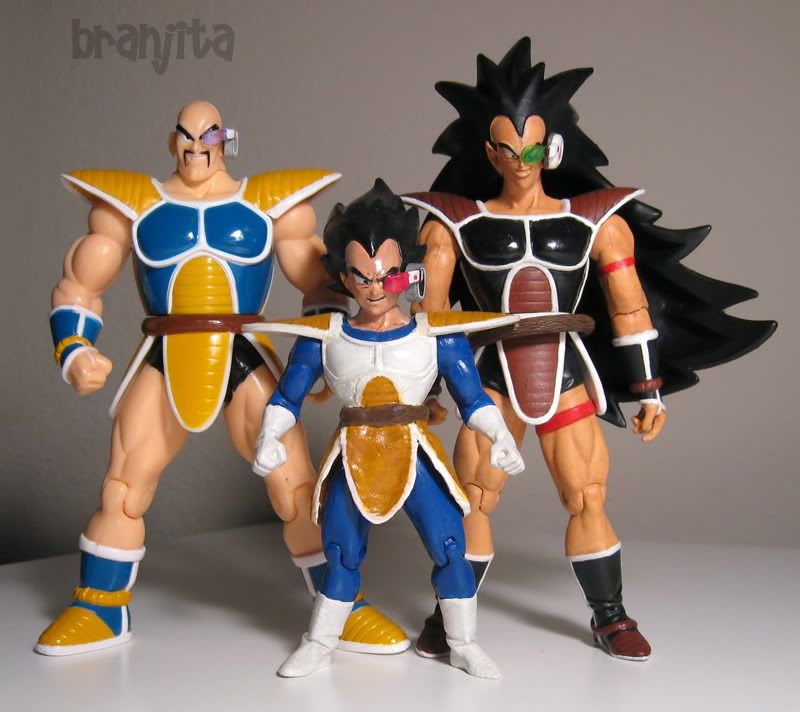 Compared to a lot of others, including Ginyu, who was also made from a Raditz. 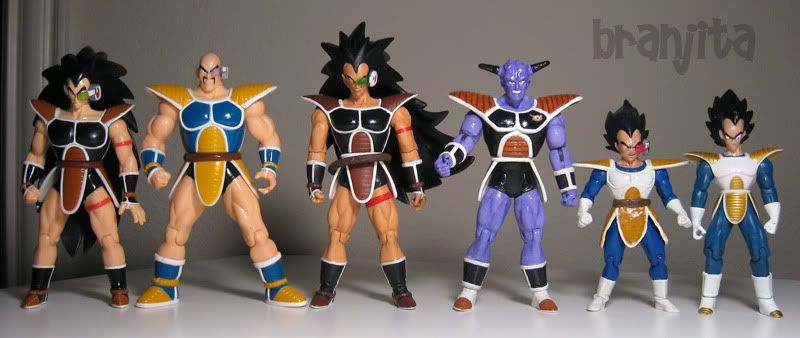 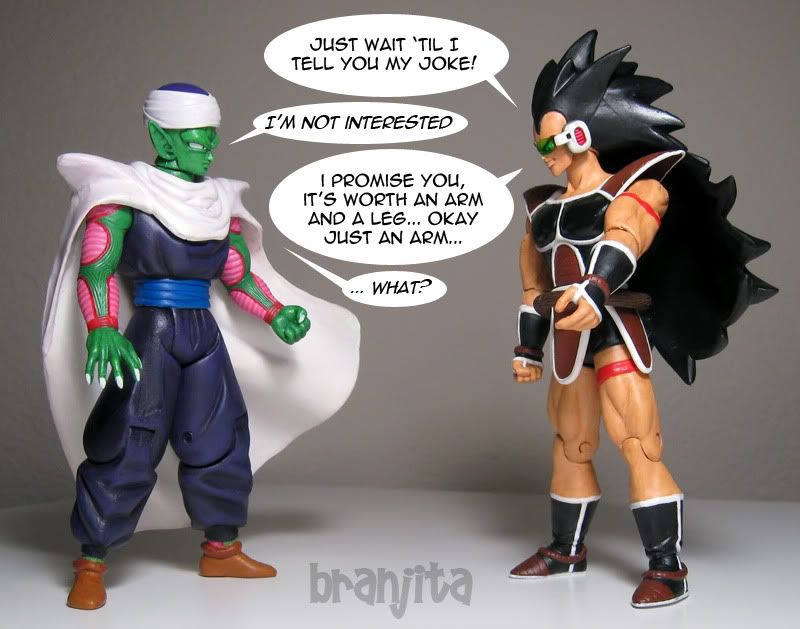 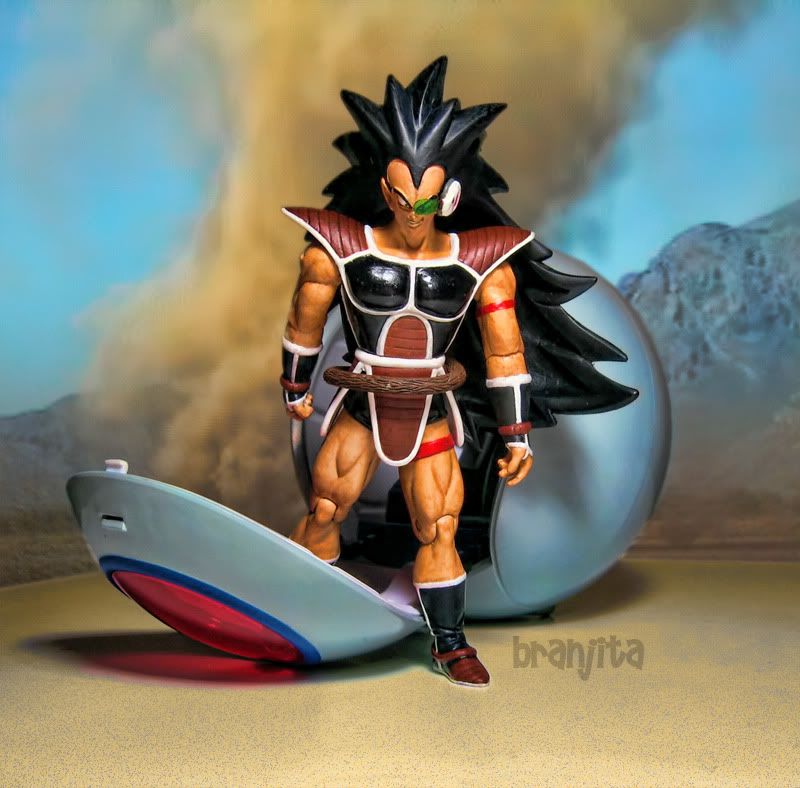
|
|
|
|
Post by Branjita on Aug 14, 2013 11:48:16 GMT -6
Sell Saga (get it???) YamchaDifficulty: 8/10 This Yamcha was created as my final, last, yes, I am repeating it twice, FINAL figure I plan on ever creating specifically to sell (edit from 2013: this didn't end up being true lol, CapsulexNike owns this Yamcha now though FYI). Thus, I wanted him to be amazing. I don't time myself when I customize, but I know I spent over 40 hours on this guy, and he wasn't always fun. But you know what? I have NEVER had so much fun playing with one of my custom figures before LOL. Most immediately go in my cabinet (like Raditz did) but I have been letting Yamcha get revenge on everyone who has ever pissed him off LOL and it has been so much fun. I'm very happy that my final custom ever specifically created to sell is my favorite character Yamcha. How to make: I'm not even going to get into specifics, it was a lot of work. He is made from series 5 SS Goku body, AB Gohan feet, series 7 SS Gohan belt/sash and heavily modified head. Hopefully before I sell this guy I can get some comparison shots with that Gohan (turlestuffle is sending me one). Some of these pics were created specifically for the ebay auction. I had a lot of fun with these! I <3 Yamcha! ;D 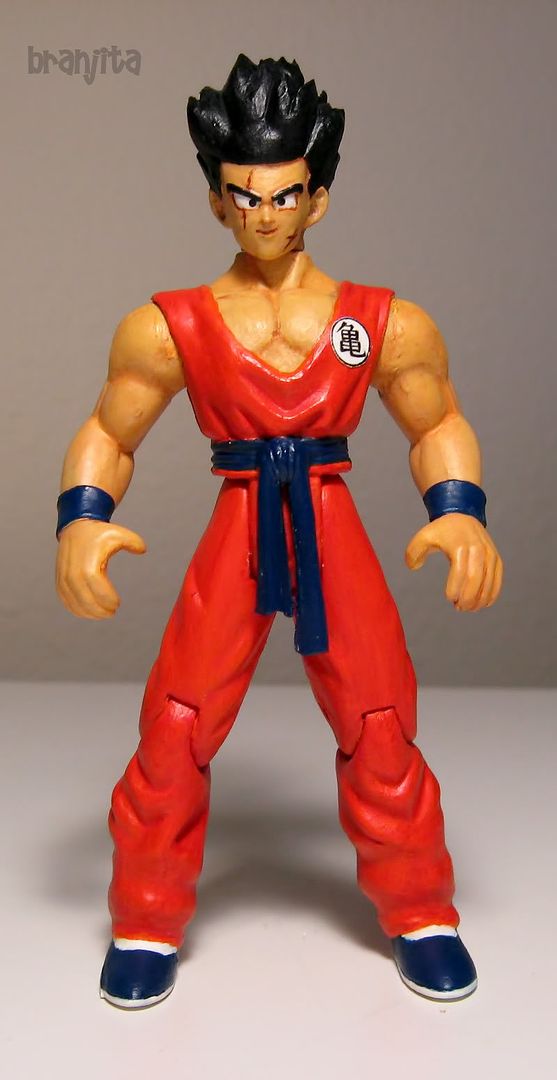 [img src="http://i48.photobucket.com/albums/f232/BrangetaBB/IMG_5189s.jpg [img src="http://i48.photobucket.com/albums/f232/BrangetaBB/IMG_5193s.jpg [img src="http://i48.photobucket.com/albums/f232/BrangetaBB/IMG_5194s.jpg [img src="http://i48.photobucket.com/albums/f232/BrangetaBB/IMG_5195s.jpg 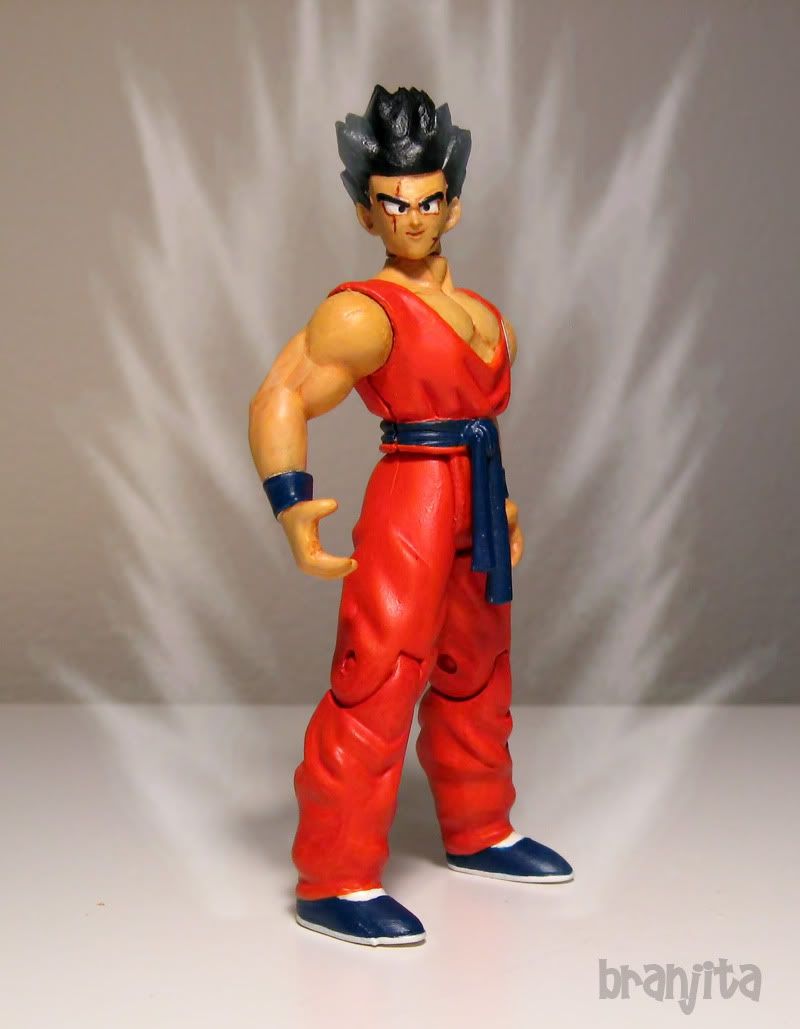 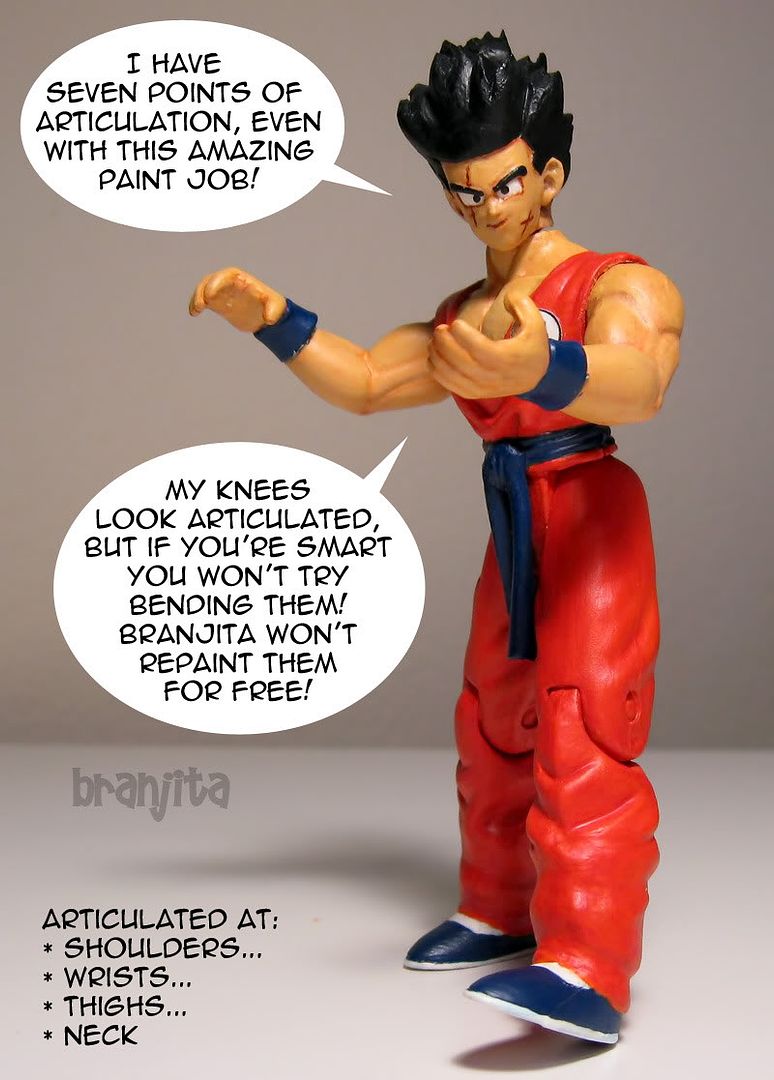 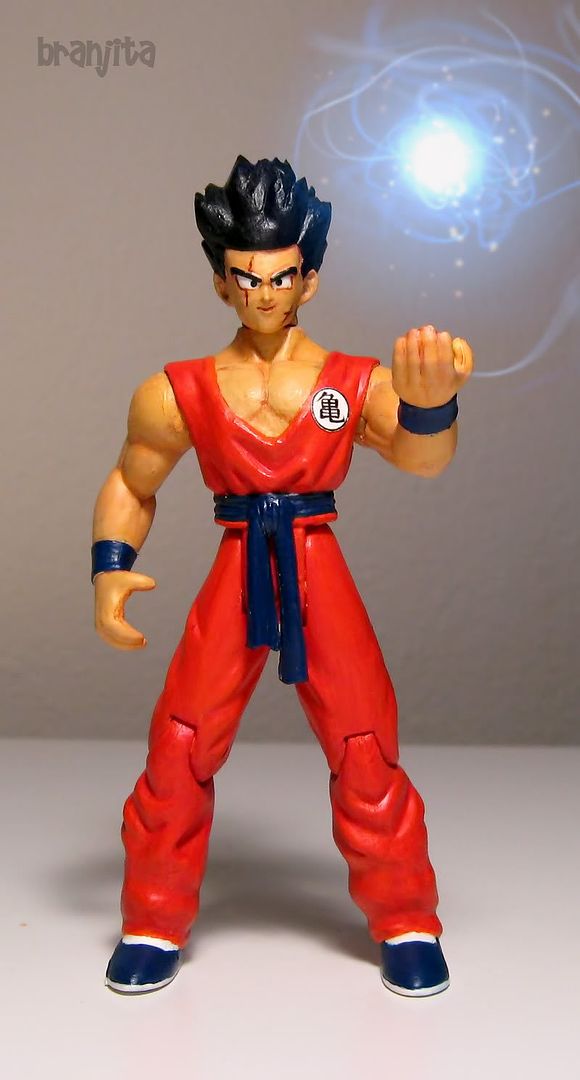 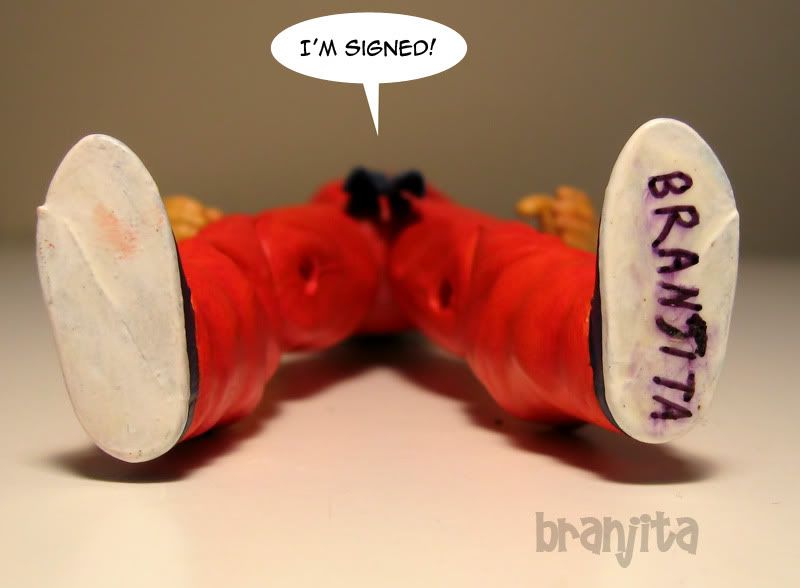 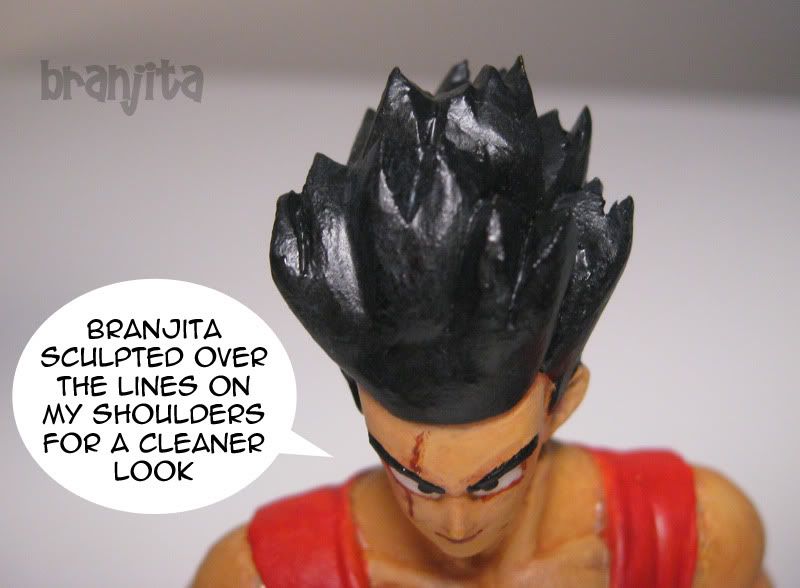 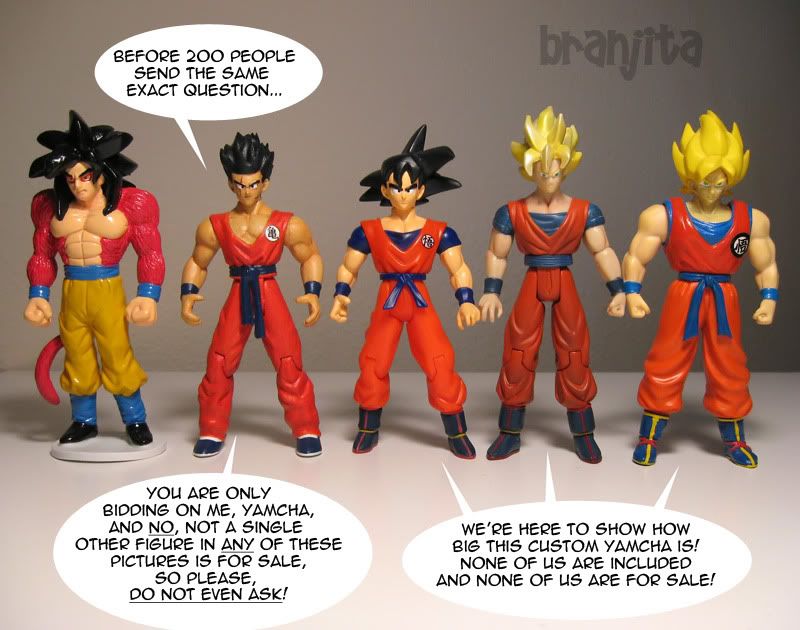 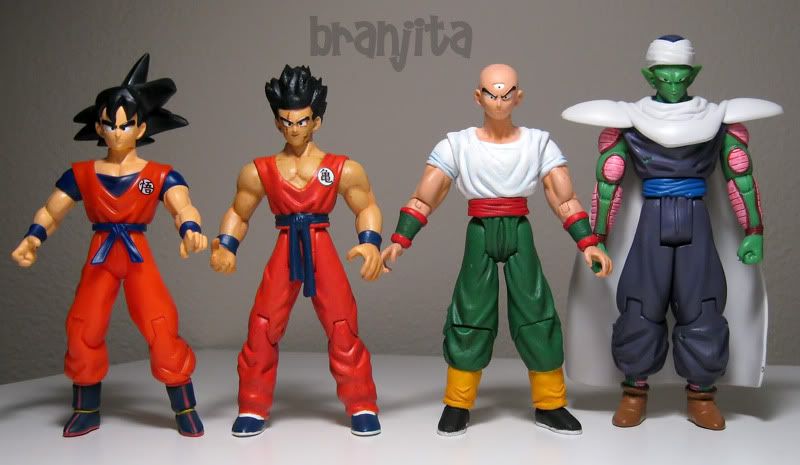 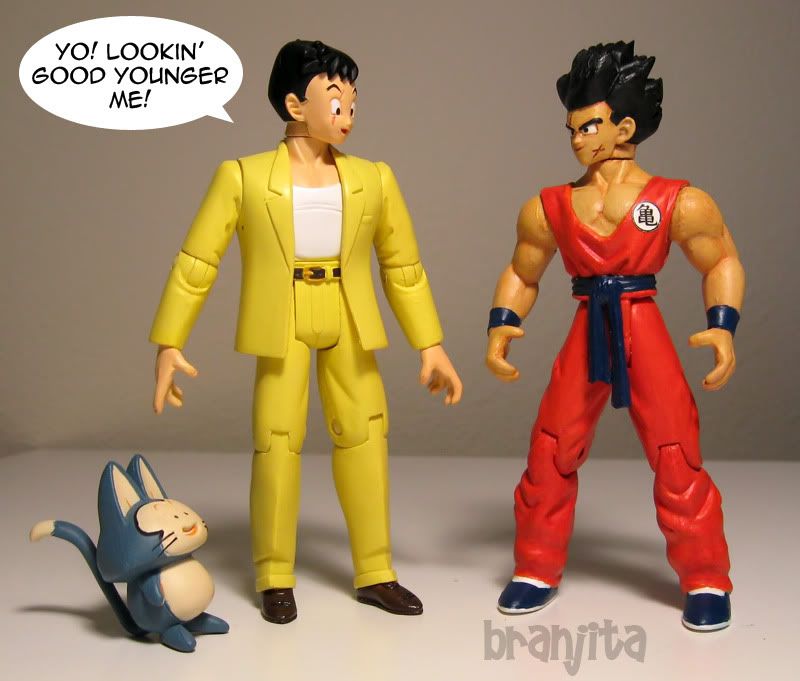 Time to start getting some revenge... lol 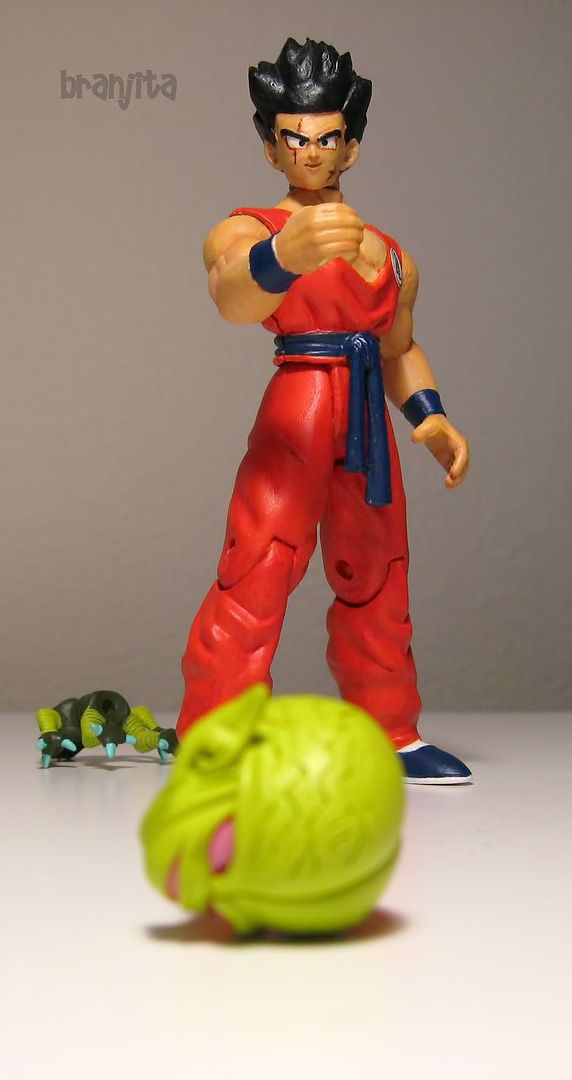 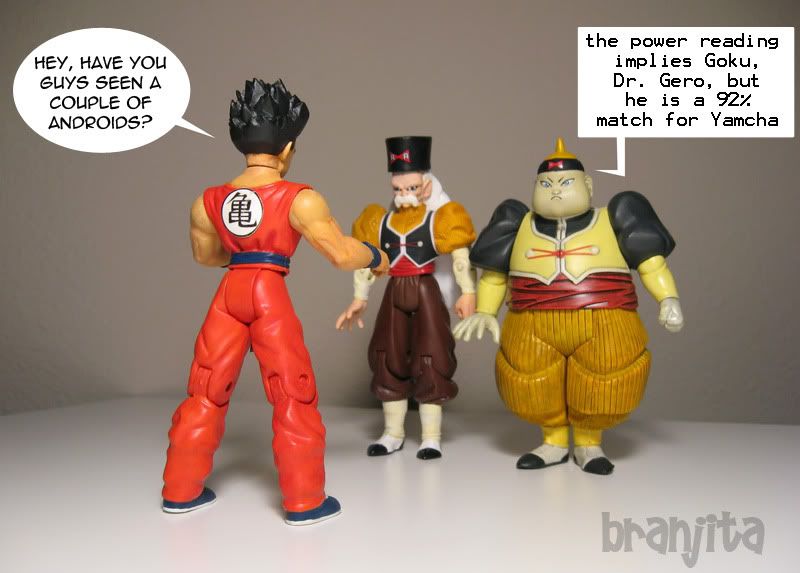 I didn't want to put this in the speech bubble... but... "How 'bout I put my foot up your ass for putting your hand through my chest?" 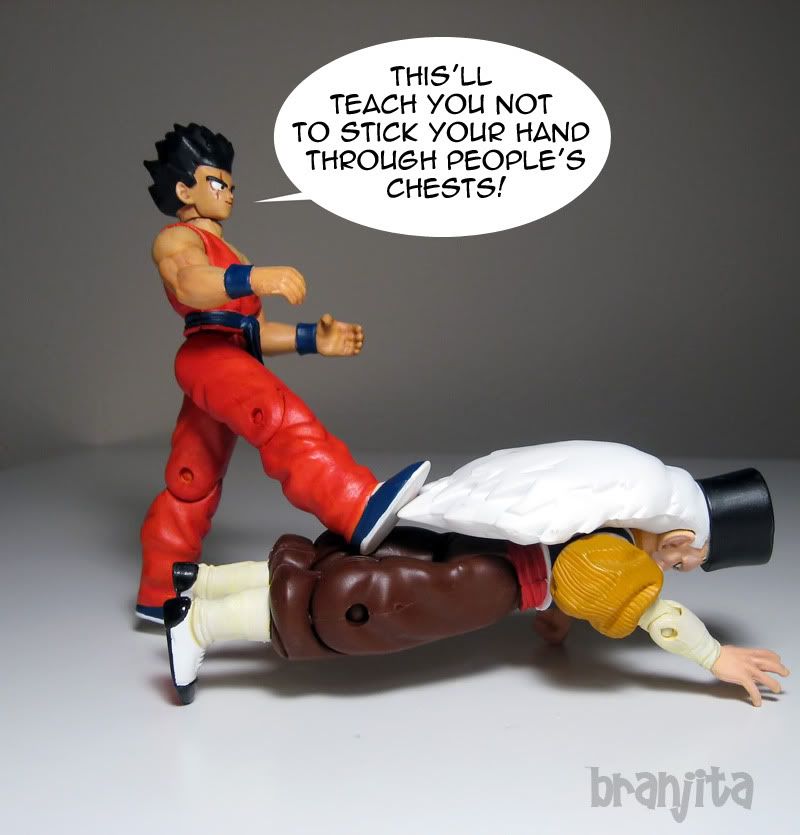 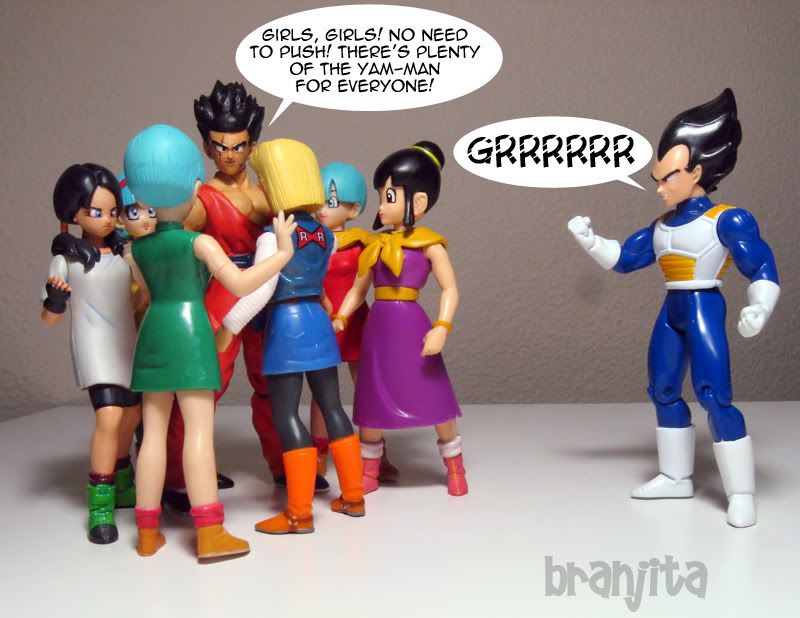 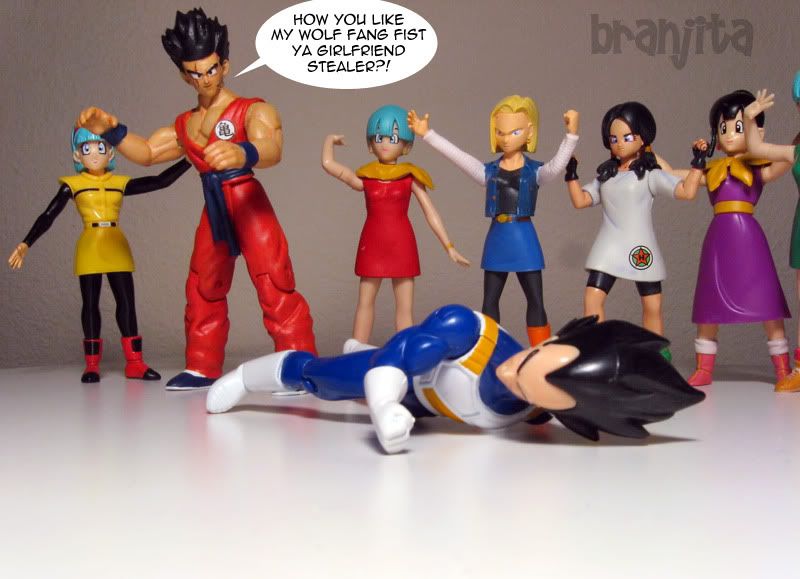 Edit: I have a series 7 SS Gohan now and can do a comparison pic. When I was making this Yamcha, I made the cheeks and forehead/sideburns wider, added the scars, modified the hair quite a bit obviously, and changed the hair line quite a lot on the back of the head, so he does not immediately scream that he was made with this head. 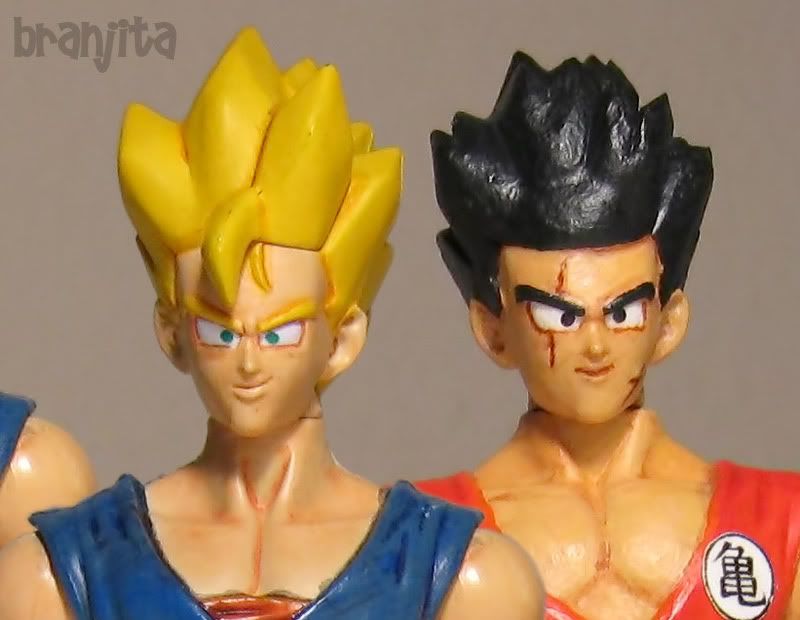 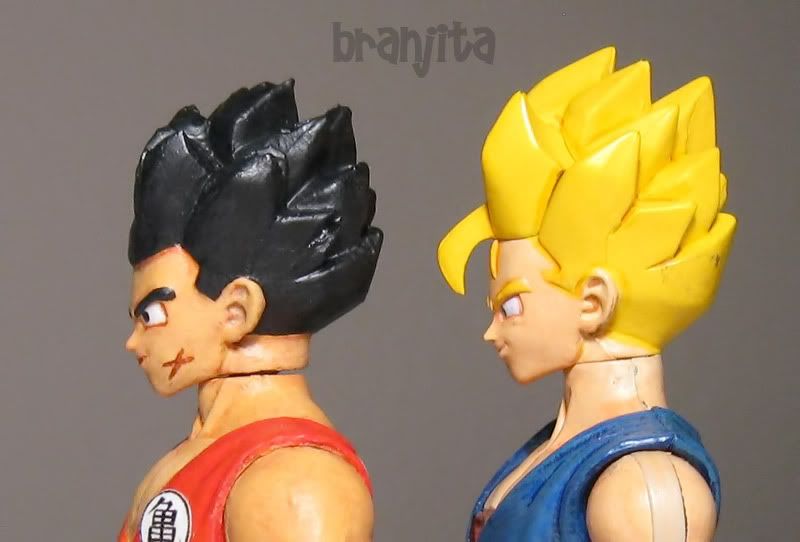
|
|
|
|
Post by Branjita on Aug 14, 2013 11:48:26 GMT -6
|
|
|
|
Post by Branjita on Aug 14, 2013 11:49:50 GMT -6
|
|
|
|
Post by Branjita on Aug 14, 2013 11:49:59 GMT -6
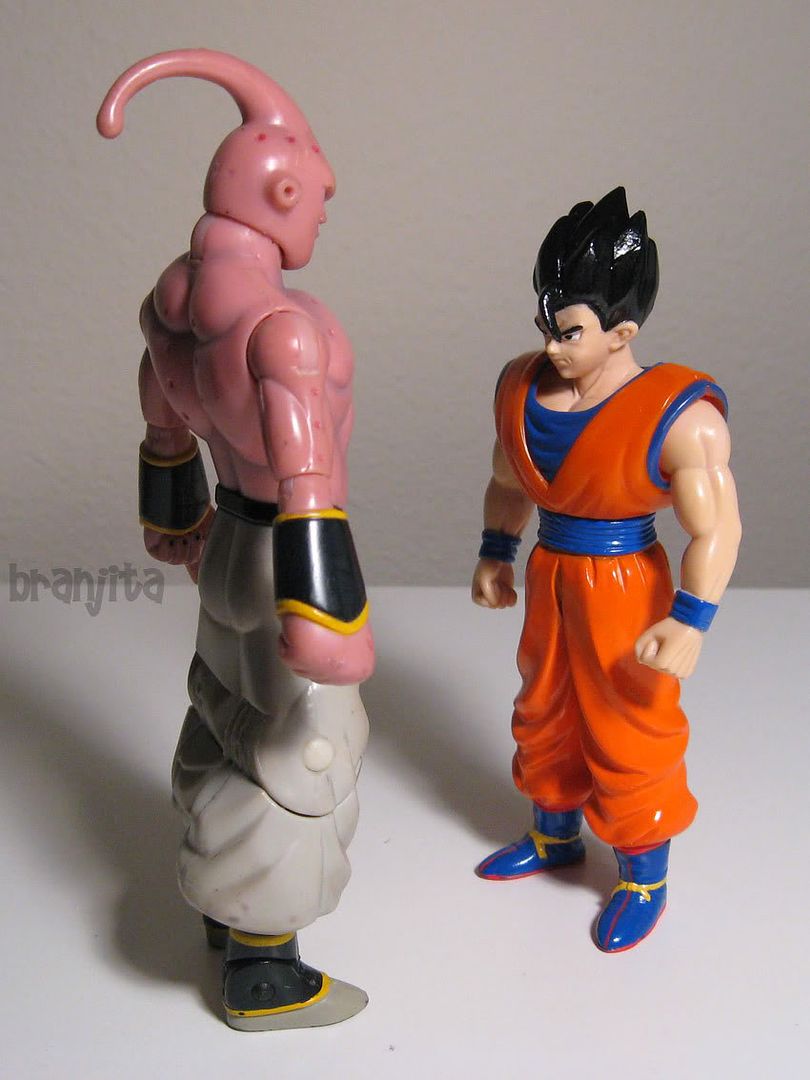
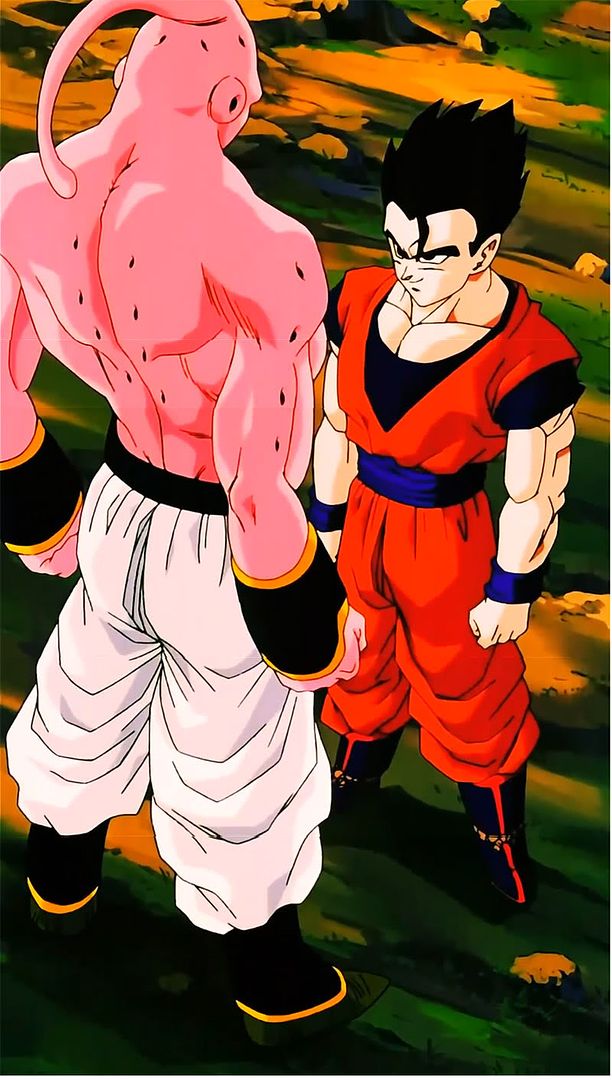
Buu saga SS GohanDifficulty: 5/10 How to make: The original figure is really cool, but his legs are extremely long and his arms (particularly the left one if I remember correctly--I don't think much had to be removed from the right arm at all) are slightly too long. Cut chunks out, epoxy back together (super glue won't hold this type of plastic permanently), fill in gaps with apoxie sculpt, sand, and paint. Took awhile, but was worth it. He's now one of my favorite figures! I only repainted his pants and portions of his wrist bands, skin, and belt. I normally do full repaints, but this figure is from when Irwin was REALLY painting things well, and their paint job particularly on the face is not something I want to compete with! The paint colors are very unusual and hard to match, but I did my best with what color I have to mix together. It's great to finally have a Gohan that is the same height as the others.  I had to photoshop the before and after picture together because I don't own another one of these Gohans, but I did have a very similar picture I took of him when he came in the mail. 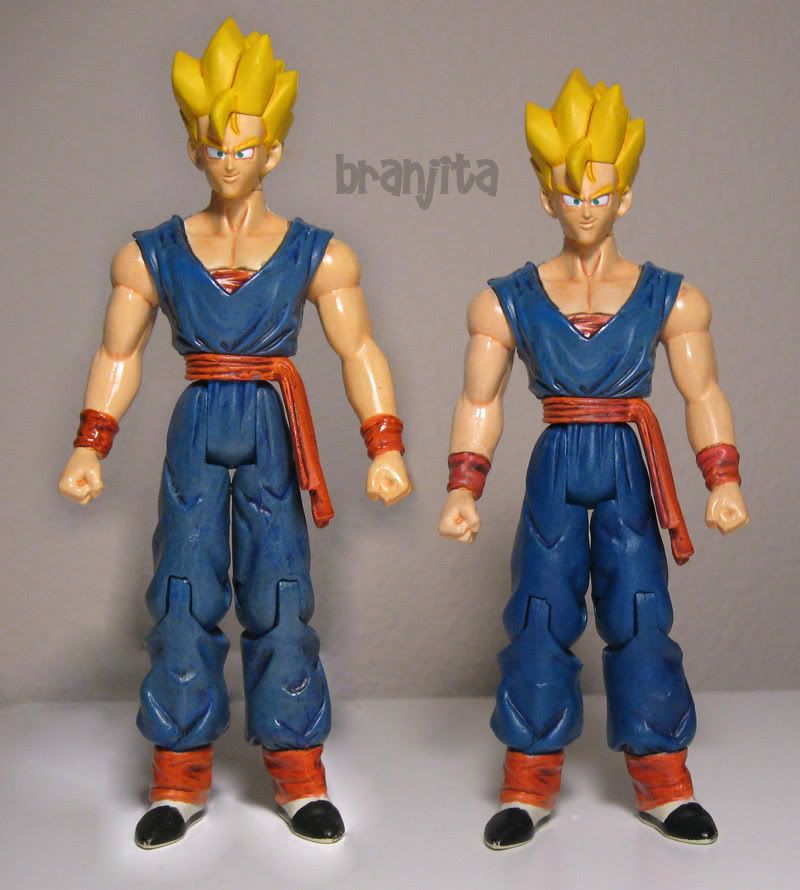 i48.photobucket.com/albums/f232/BrangetaBB/IMG_6290s.jpgi48.photobucket.com/albums/f232/BrangetaBB/IMG_6291s.jpgi48.photobucket.com/albums/f232/BrangetaBB/IMG_6292s.jpgi48.photobucket.com/albums/f232/BrangetaBB/IMG_6293s.jpgi48.photobucket.com/albums/f232/BrangetaBB/IMG_6294s.jpg i48.photobucket.com/albums/f232/BrangetaBB/IMG_6290s.jpgi48.photobucket.com/albums/f232/BrangetaBB/IMG_6291s.jpgi48.photobucket.com/albums/f232/BrangetaBB/IMG_6292s.jpgi48.photobucket.com/albums/f232/BrangetaBB/IMG_6293s.jpgi48.photobucket.com/albums/f232/BrangetaBB/IMG_6294s.jpg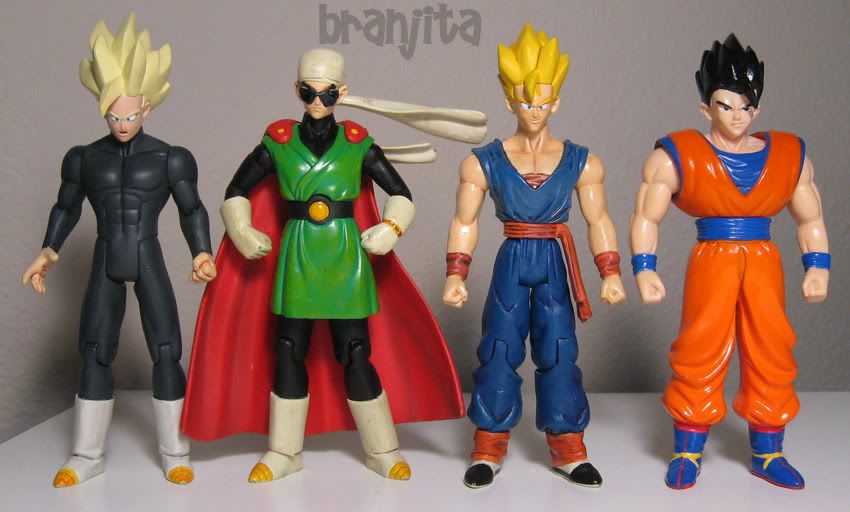 i48.photobucket.com/albums/f232/BrangetaBB/IMG_6296s.jpg i48.photobucket.com/albums/f232/BrangetaBB/IMG_6296s.jpg
|
|
|
|
Post by Branjita on Aug 14, 2013 11:50:11 GMT -6
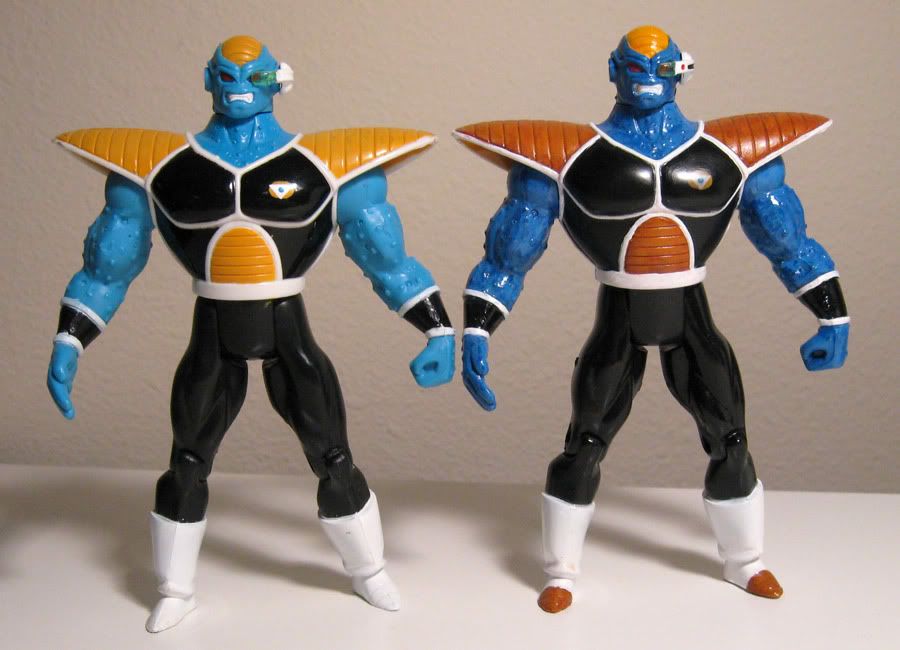
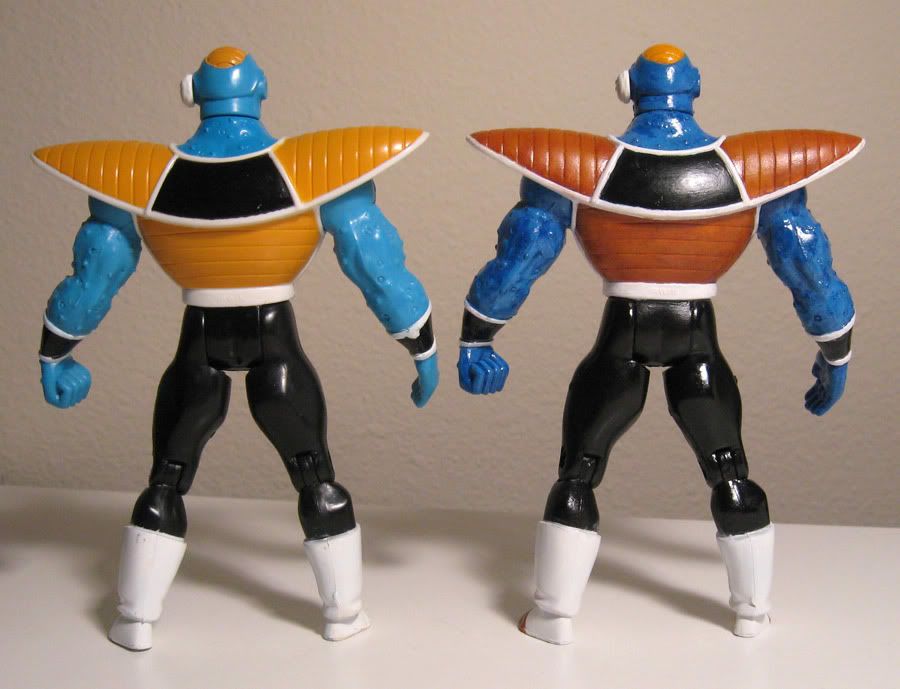
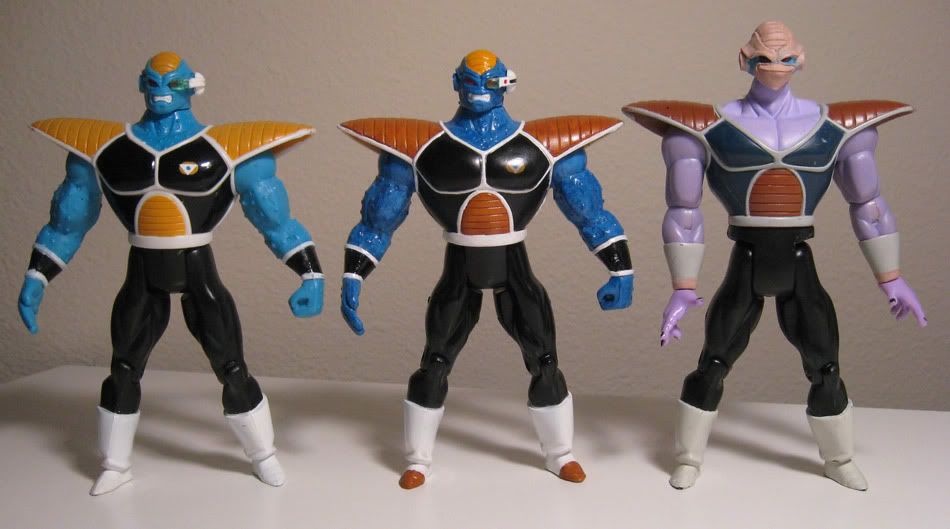
BurterDifficulty: 9/10 How to make: I've always liked Burter as a character, because in some artwork (not much to be honest!) the guy is REALLY well drawn and has really unusual proportions. This guy took a lot of hours, but as far as difficulty goes, he wasn't as hard to make as some of the others I have created! Sculpting-wise he wasn't too bad, but the engineering to make him actually work was quite difficult. I mean, lengthening the legs... filling the hole for the tail... extending the wrists... there was a lot of work to make this guy as good as he is. I really like how he turned out. First, you'll need a Jakks King Cold. If you have him, you can probably make Burter, but I decided to use some other parts to make him better and save myself a bit of sculpting. I used Irwin Burter legs (extended them with cork and apoxie), Irwin Burter head (HEAVILY cut down and resculpted), Jakks Captain Ginyu hands, and the rest was all King Cold. The minor stuff takes hours on this guy, from removing King Cold's wrist details, to sculpting the new hands in, to... well... everything! Fortunately none of it was hard compared to... for example... sculpting Goz and Mez. I currently have Burter's elbow, shoulder, and wrist articulation disabled. Once the clear has had a few days to dry, I could risk cutting the joints and giving him some mobility but I currently don't see the point. He looks badass, and if I do that, he'll end up having to look a bit more like his friend Ginyu with damaged paint on his joints. Speaking of Ginyu, I finally made him a scouter the same time I made Burter one. It's clear packaging for the lens with lime green permanent marker, foam sheet for the lens holder, and apoxie sculpt for the rest of the scouter. To get the scouter to clip onto Burter's ear, I used the hot glue trick I learned about on figurerealm.com. Use Vaseline on the figure, put hot glue in what you sculpted (the scouter) and stick it on and rotate it. It'll perfectly mold to the head and thus not need a peg in this case. I don't have it attached perfectly in most of these pics, but oh well. For Ginyu's scouter, I did the same trick, but since he already has a hole in his head, I used a toothpick for the peg, drilled the hole toothpick-size, and used a similar trick of using vaseline to keep the apoxie sculpt from sticking to the head while I sculpted the scouter. For the head, I made a peg for it out of apoxie and then used the hot glue trick to attach it to the head. Works like a factory figure basically. All in all, everything turned out real nice. I'm disappointed I got my finger stuck to the symbol I designed and put on crooked and that black shows so many flaws and is a bit glumpy by nature, but otherwise I'm very happy with everything. Maybe someday when I run out of projects I'll replace Jeice's Ginyu Force symbol and repaint Ginyu's joints and do a bit of other work on him. I would like to work on redoing Recoome and making a Guldo sometime later this year. Enjoy what I consider to be my new favorite custom. If anyone is interested in my old Irwin Burter repaint, I will sell him for $250 plus shipping. I don't want to take less and am only willing to part with him because he's now redundant, but I don't need to get rid of him so... no haggling accepted. 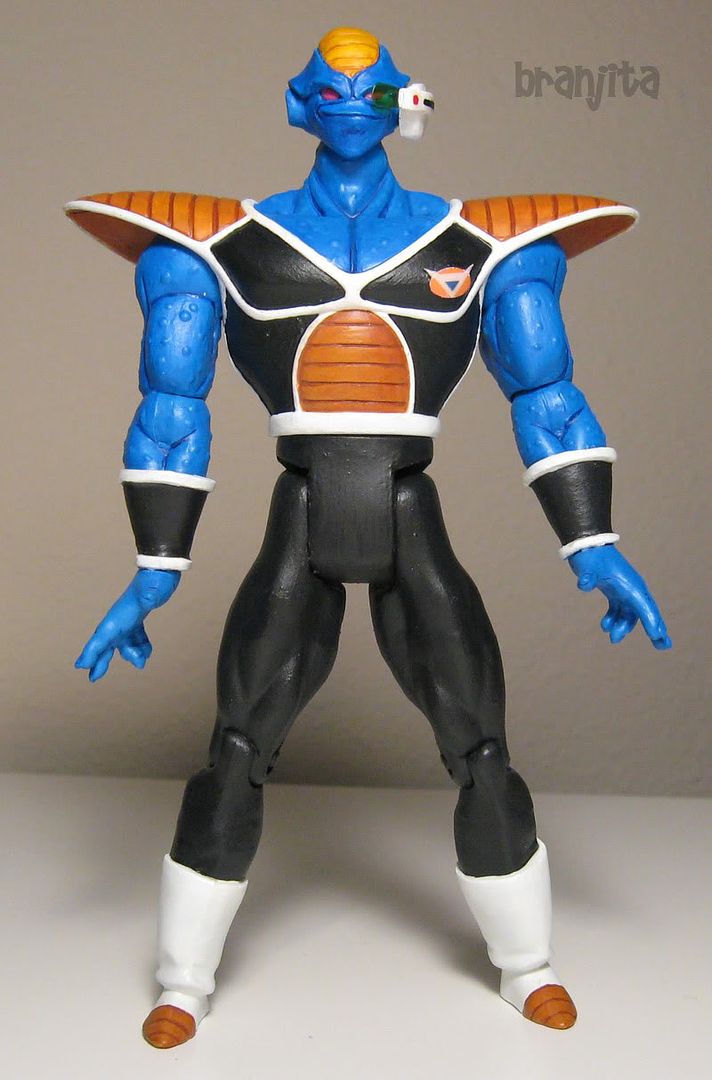 i48.photobucket.com/albums/f232/BrangetaBB/IMG_6306s.jpgi48.photobucket.com/albums/f232/BrangetaBB/IMG_6307s.jpg i48.photobucket.com/albums/f232/BrangetaBB/IMG_6306s.jpgi48.photobucket.com/albums/f232/BrangetaBB/IMG_6307s.jpg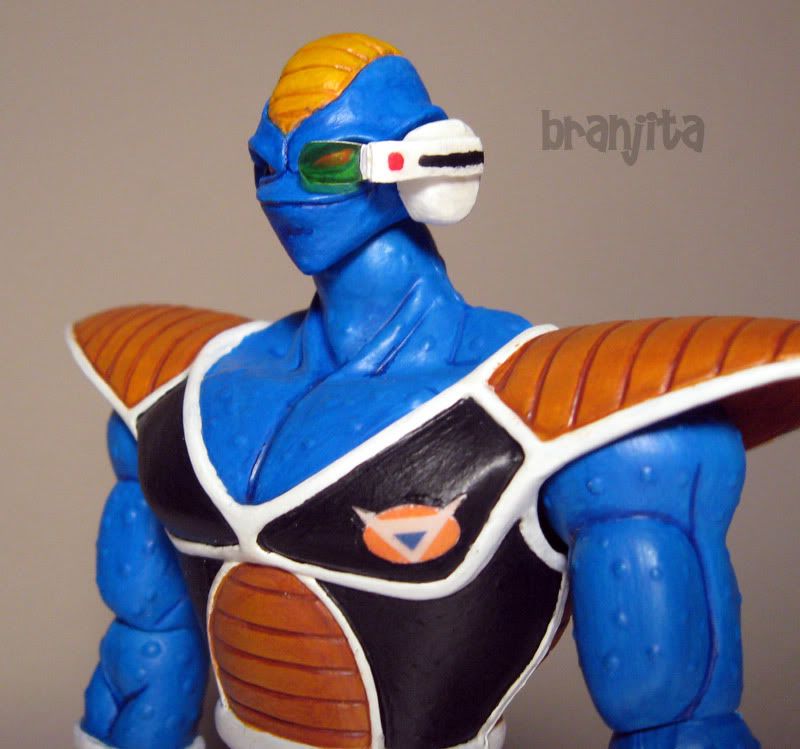 i48.photobucket.com/albums/f232/BrangetaBB/IMG_6309s.jpgi48.photobucket.com/albums/f232/BrangetaBB/IMG_6310s.jpgi48.photobucket.com/albums/f232/BrangetaBB/IMG_6311s.jpg i48.photobucket.com/albums/f232/BrangetaBB/IMG_6309s.jpgi48.photobucket.com/albums/f232/BrangetaBB/IMG_6310s.jpgi48.photobucket.com/albums/f232/BrangetaBB/IMG_6311s.jpg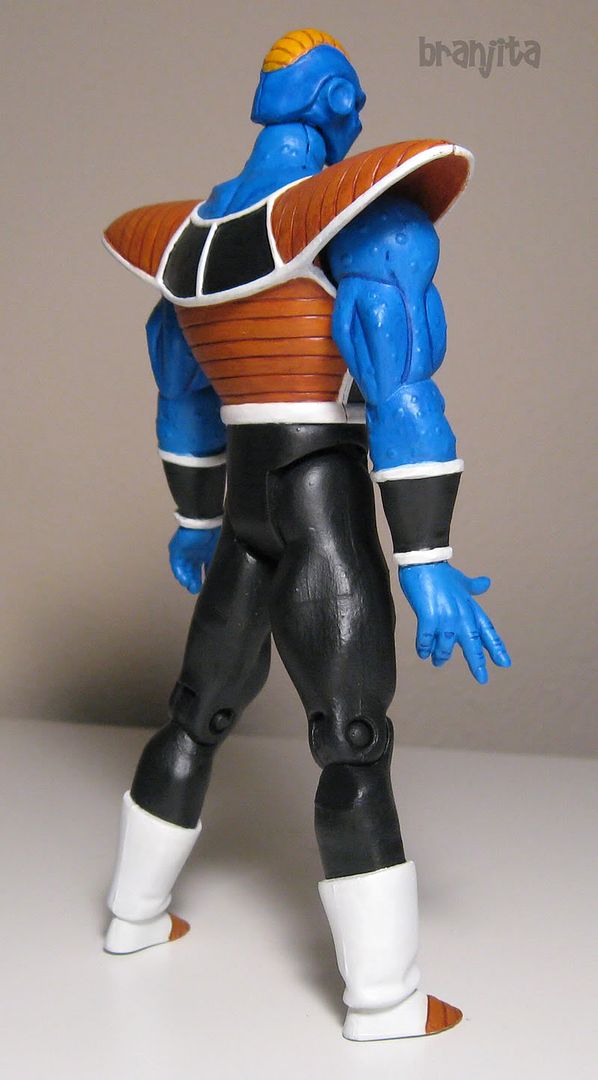 i48.photobucket.com/albums/f232/BrangetaBB/IMG_6313s.jpgi48.photobucket.com/albums/f232/BrangetaBB/IMG_6314s.jpg i48.photobucket.com/albums/f232/BrangetaBB/IMG_6313s.jpgi48.photobucket.com/albums/f232/BrangetaBB/IMG_6314s.jpg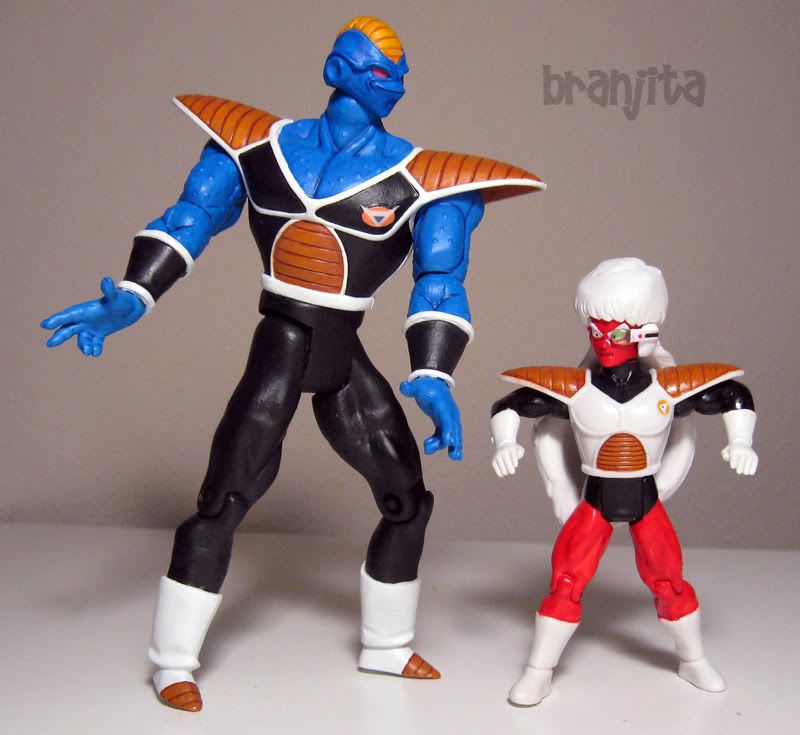 i48.photobucket.com/albums/f232/BrangetaBB/IMG_6318s.jpg i48.photobucket.com/albums/f232/BrangetaBB/IMG_6318s.jpgI have the scouter properly attached and covering his eye in these next two pics... I didn't feel like retaking the other photos. 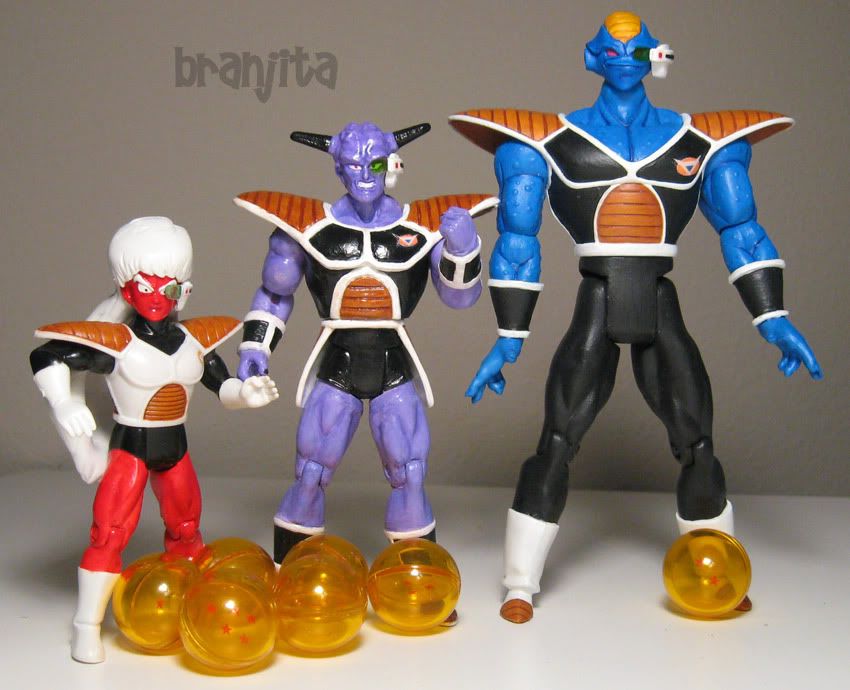 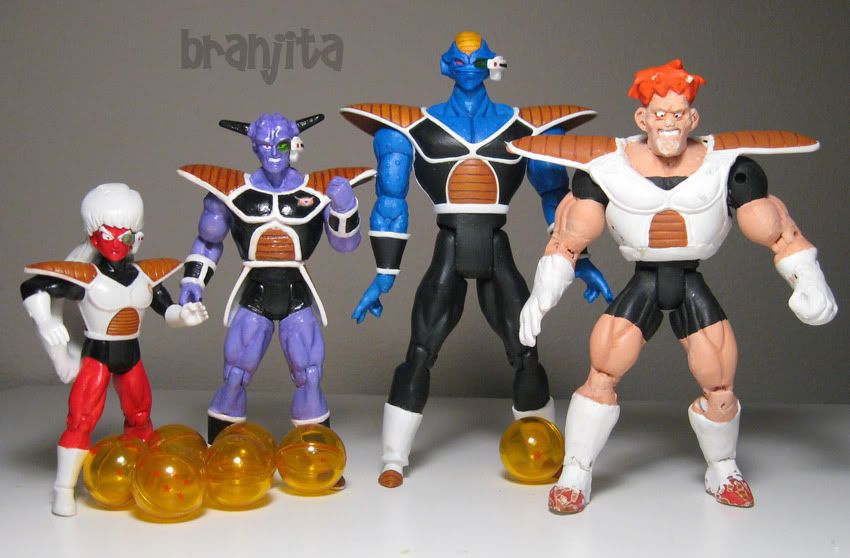 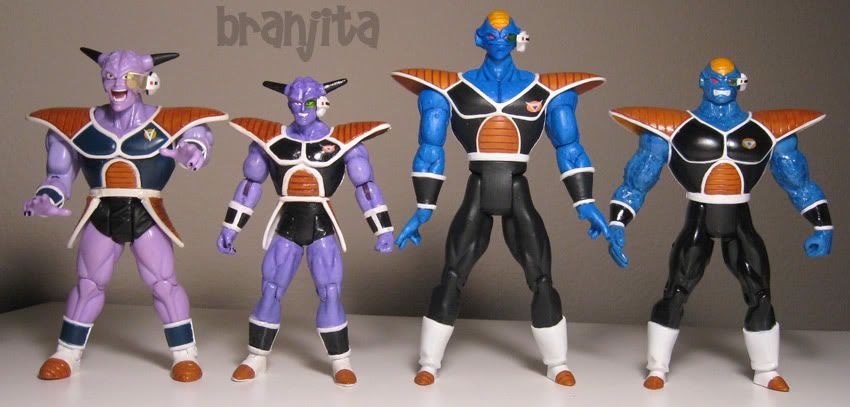 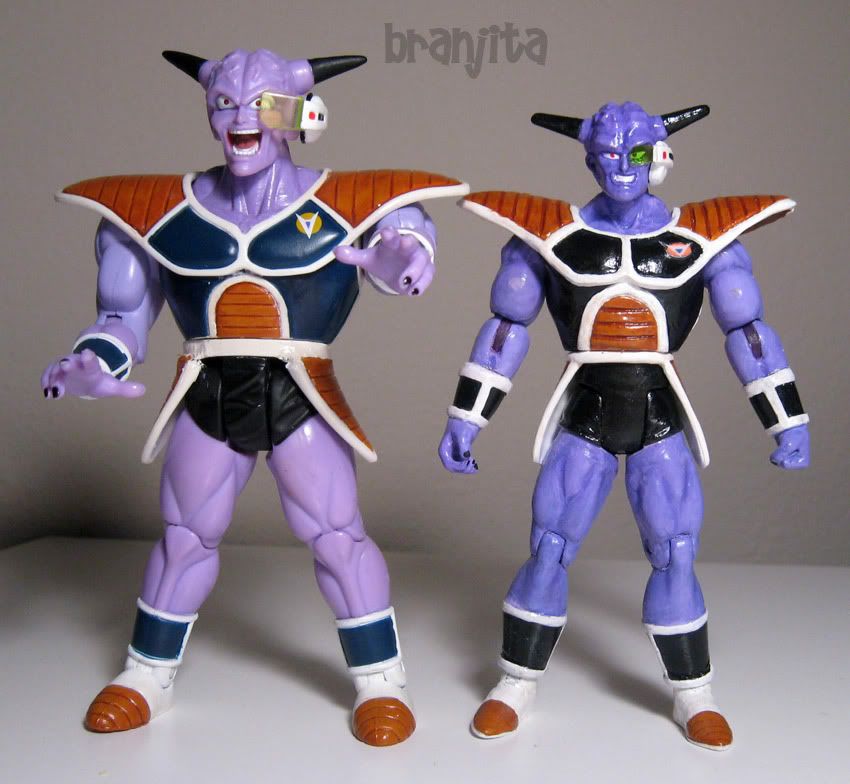 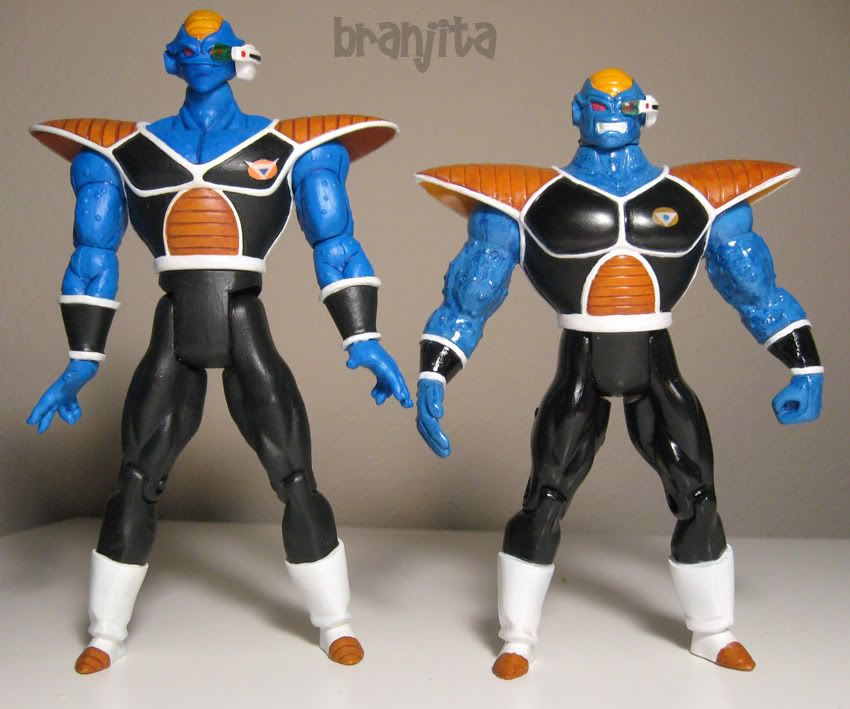 It's interesting to see just how tall Burter is now that he's integrated back into my collection. 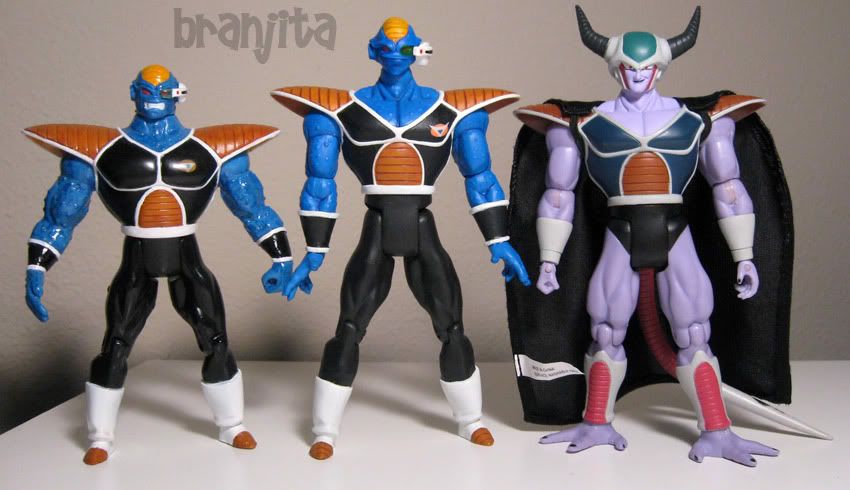 i48.photobucket.com/albums/f232/BrangetaBB/IMG_6322s.jpgfc04.deviantart.net/fs71/i/2010/033/6/2/Dragonball_Namek_Saga_by_Nostal.jpg i48.photobucket.com/albums/f232/BrangetaBB/IMG_6322s.jpgfc04.deviantart.net/fs71/i/2010/033/6/2/Dragonball_Namek_Saga_by_Nostal.jpg
|
|
|
|
Post by Branjita on Aug 14, 2013 11:50:19 GMT -6
|
|
|
|
Post by Branjita on Aug 14, 2013 11:50:46 GMT -6
|
|
|
|
Post by Branjita on Aug 14, 2013 11:51:30 GMT -6
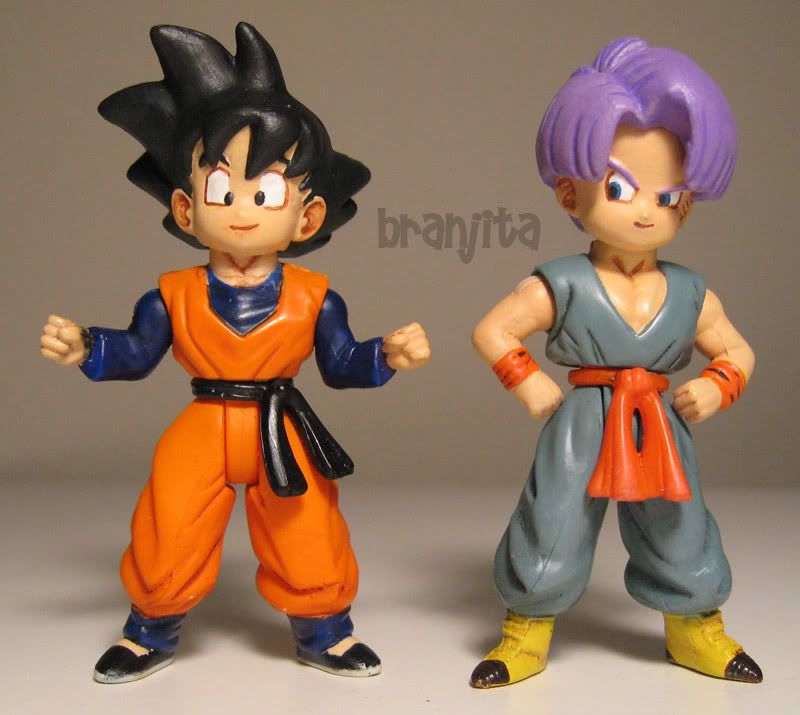
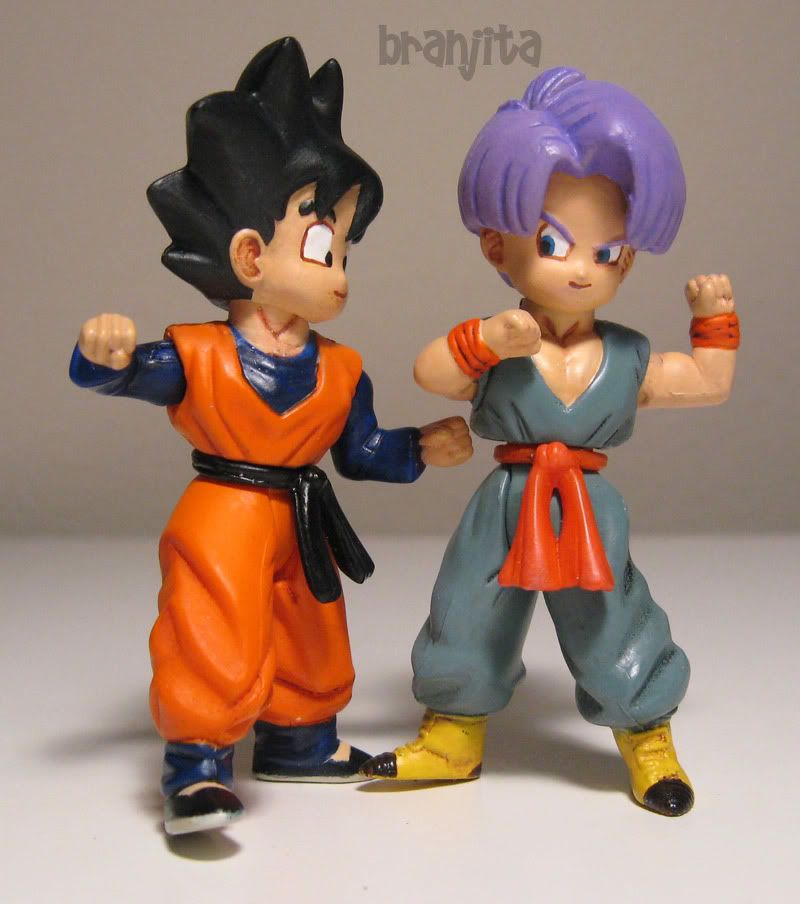
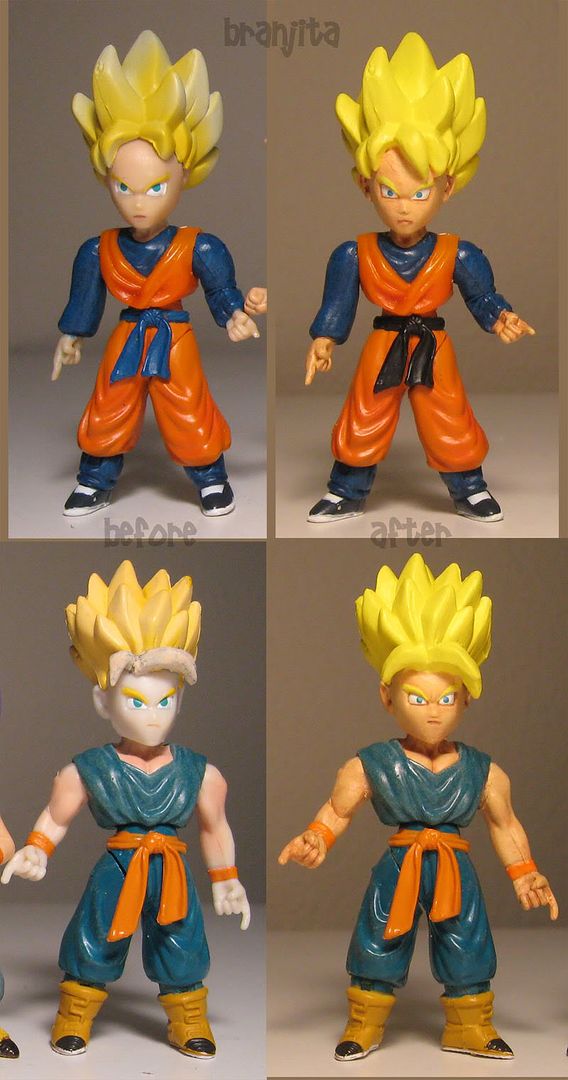
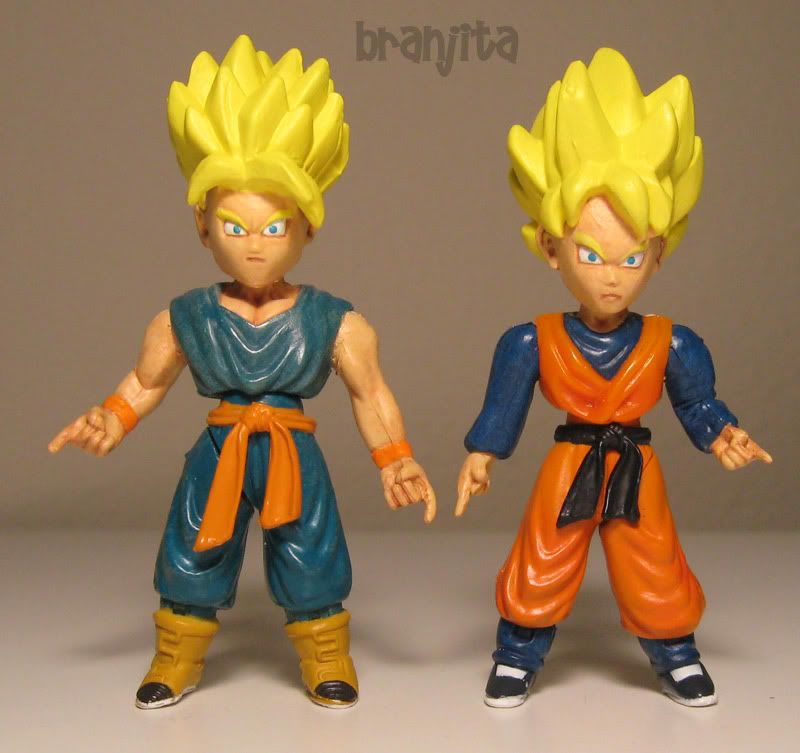
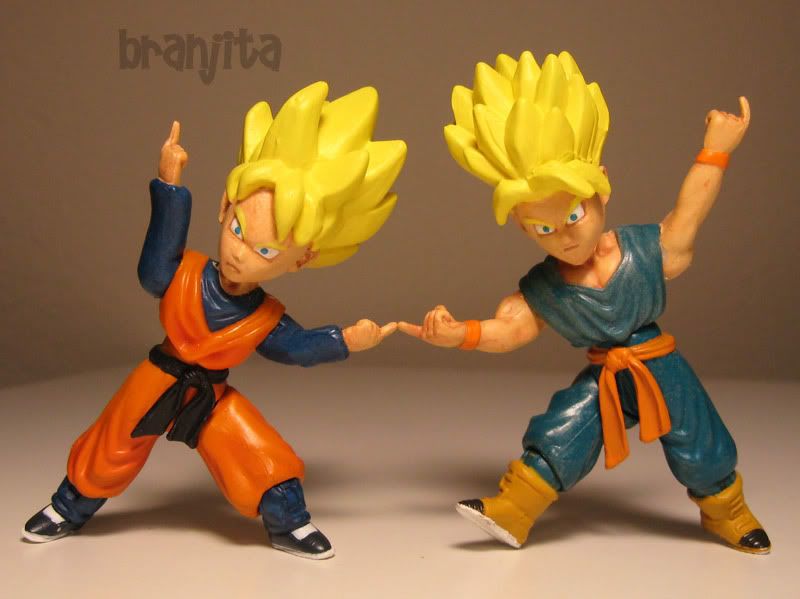
End of DBZ PanDifficulty: 5/10 How to make: This is an older custom I had to restore. I didn't fully restore it, I just touched it up. It's made from parts of Irwin SS Goten and SS Trunks. Goten's head with the hair removed (a difficult process), Trunks arms and maybe torso (don't remember), and Goten's legs. The hair is sculpted from scratch out of marblex clay if I remember right, which really isn't very suitable for figures because if she falls, her hair breaks and I have to glue it back on. Anyway, I didn't want to completely redo this custom, just fix the paint, so I did that and cleared her and she looks cute again. FYI, Goku has never been cleared, so if you need to see a reference of how model master's flat clear acryl changes a figure, you can tell in the last two shots... it doesn't change very much and gets rid of the terracotta pottery texture and makes the figures look more factory finish. 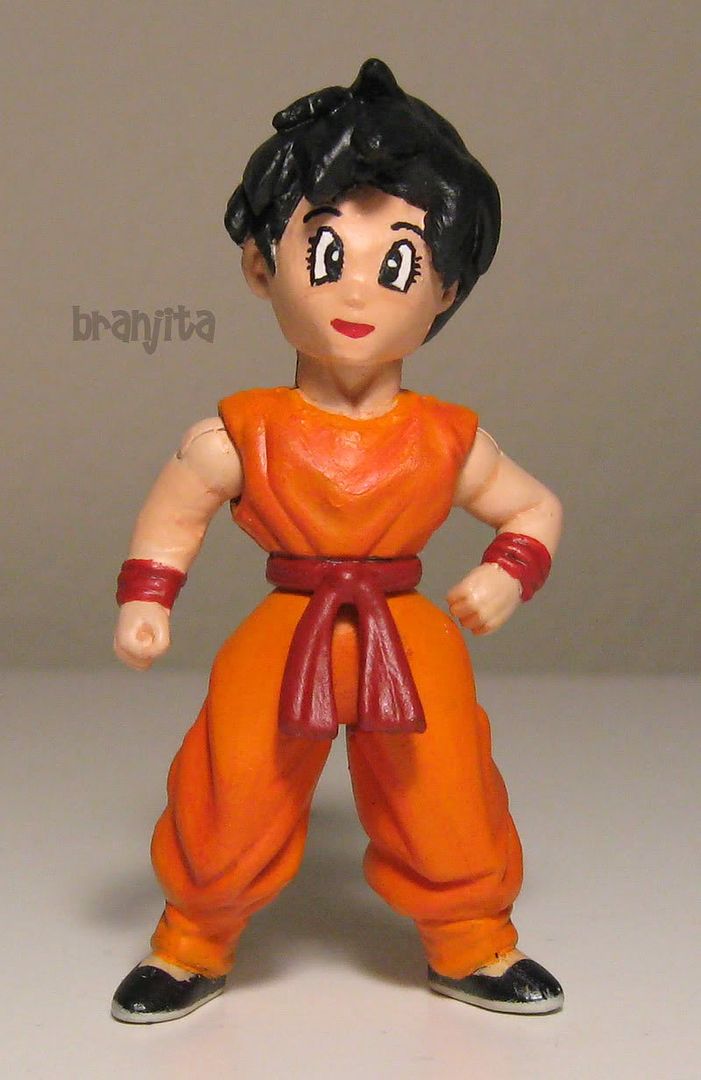 i48.photobucket.com/albums/f232/BrangetaBB/IMG_6446.jpgi48.photobucket.com/albums/f232/BrangetaBB/IMG_6447.jpgi48.photobucket.com/albums/f232/BrangetaBB/IMG_6448.jpgi48.photobucket.com/albums/f232/BrangetaBB/IMG_6449.jpgi48.photobucket.com/albums/f232/BrangetaBB/IMG_6450.jpg i48.photobucket.com/albums/f232/BrangetaBB/IMG_6446.jpgi48.photobucket.com/albums/f232/BrangetaBB/IMG_6447.jpgi48.photobucket.com/albums/f232/BrangetaBB/IMG_6448.jpgi48.photobucket.com/albums/f232/BrangetaBB/IMG_6449.jpgi48.photobucket.com/albums/f232/BrangetaBB/IMG_6450.jpg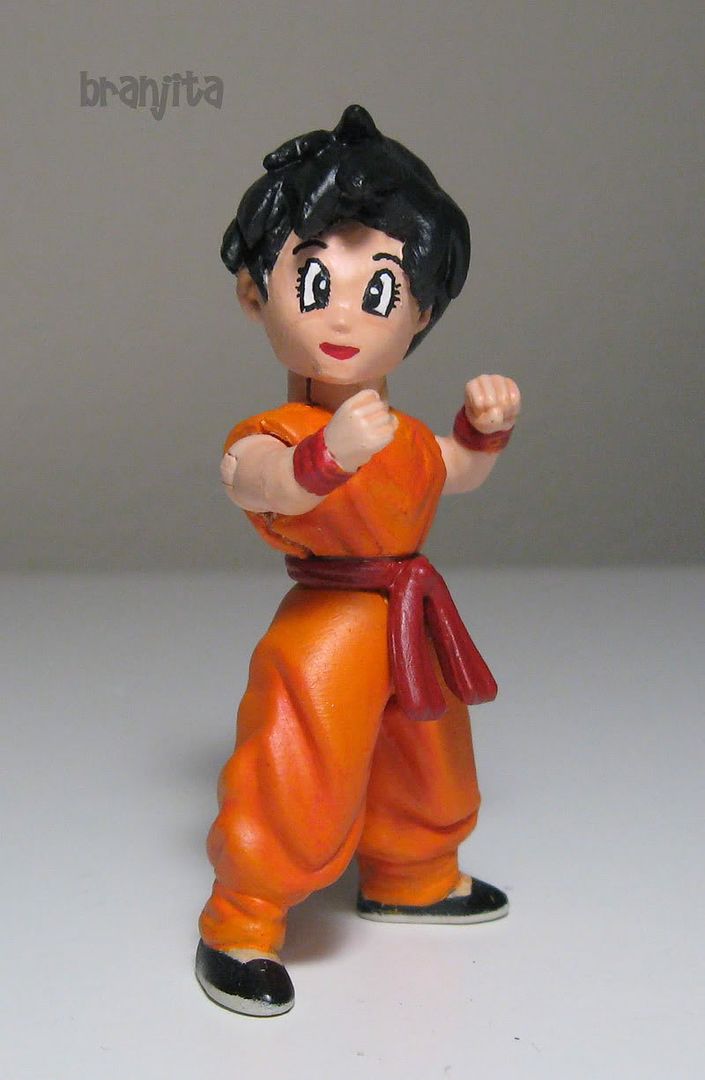 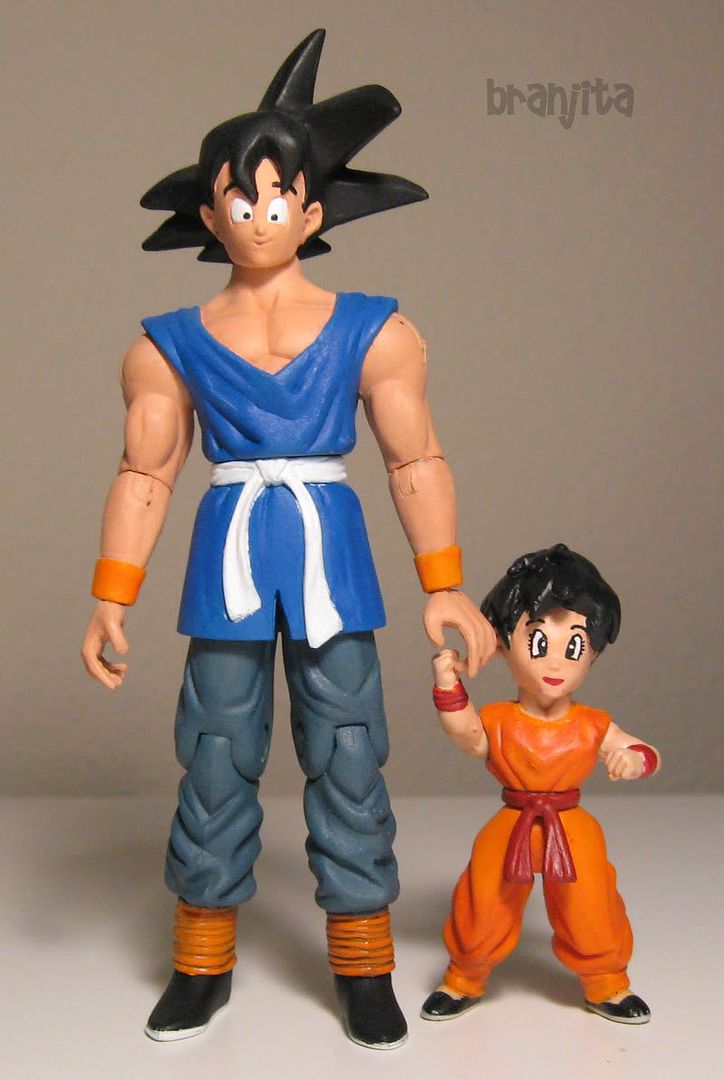 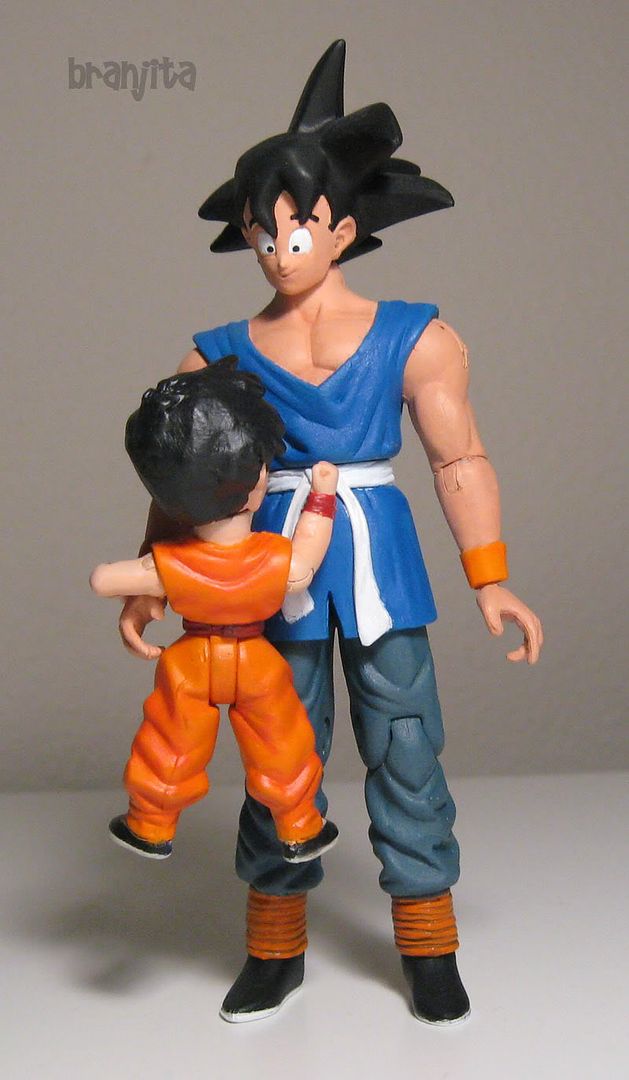
|
|


