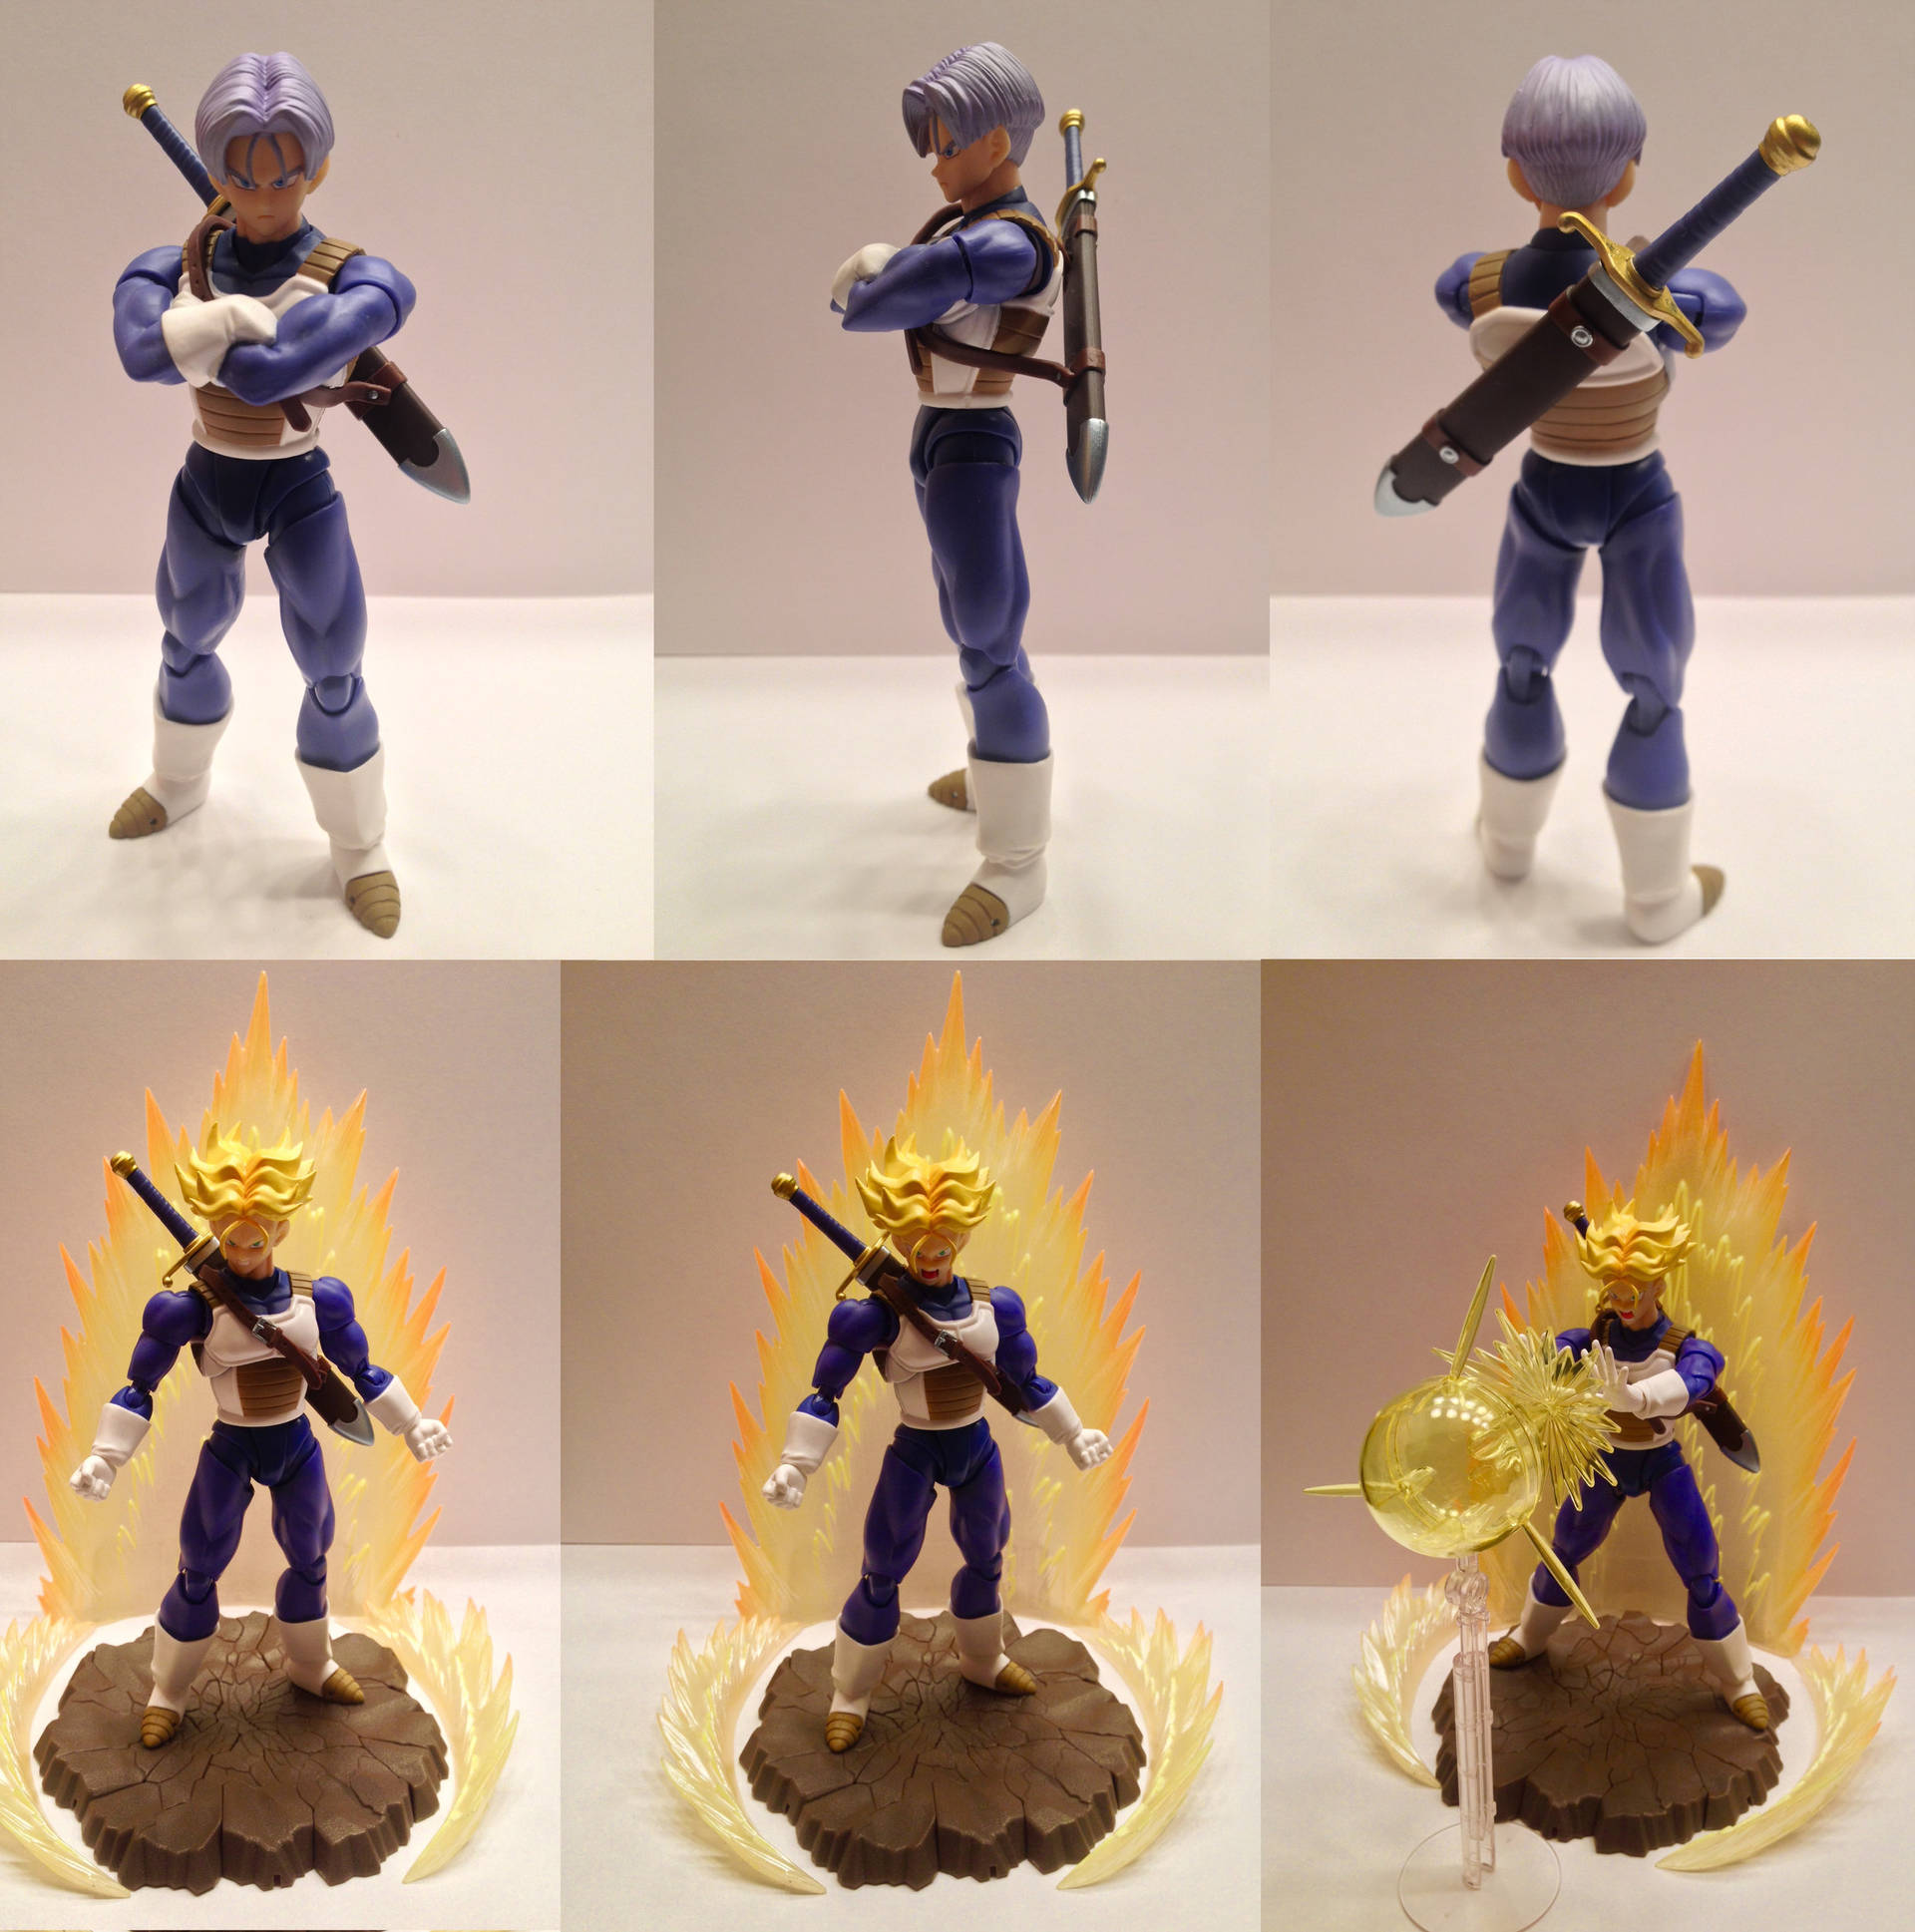
Hey guys! My official Tamashi SSJ3 Goku came in the mail and my dream project has been completed!
Recipe: *Note* Always buy official figures.
-1 S.H. Figuarts SSJ3 Goku (Body)
-1 Bootleg SSJ 3 Goku (Neck and Peg)
-1 Neck joint (Any joint that is compatible with Goku's head)
-1 S.H. Figuarts Goku: A Saiyan raised on Earth (Head)
-1 S.H. Figuarts Awakening SSJ Goku (Head)
So as we all know the SSJ3 uses a totally different joint than every other Goku head. So the first problem was finding a way to swap the joint without totally killing the figure's ability to swap in the SSJ3 head. Here are some instructions for making your own mod. I don't have any measurements. I eyeballed and test fit the parts till it worked.
*Neck skin = The plastic that cover the actual SSJ3 Neck peg*
*Neck peg = SSJ3 Neck peg*
*Modified neck peg = Neck peg w/joint attached*
*Head joint = Joint that connects the neck to head*
*Complete neck = Neck skin w/peg inserted*
Step 1: Remove the bootleg SSJ3 Goku head and neck.
Step 2: Pull the neck from the peg and cut the peg from the hair.
Step 3: Clean the cut area till it's flat and drill a small hole in the center of the peg . (you
will be plugging in the actual head joint here so start small and adjust later).
Step 4: Carve out the inside of the neck and slide the peg back in. You can take a hobby knife and do a few turns to widen it. (Modding on a budget!)
Step 5: (Test fit) Pop the peg/neck back on the body and press the neck skin down until the complete neck feels tight and does not wobble. Note how much of the peg is sticking out of the top of the neck.
Step 6: (Test fit) Take the head joint and insert it into the hole you drilled. If need be, widen the hole so the joint is easily inserted.
Step 7: Cut the excess plastic of the peg so it is flush with the neck skin. (Test fit) Pop the complete neck back on, plug the head joint in and the top should be nothing but a ball with peg sticking out.
Step 8: This is where the eyeballing comes in. You need to cut (sand down) a bit more of the peg from the top. (Test fit and sand) until the ball peg sticks almost halfway out of the completed neck while attached to the body.
Step 9: (Eyeball Test Fit) It may or may not be loose depending on how wide the drilled hole is. I recommend using the base Goku head since it isn't as top heavy as the SSJ heads.
Step 10: Once the head is at a height to your liking (avoid a giraffe neck or stumpy neck look), take the neck skin off of the neck peg. Take the head joint and apply glue to the bottom plug of the ball peg (Male end that DOES NOT plug into the head) and plug it in to the hole at the top the neck peg and let it sit for however long your solution takes to fully dry and harden (I used a small gorilla glue w/ brush and nozzle). If you want to keep the neck joint articulation, be very careful with your glue (or whatever solution you are using to secure everything).
Step 11: Slide the modified neck peg into the neck skin and pop it on to the SSJ3 Goku body. The neck skin may or may not be loose. If so, press down until the neck is secure. (If you want to glue the modded peg into the neck skin for added stability, you can but you wont be able to swap the SSJ3 head).
AND THAT'S IT! If I ever do this again I will take step by step photo of the process and post them to my Flickr account but I hope I got to point across and hope this help those who which to make a custom neck joint.
ANYWAY, thanks for viewing and Have a great day!
*P.S. Head swap
photos have been uploaded.
Attachments:


 More part swapping customs. Sweet and simple!


